It’s December, the month of food! This month, Heather Corker of Corker and Mills catering brings us a tasty dessert you just have to try – it’s not as complicated as you might think!
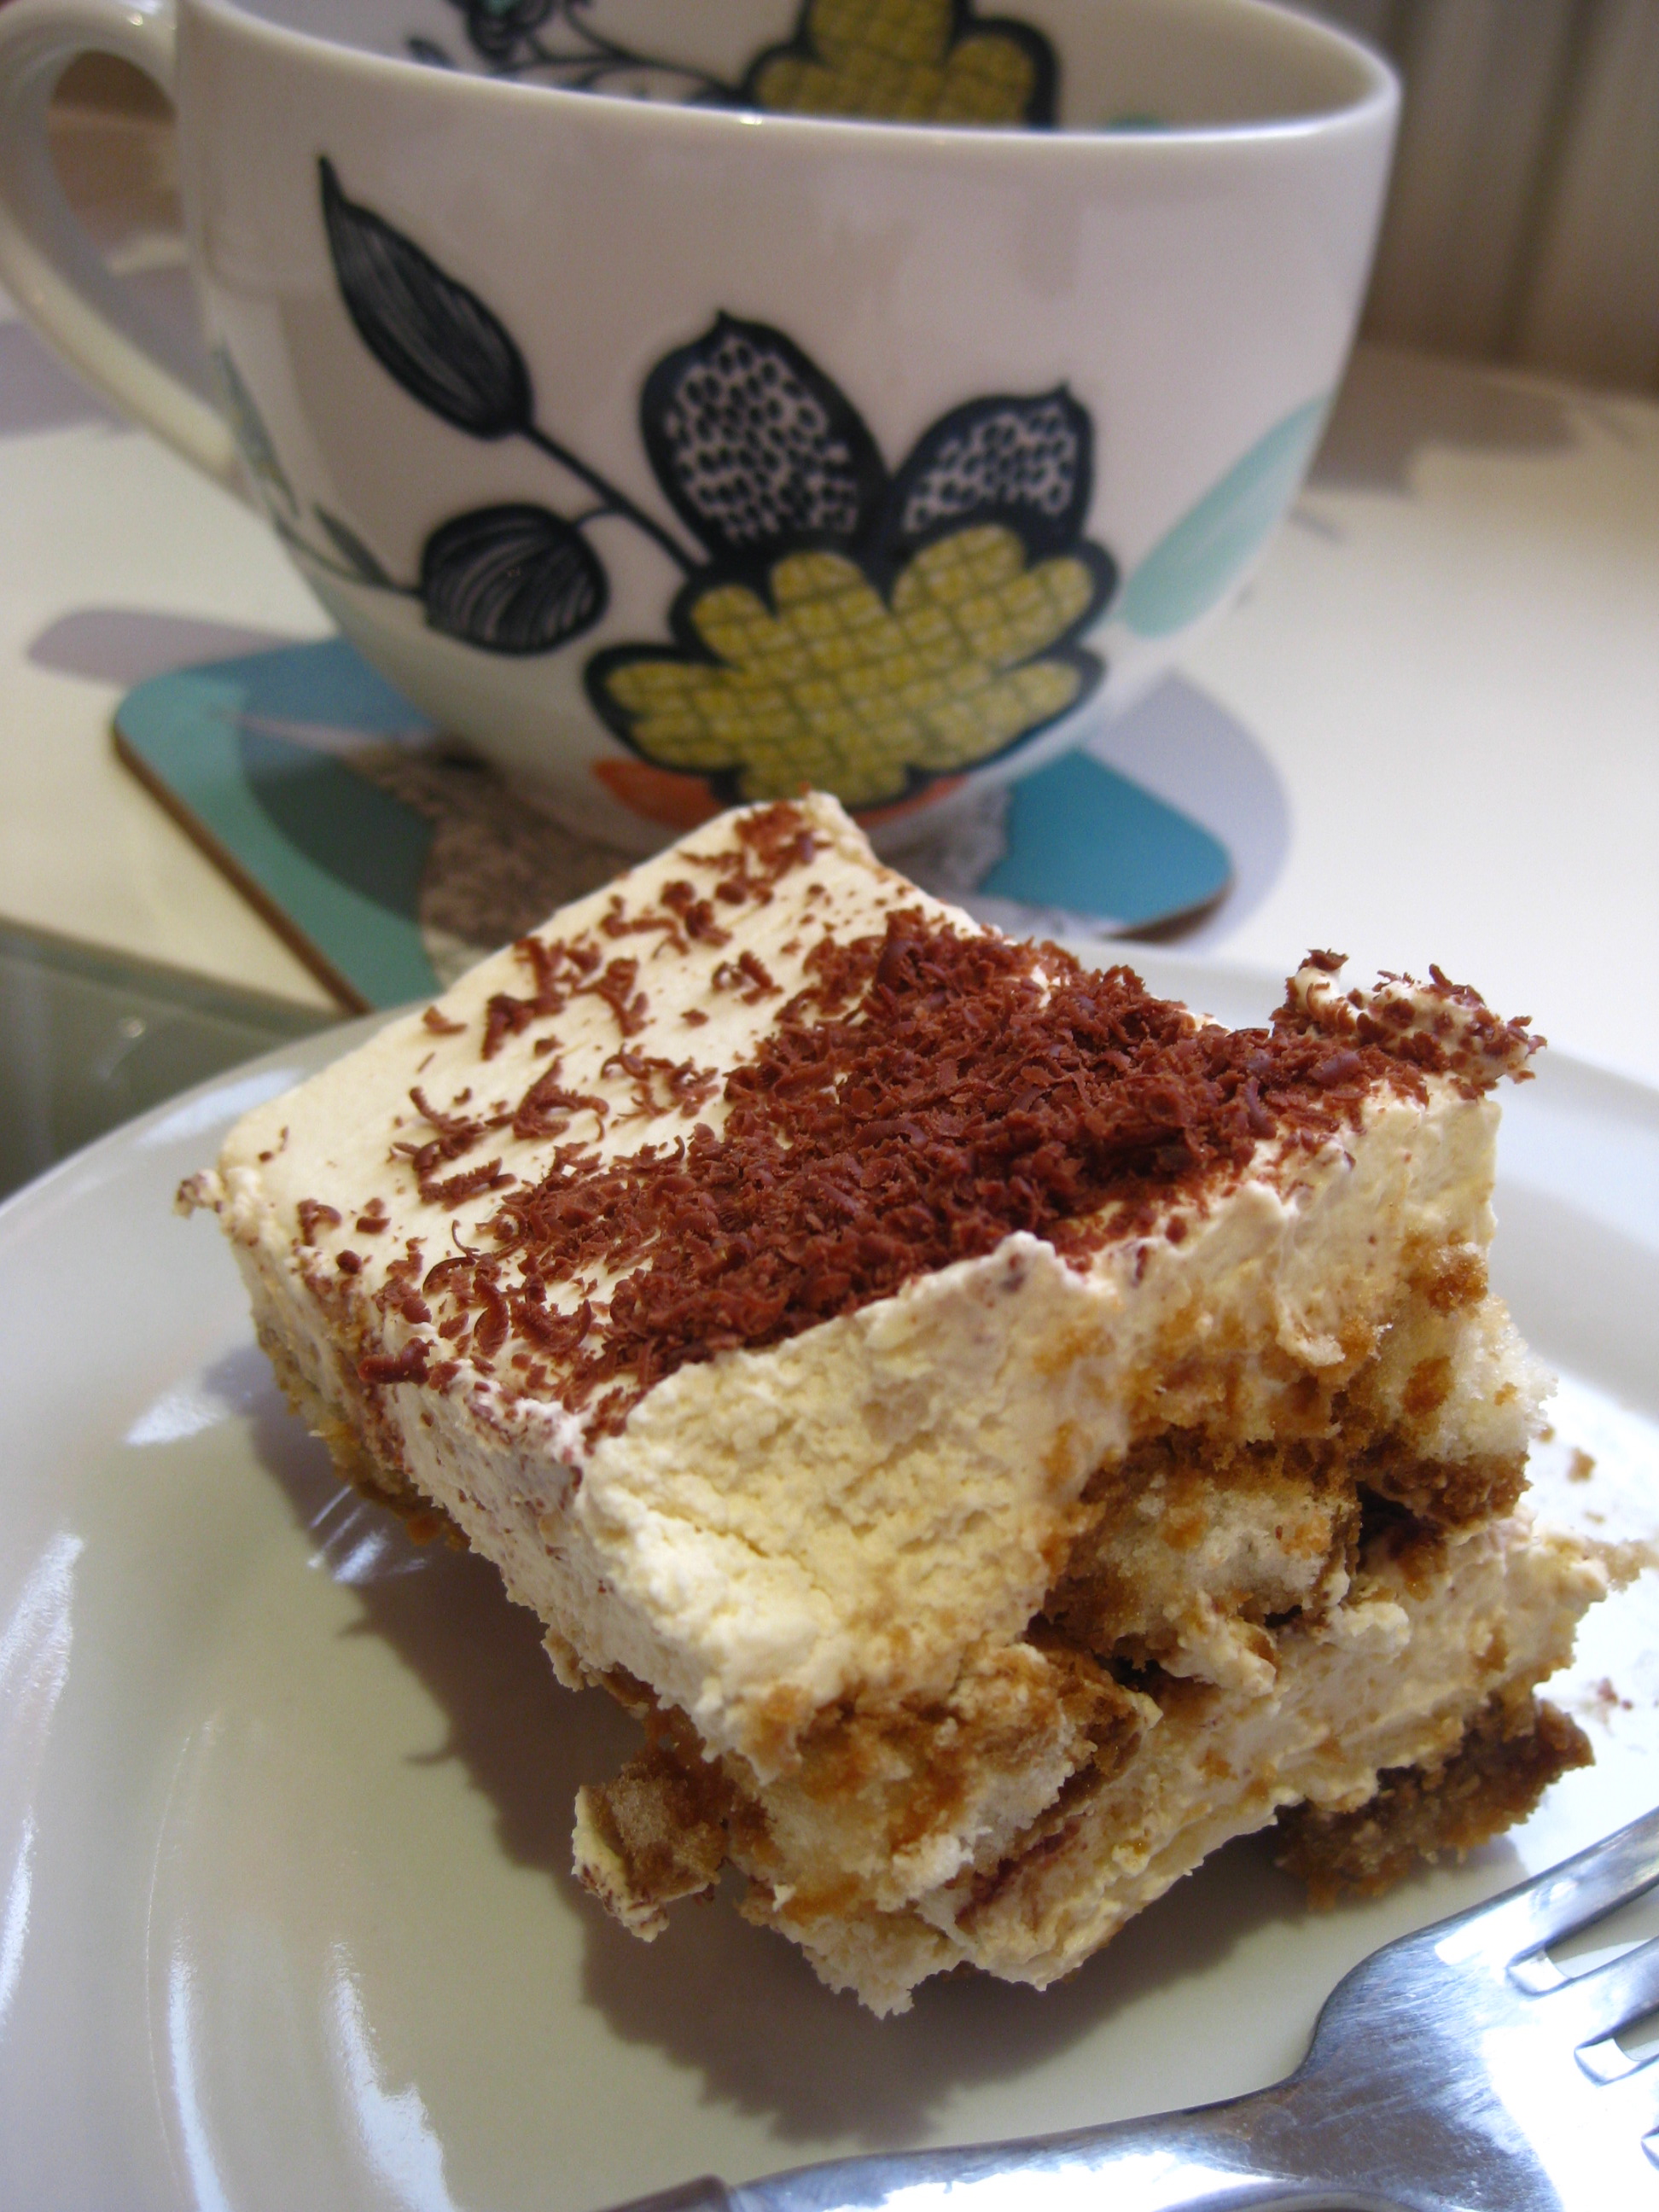
For the coffee, booze, biscuit, chocolate and cream lovers – meet Tiramisu. Tiramisu is like dessert royalty. It has it all. Eating Tiramisu is not for the faint-hearted (or lactose intolerant) – it most definitely fits the description of a “taste explosion”. When the Italians do food, they don’t hold back.
While this trifly dessert may appear to be as intense and complicated to make as it is to taste, Tiramisu is incredibly easy to bring together and the finished product always, always, puts on a good show. And it will make the host/hostess (i.e. you) look like a culinary god(dess).
What you’ll need:
- 300ml Double Cream
- 300ml Whipping Cream
- 250g (one tub) Mascarpone
- 75ml of Madeira (or Marsala)
- 5 Tablespoons of golden caster sugar
- splash of vanilla extract or flavouring
- 300ml strong coffee – made with 2 tablespoons of coffee granules and 300ml of boiling water
- 175g (one package) of sponge fingers
- Chunk of dark chocolate
- Cocoa powder for dusting
Bringing it all together:
Put the creams, mascarpone, Madiera, sugar and vanilla in a large bowl. Whisk or beat together until the cream and mascarpone have completely combined and the consistency is like a thick whipped cream.
Now its time to get your serving dish nearby and ready to use!
In a separate, shallow, dish pour some of the coffee and dip your sponge fingers in, turning over in the coffee so that they are completely soaked, but not soggy (work quickly! True to their name, sponge fingers are very spongy and will soak a lot of liquid up very fast).
Layer the soaked sponge fingers into your dish until the base is completely covered. Then, layer on half or part of the cream – completely covering the fingers. Grate dark chocolate over the cream mixture – to your own, personal, desired amount – and then dust with a little bit of cocoa powder.
Then, repeat the process, ending with the cream layer on top!
Chill this dish. Tiramisu is best made the night before, in order to let the flavours set and mix together in all sorts of wonderful ways. Tiramisu will keep up to 2 days in the fridge.
Enjoy. This goodness goes quickly – I almost didn’t get a picture before it was gone!
It’s about that time again, chaps. Heather from catering duo Corker and Mills is bringing us the November installment of their tasty recipes.
This month we’re baking with everyone’s favourite November flavour, pumpkin. And who better to take us through some taste sensations than our resident Yank….
Pumpkins derive most of their fame from being turned into scary Halloween Jack-o-lanterns or pretty princess carriages a la Disney’s Cinderella and some bibbity-bobbity-boo.
But I, personally, like to eat them. Pumpkin soups and pumpkin seeds and pumpkin breads and pumpkin pie and pumpkin lattes… yeah, good.
I use tinned pumpkin when I bake / cook because A) boiling and disecting and scraping the inside of a pumpkin is a pain and B) I’ve tried the boiling-disecting-scraping game before, only to discover that after all my efforts – and blood and sweat and tears to be authentic and rustic and cool – my pie/bread/soup ended up tasting THE EXACT SAME as using the can. No love is won over for extra effort here. (quick tip : Waitrose has just begun selling Libby’s tinned pumpkin!)
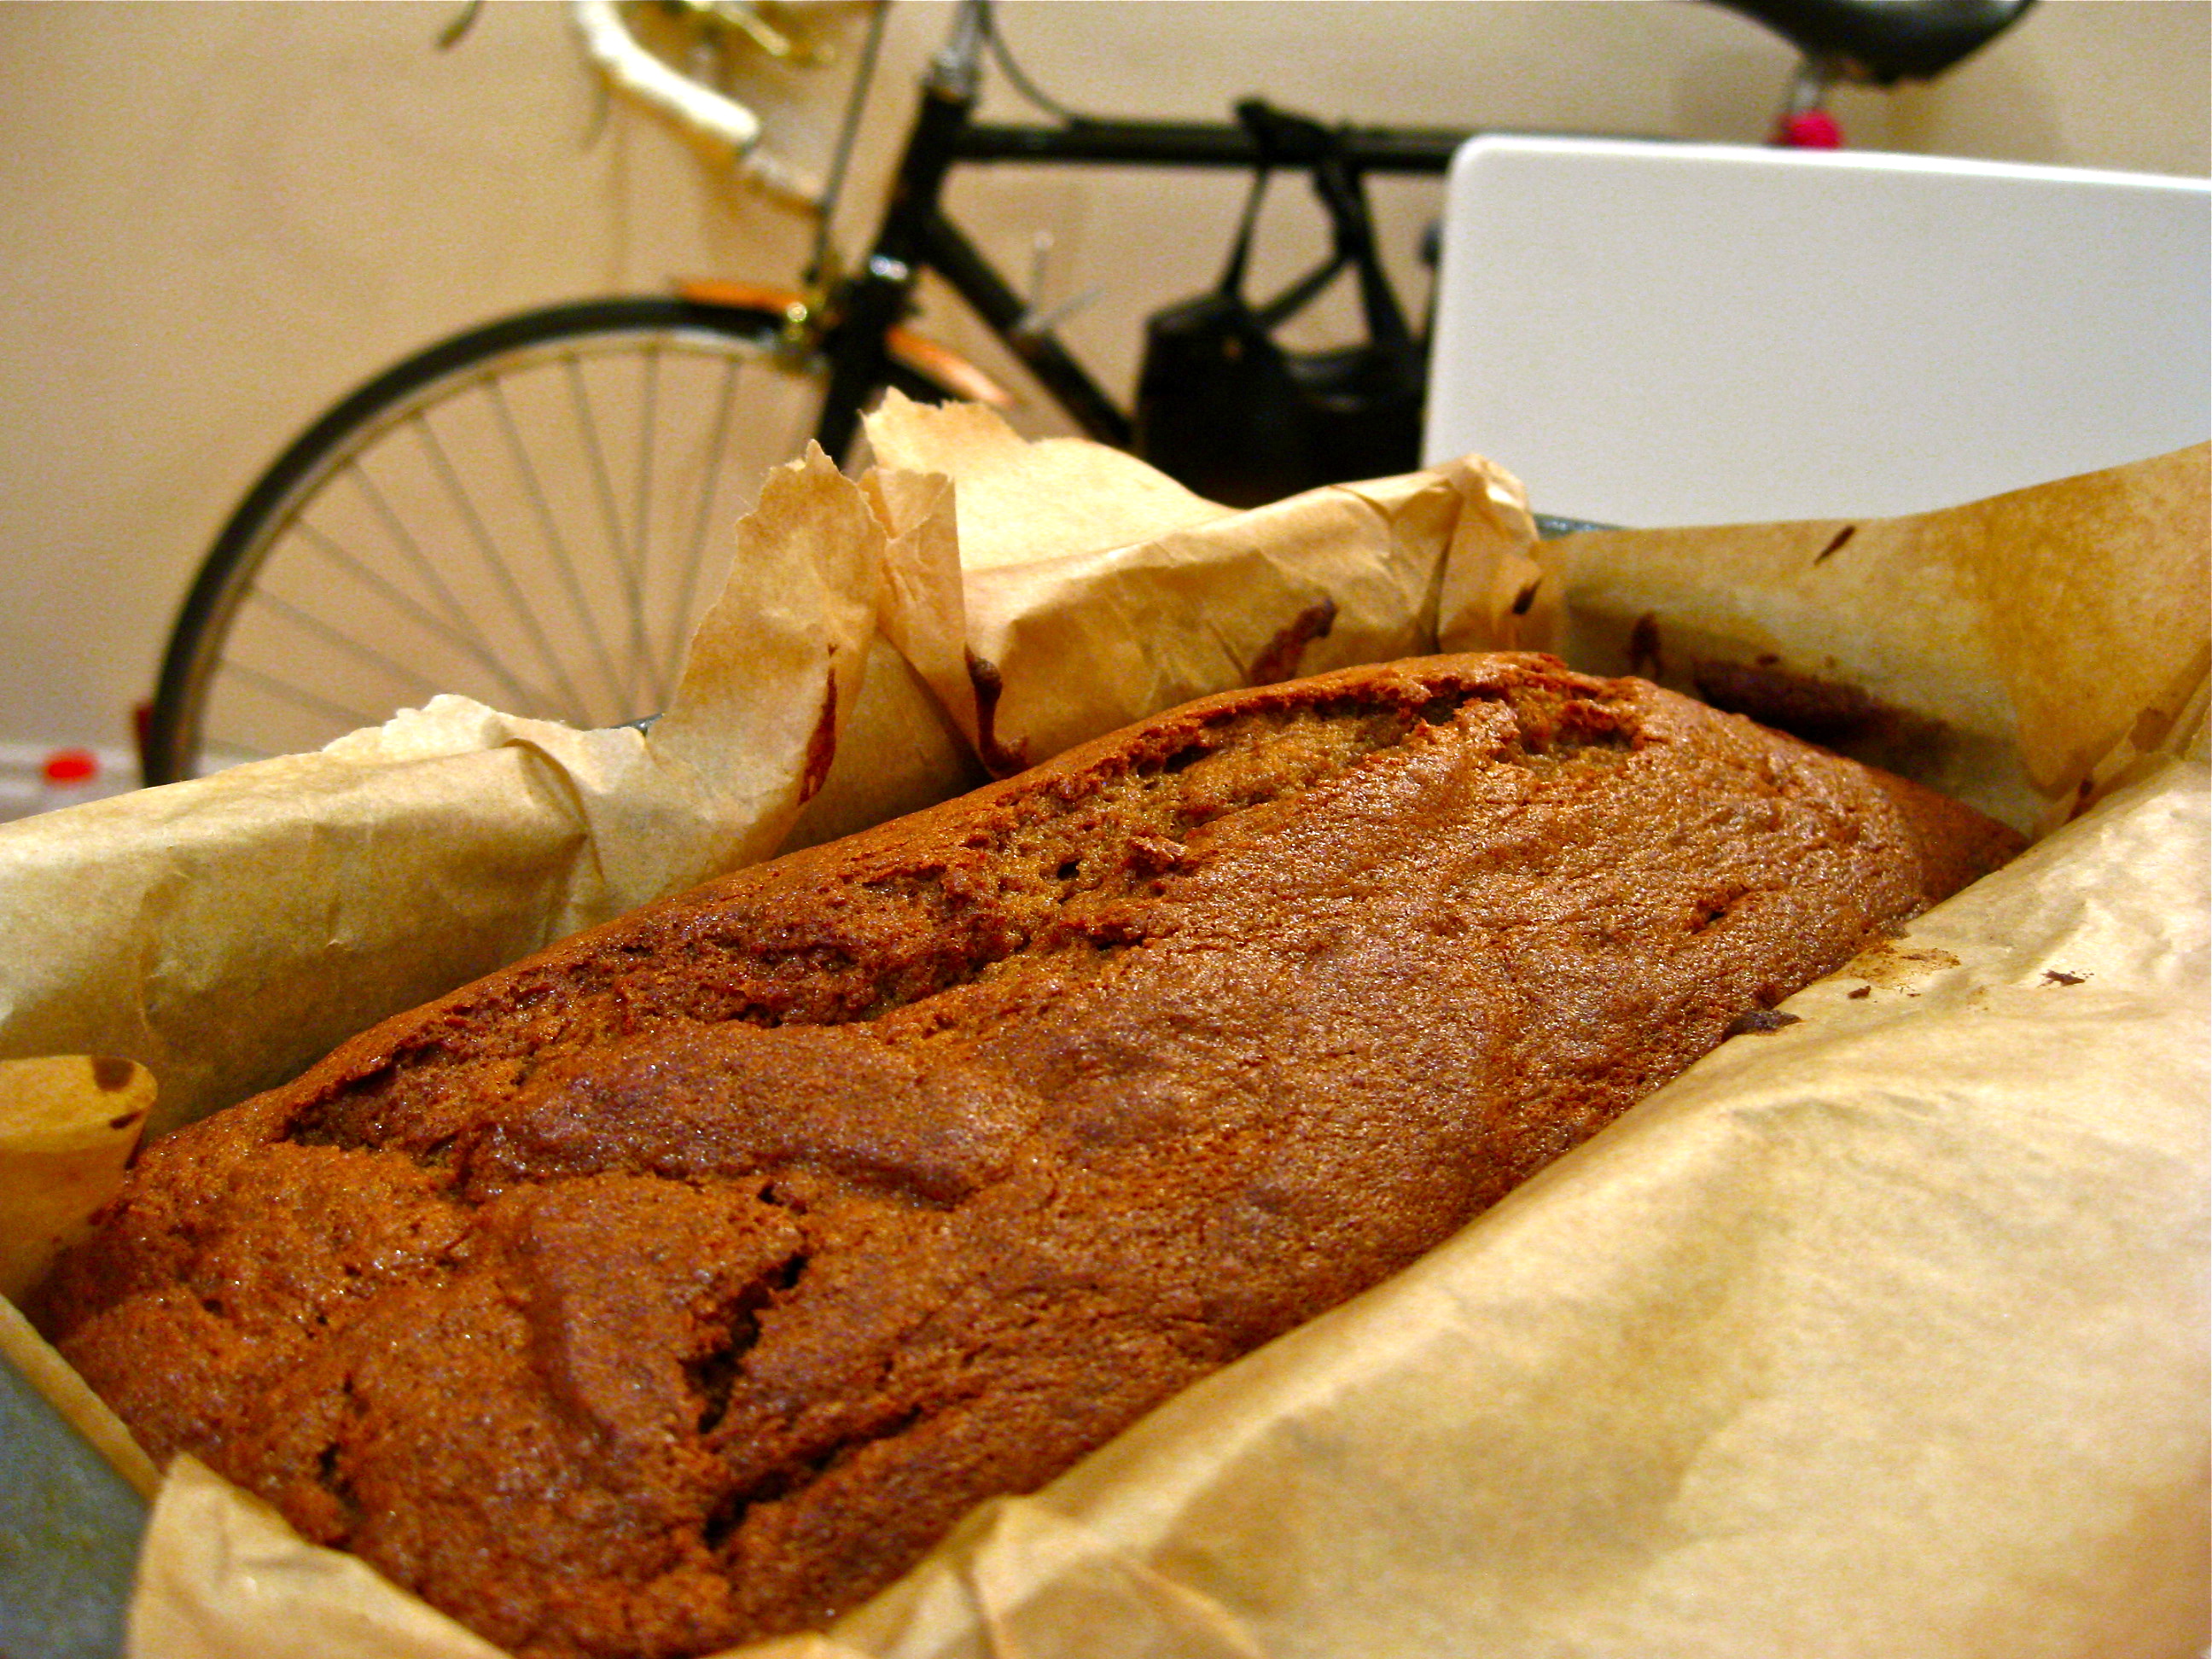
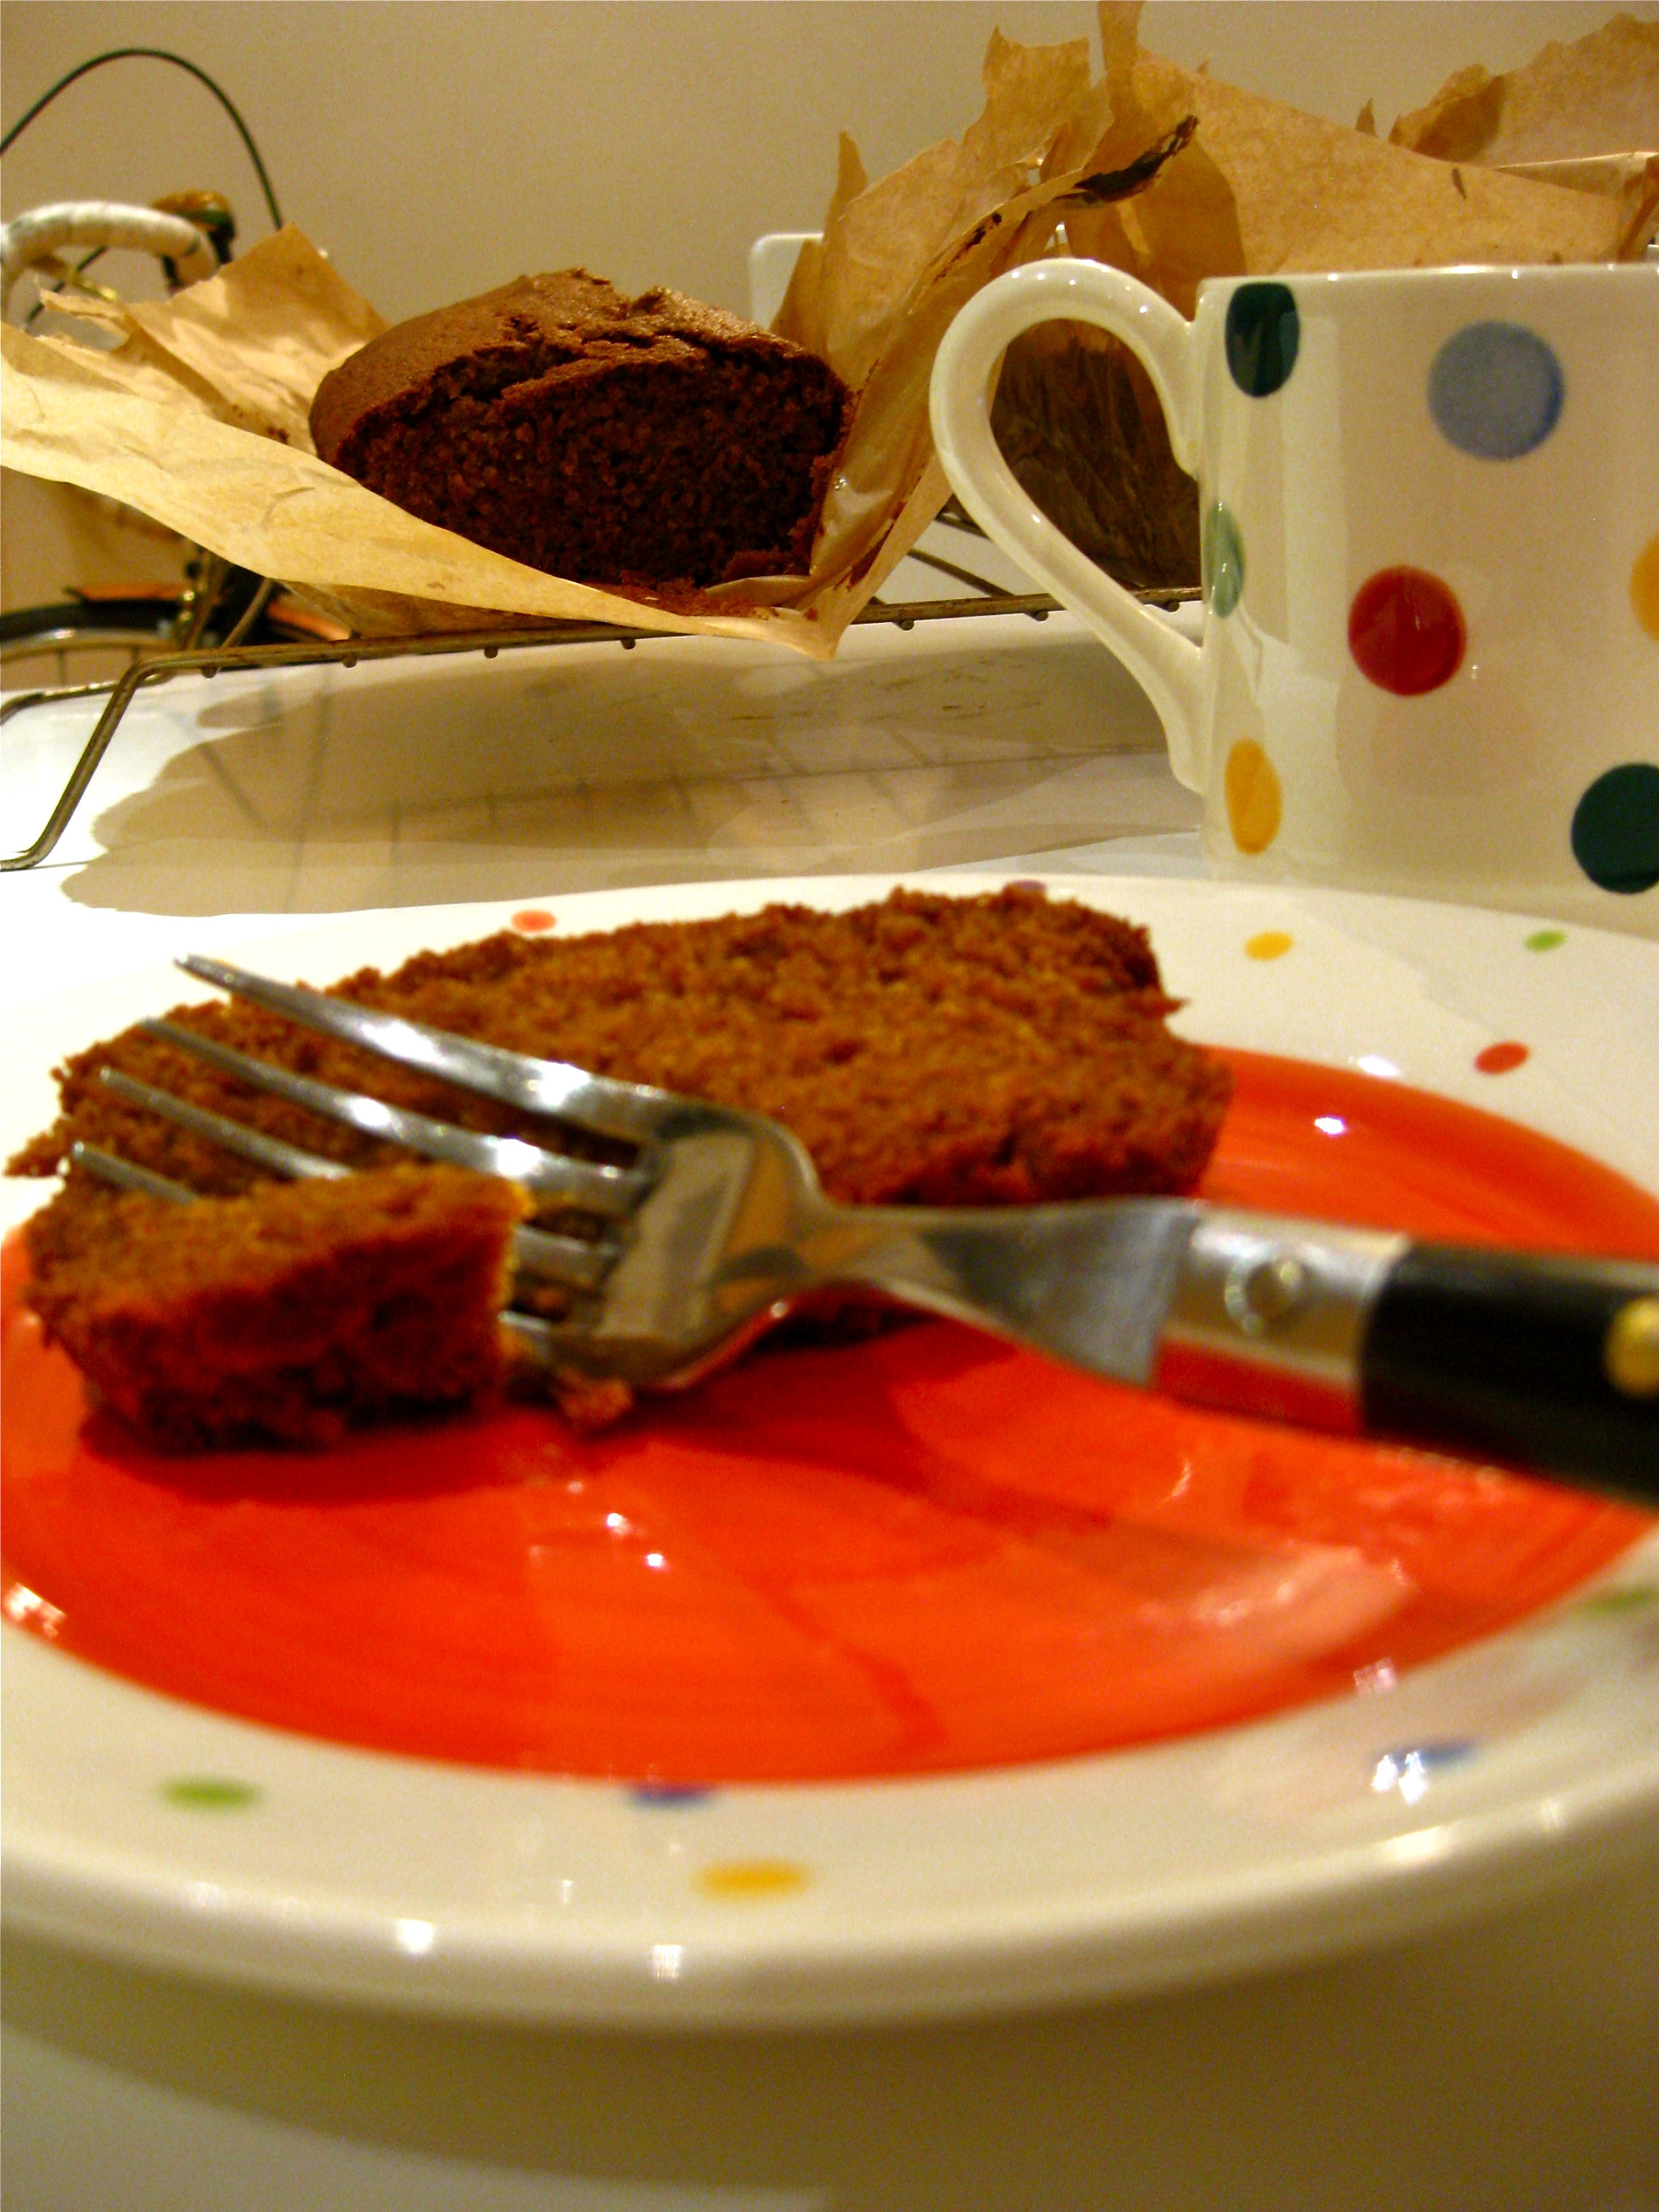
Pumpkin loaf (makes two loaves)
These loaves can be kept in the freezer for up to a week after baking. Let cool completely, wrap in plastic wrap/ bag and pop it in the freezer! (and obvs let it thaw for a few hours – 3 or 4 is good – before trying to slice and try and a later date)
Ingredients :
- 2 cups flour (approx. 240g)
- 2 teaspoons baking soda
- 1/4 teaspoon salt
- 1 tablespoon cinnamon
- 1/2 teaspoon ginger
- 1/2 teaspoon allspice
- 1/4 teaspoon ground cloves (or nutmeg)
- 1 cup butter (2 sticks) soft
- 1 cup sugar (approx. 200g)
- 1 cup packed brown sugar (approx. 220g)
- 4 eggs
- 1 teaspoon vanilla
- 1 can (15 ounces) pumpkin
Directions:
- Sift dry ingredients, set aside.
- In a separate bowl, beat butter and sugars until light and fluffy. Add eggs and mix in one at
- a time.
- Beat in Vanilla and the pumpkin puree with the last egg.
- Stir the pumpkin mixture into the flour mixture until just incorporated.
- Pour batter into a lined loaf tin
- Bake at 180 C for approximately 40-45 minutes or until a toothpick inserted into the
- middle of the loaf comes out clean.
Very excited to bring you this stylish offer this week, from online kid’s clothing store LatteMama.
LatteMama, Swedish for ‘yummy mummy’ (how cute is that?), stocks British and Swedish brands for all ages up to 4 years, from onesies to raincoats.
LatteMama is offering Nested readers an exclusive 20% discount to celebrate the launch of their shiny new website.
Just quote Renew321 online, offer closes 30th November!
If they made any of these in ages 20-30, I would buy the whole store.
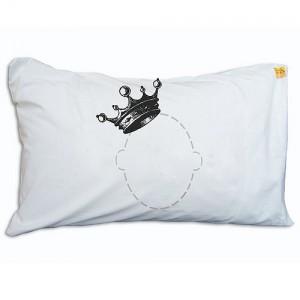
On my usual Friday flick through Not on the Highstreet’s catalogue, I found these amazing pillow cases for kids (or adults…).
These would be brilliant stocking fillers, or you could use them as the stockings!
Very cute! His and hers would be amazing – headphones and a crown! Available for £15 each at Not on the Highstreet.
Introducing, our new monthly feature – Baking with Corker and Mills! Nested is proud to be partnering up with the catering duo to get people really stuck into baking throughout the year. They make it look so easy, and so yummy. This month we’re diving in with a gorgeous treat from ‘American as apple pie’ Heather Corker.
Autumn is the best time to bake.
Chilly days just make you want to snuggle up to a lovely someone, don’t they? Or, in lieu of that, at least to make a nice steaming mug of coffee (or tea) to accompany a delicious slice of freshly baked cake. Its all pretty much the same thing, really – cake and love, love and cake (isn’t it?).
The Autumn season is ripe (literally) with so many wonderful, wonderful ingredients to bake with. Pumpkins and apples and pears and figs, oh my! I get giggly and excited just thinking about it. Its a little bit like having a crush. But a baking crush. A big baking crush.
Are you ready for this? Good.
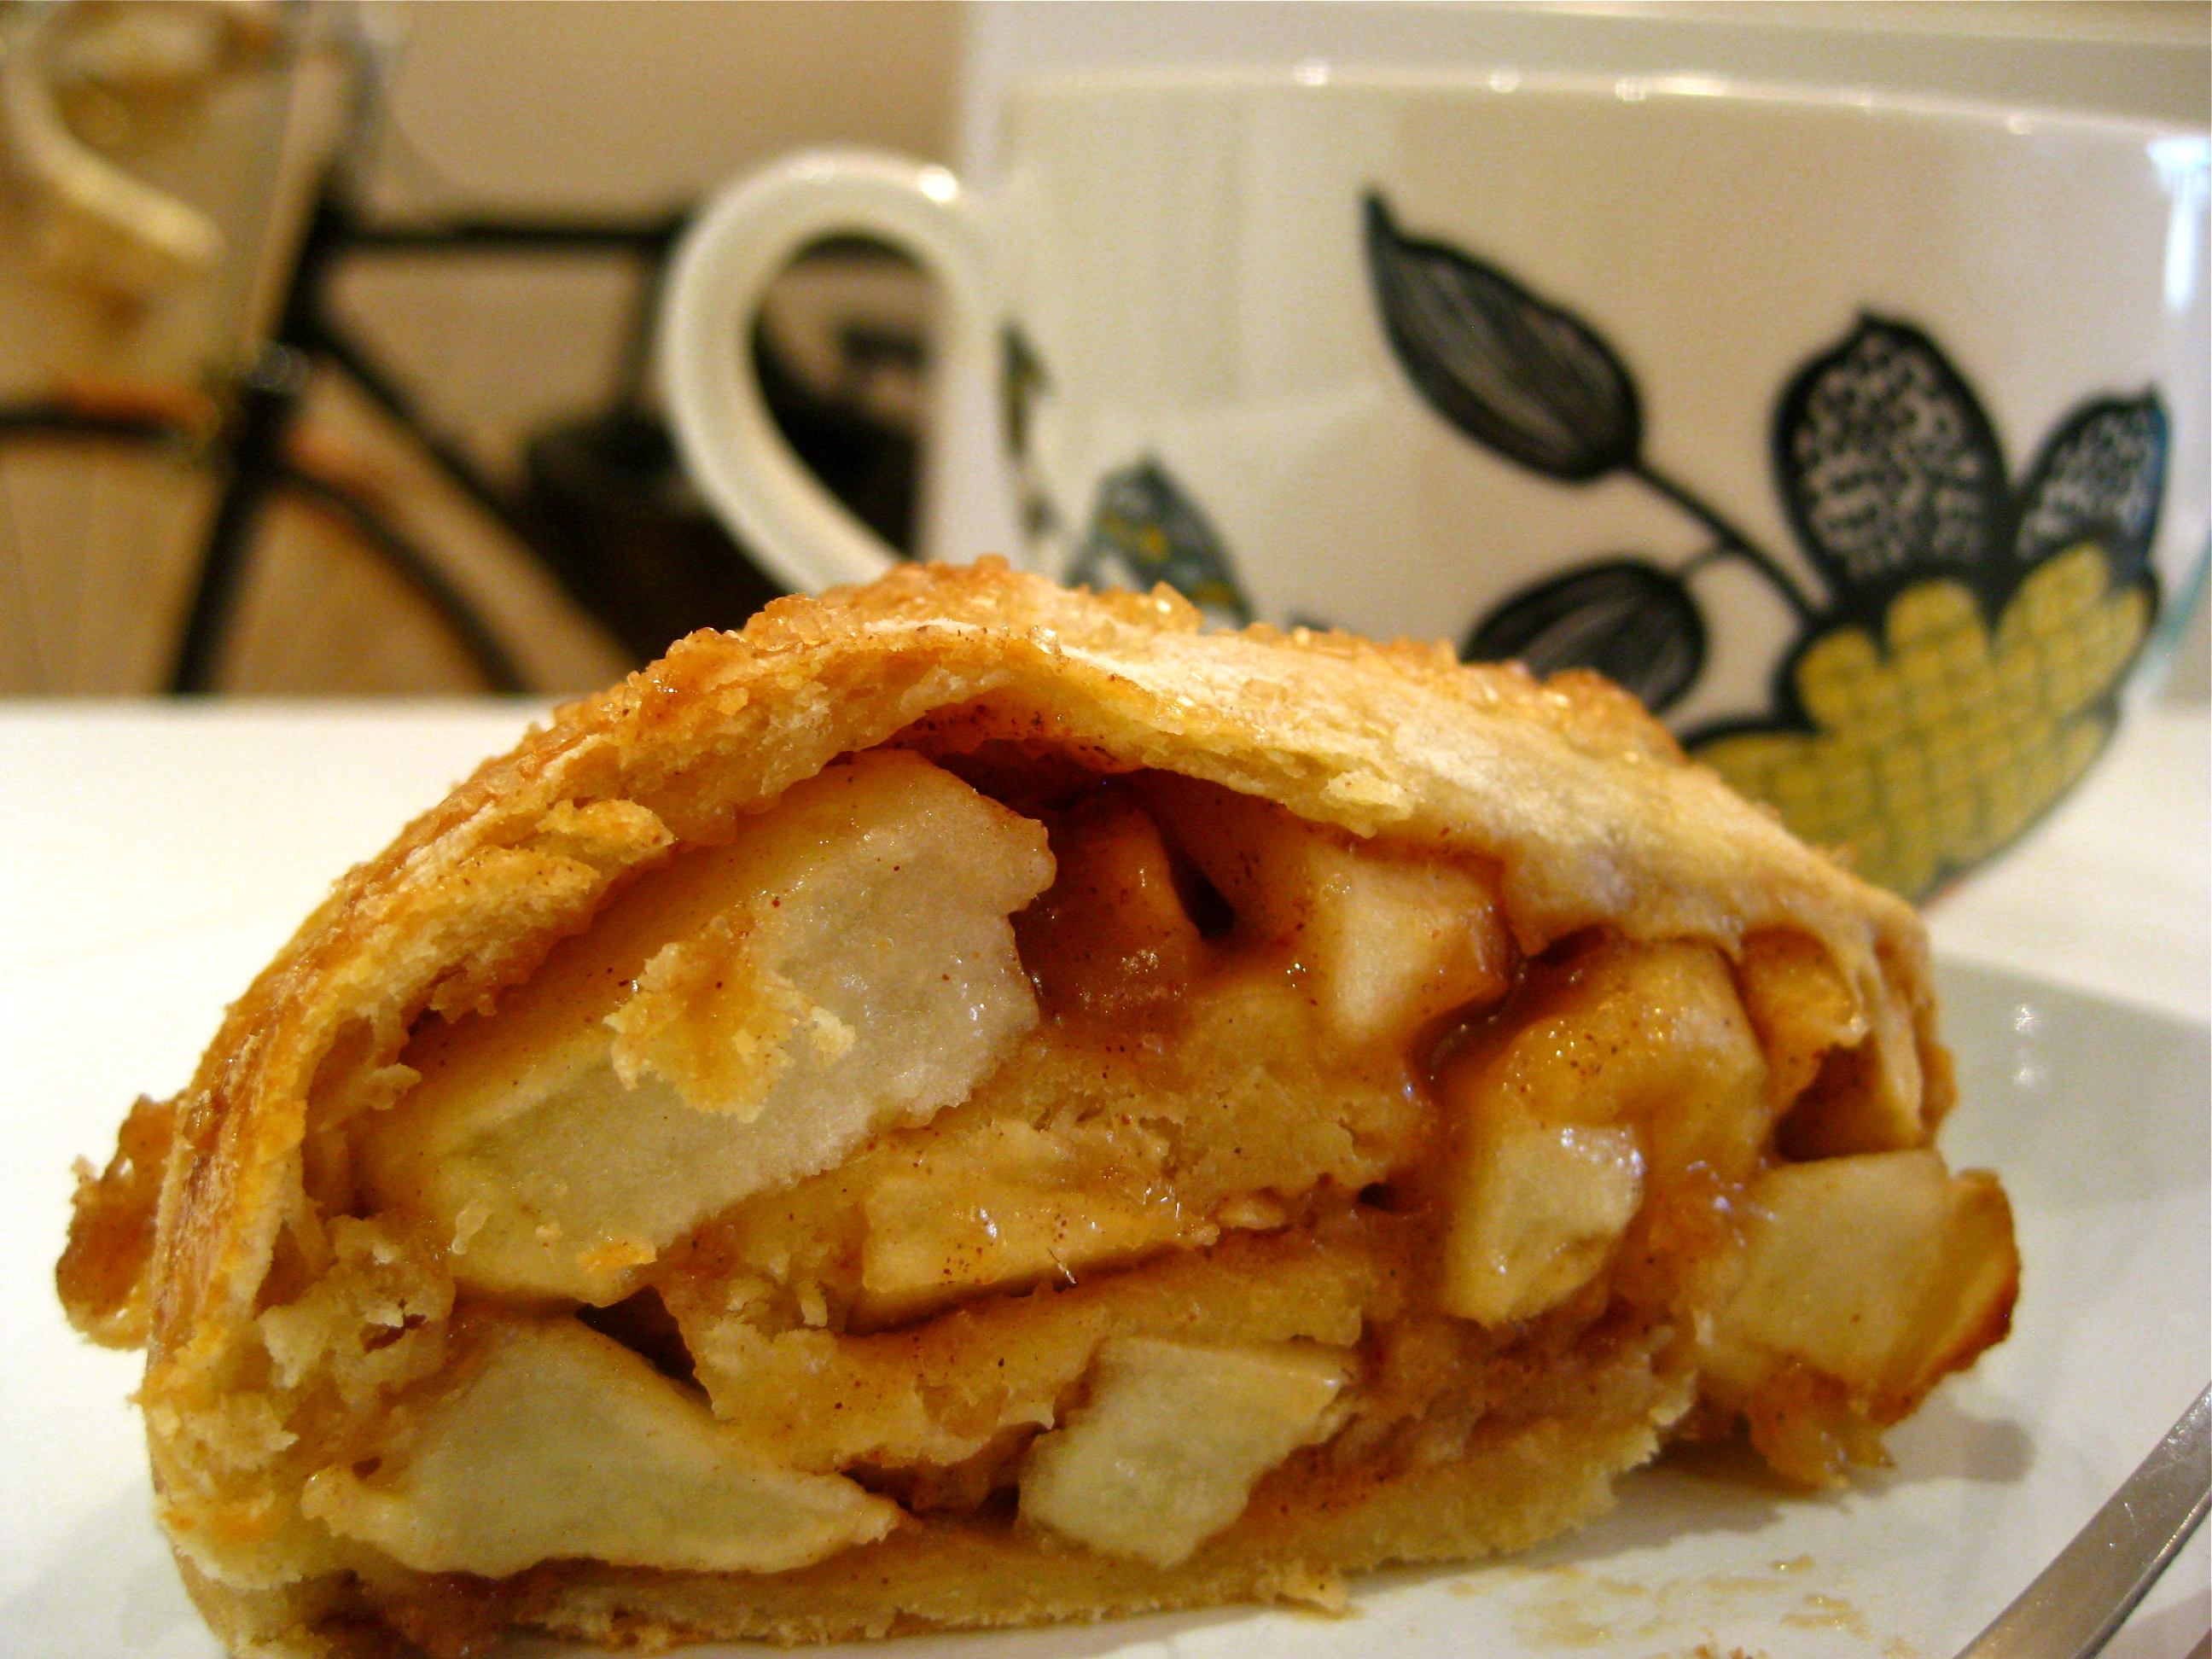
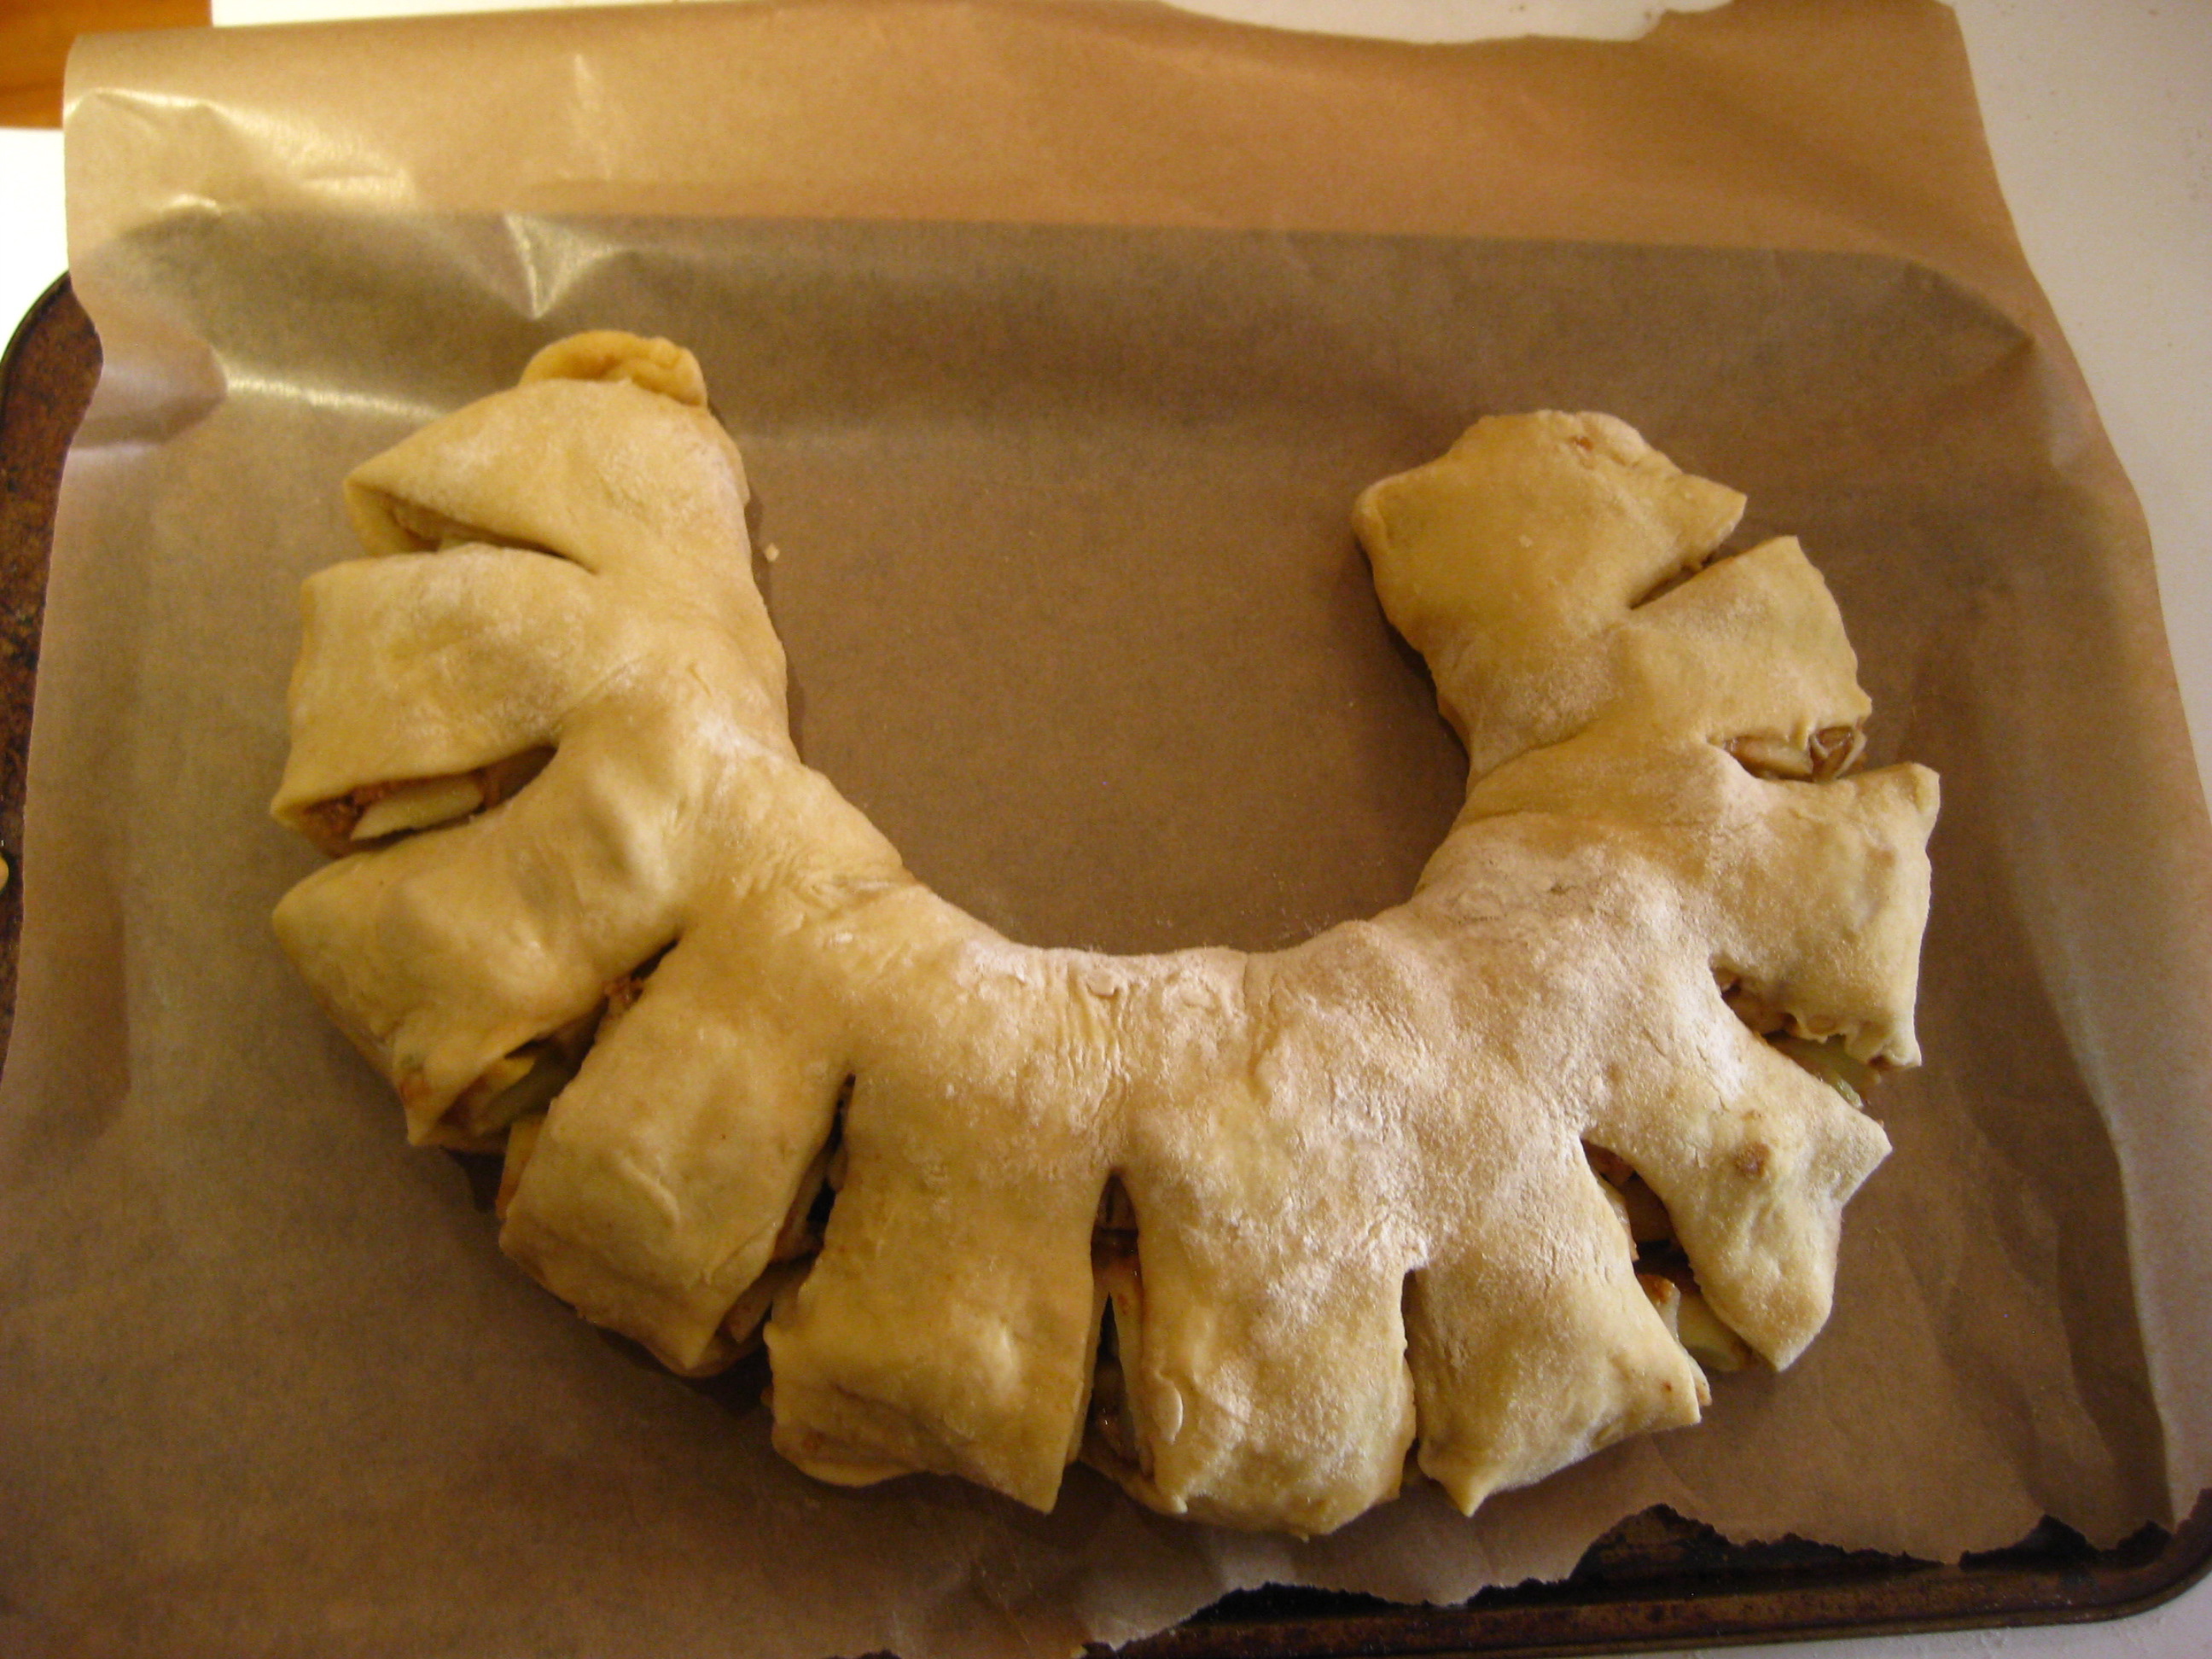
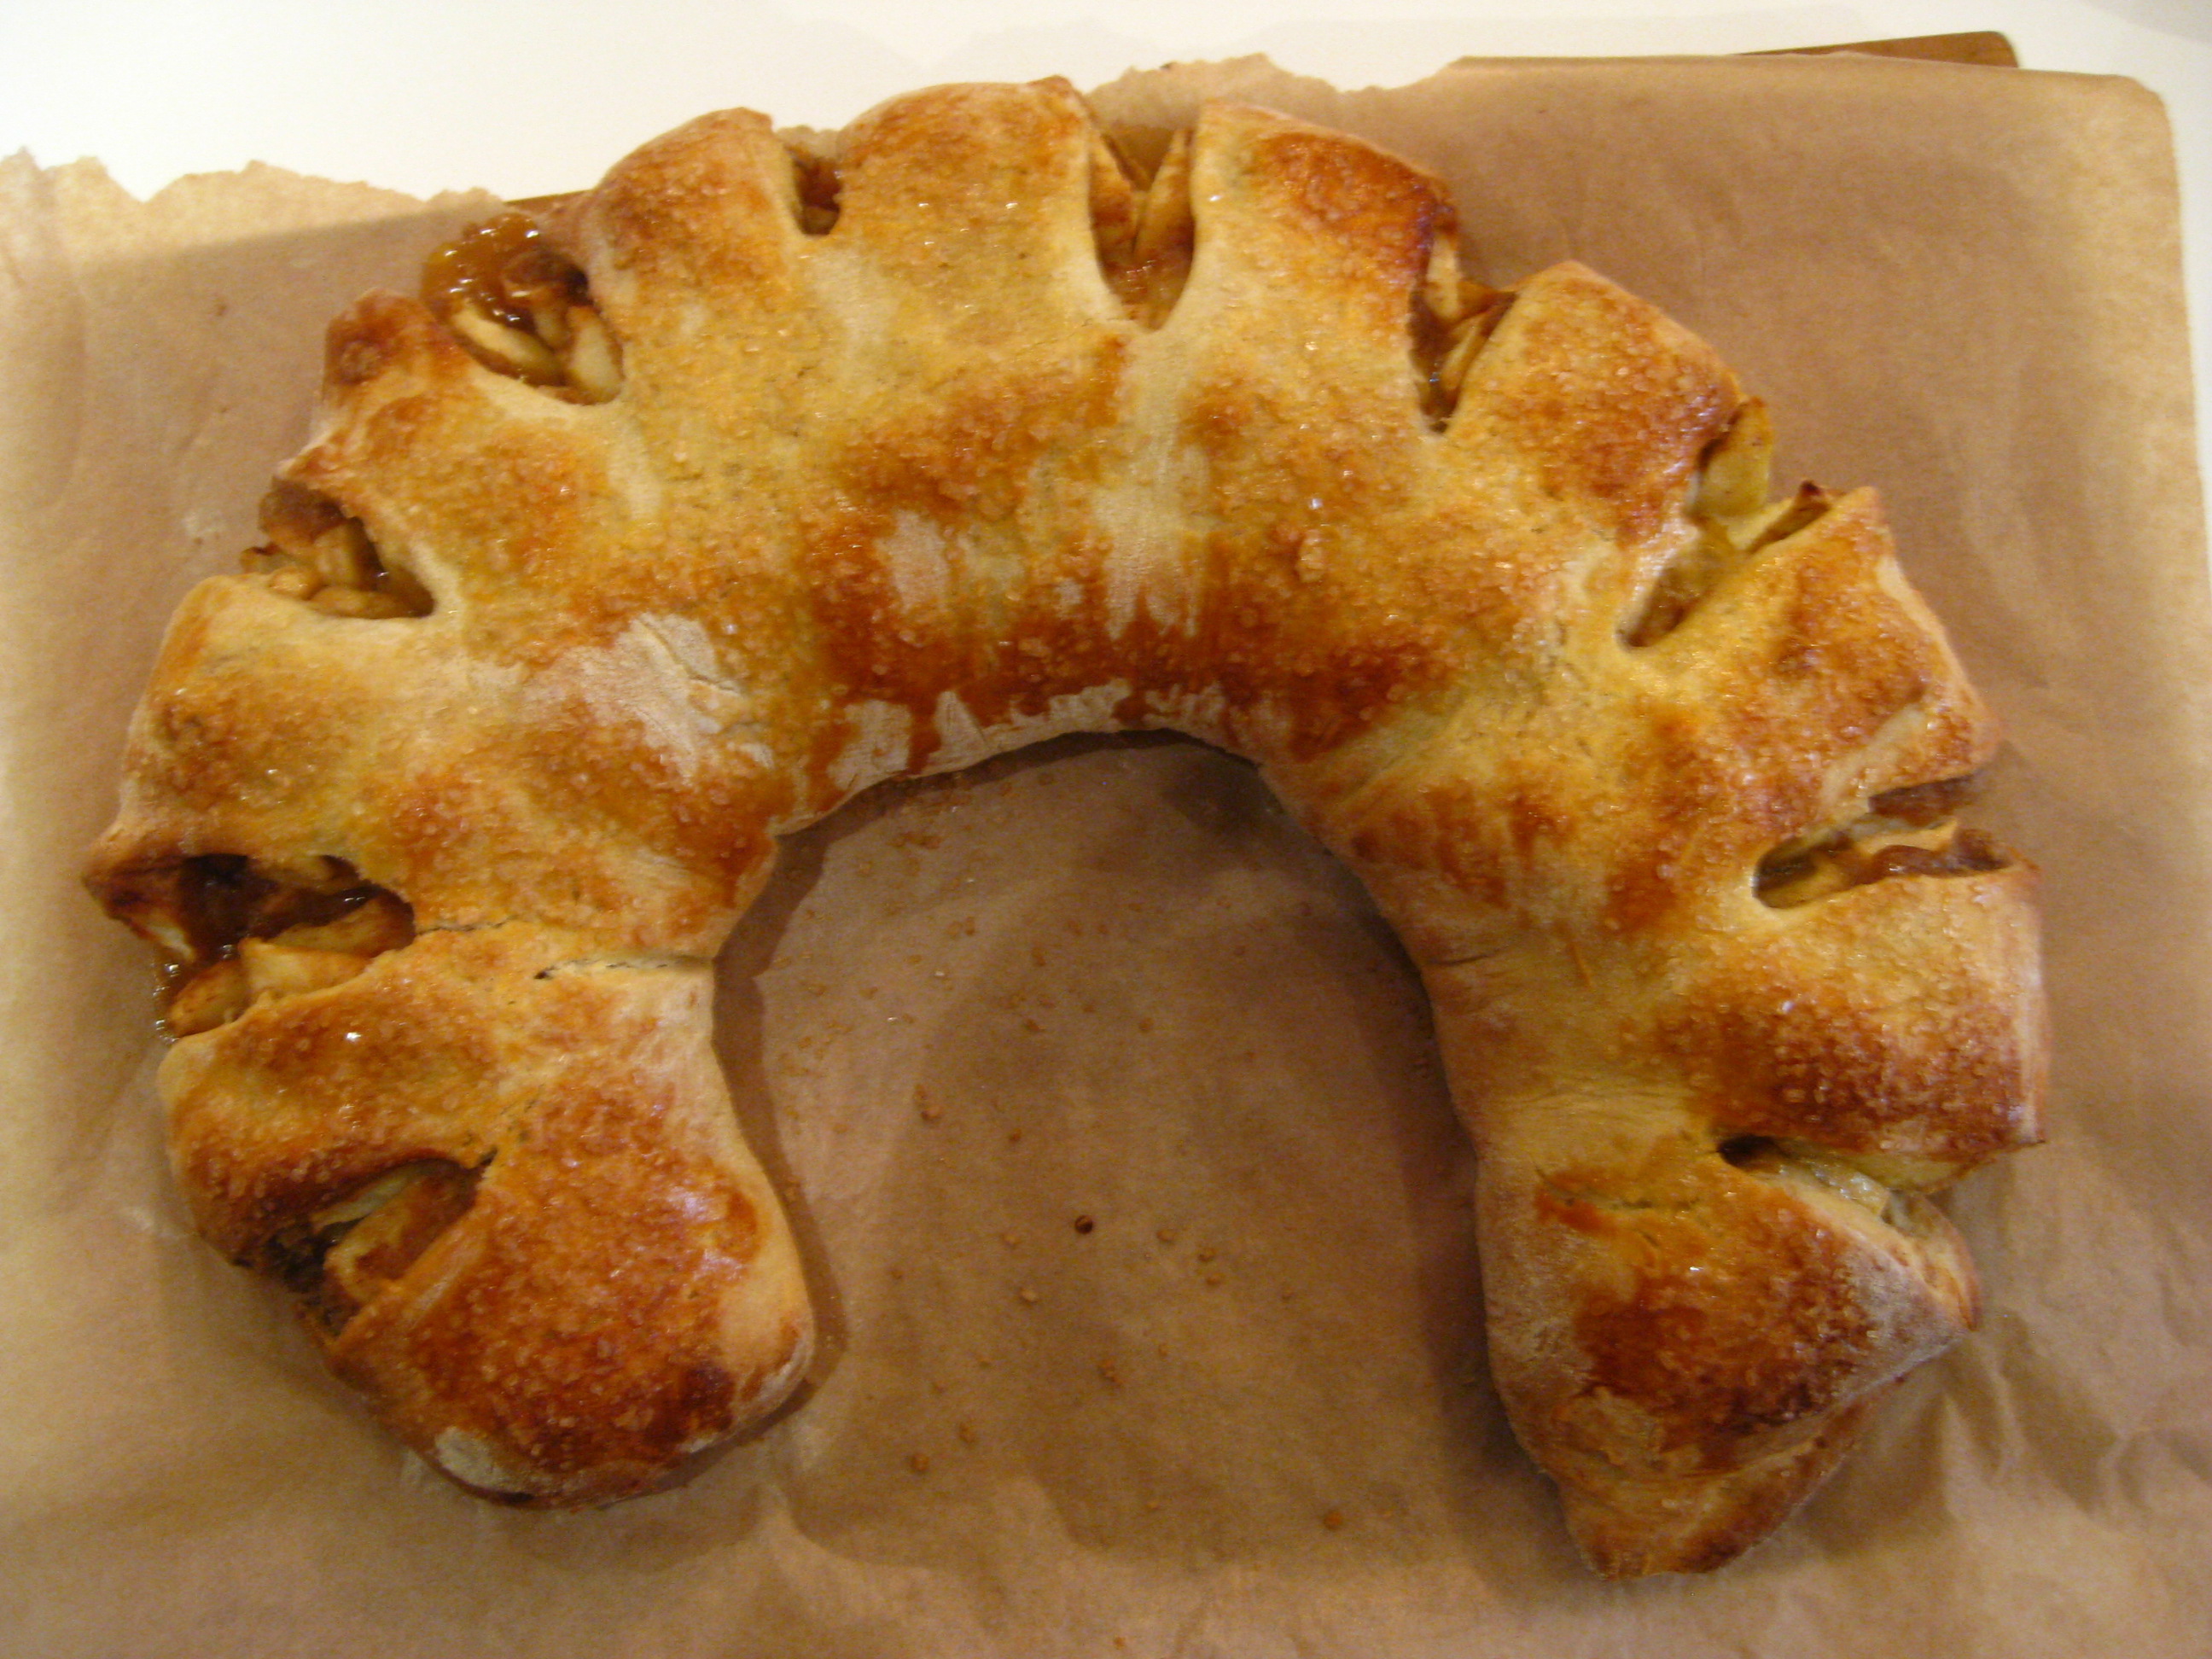
Apple Cinnamon Breakfast Roll
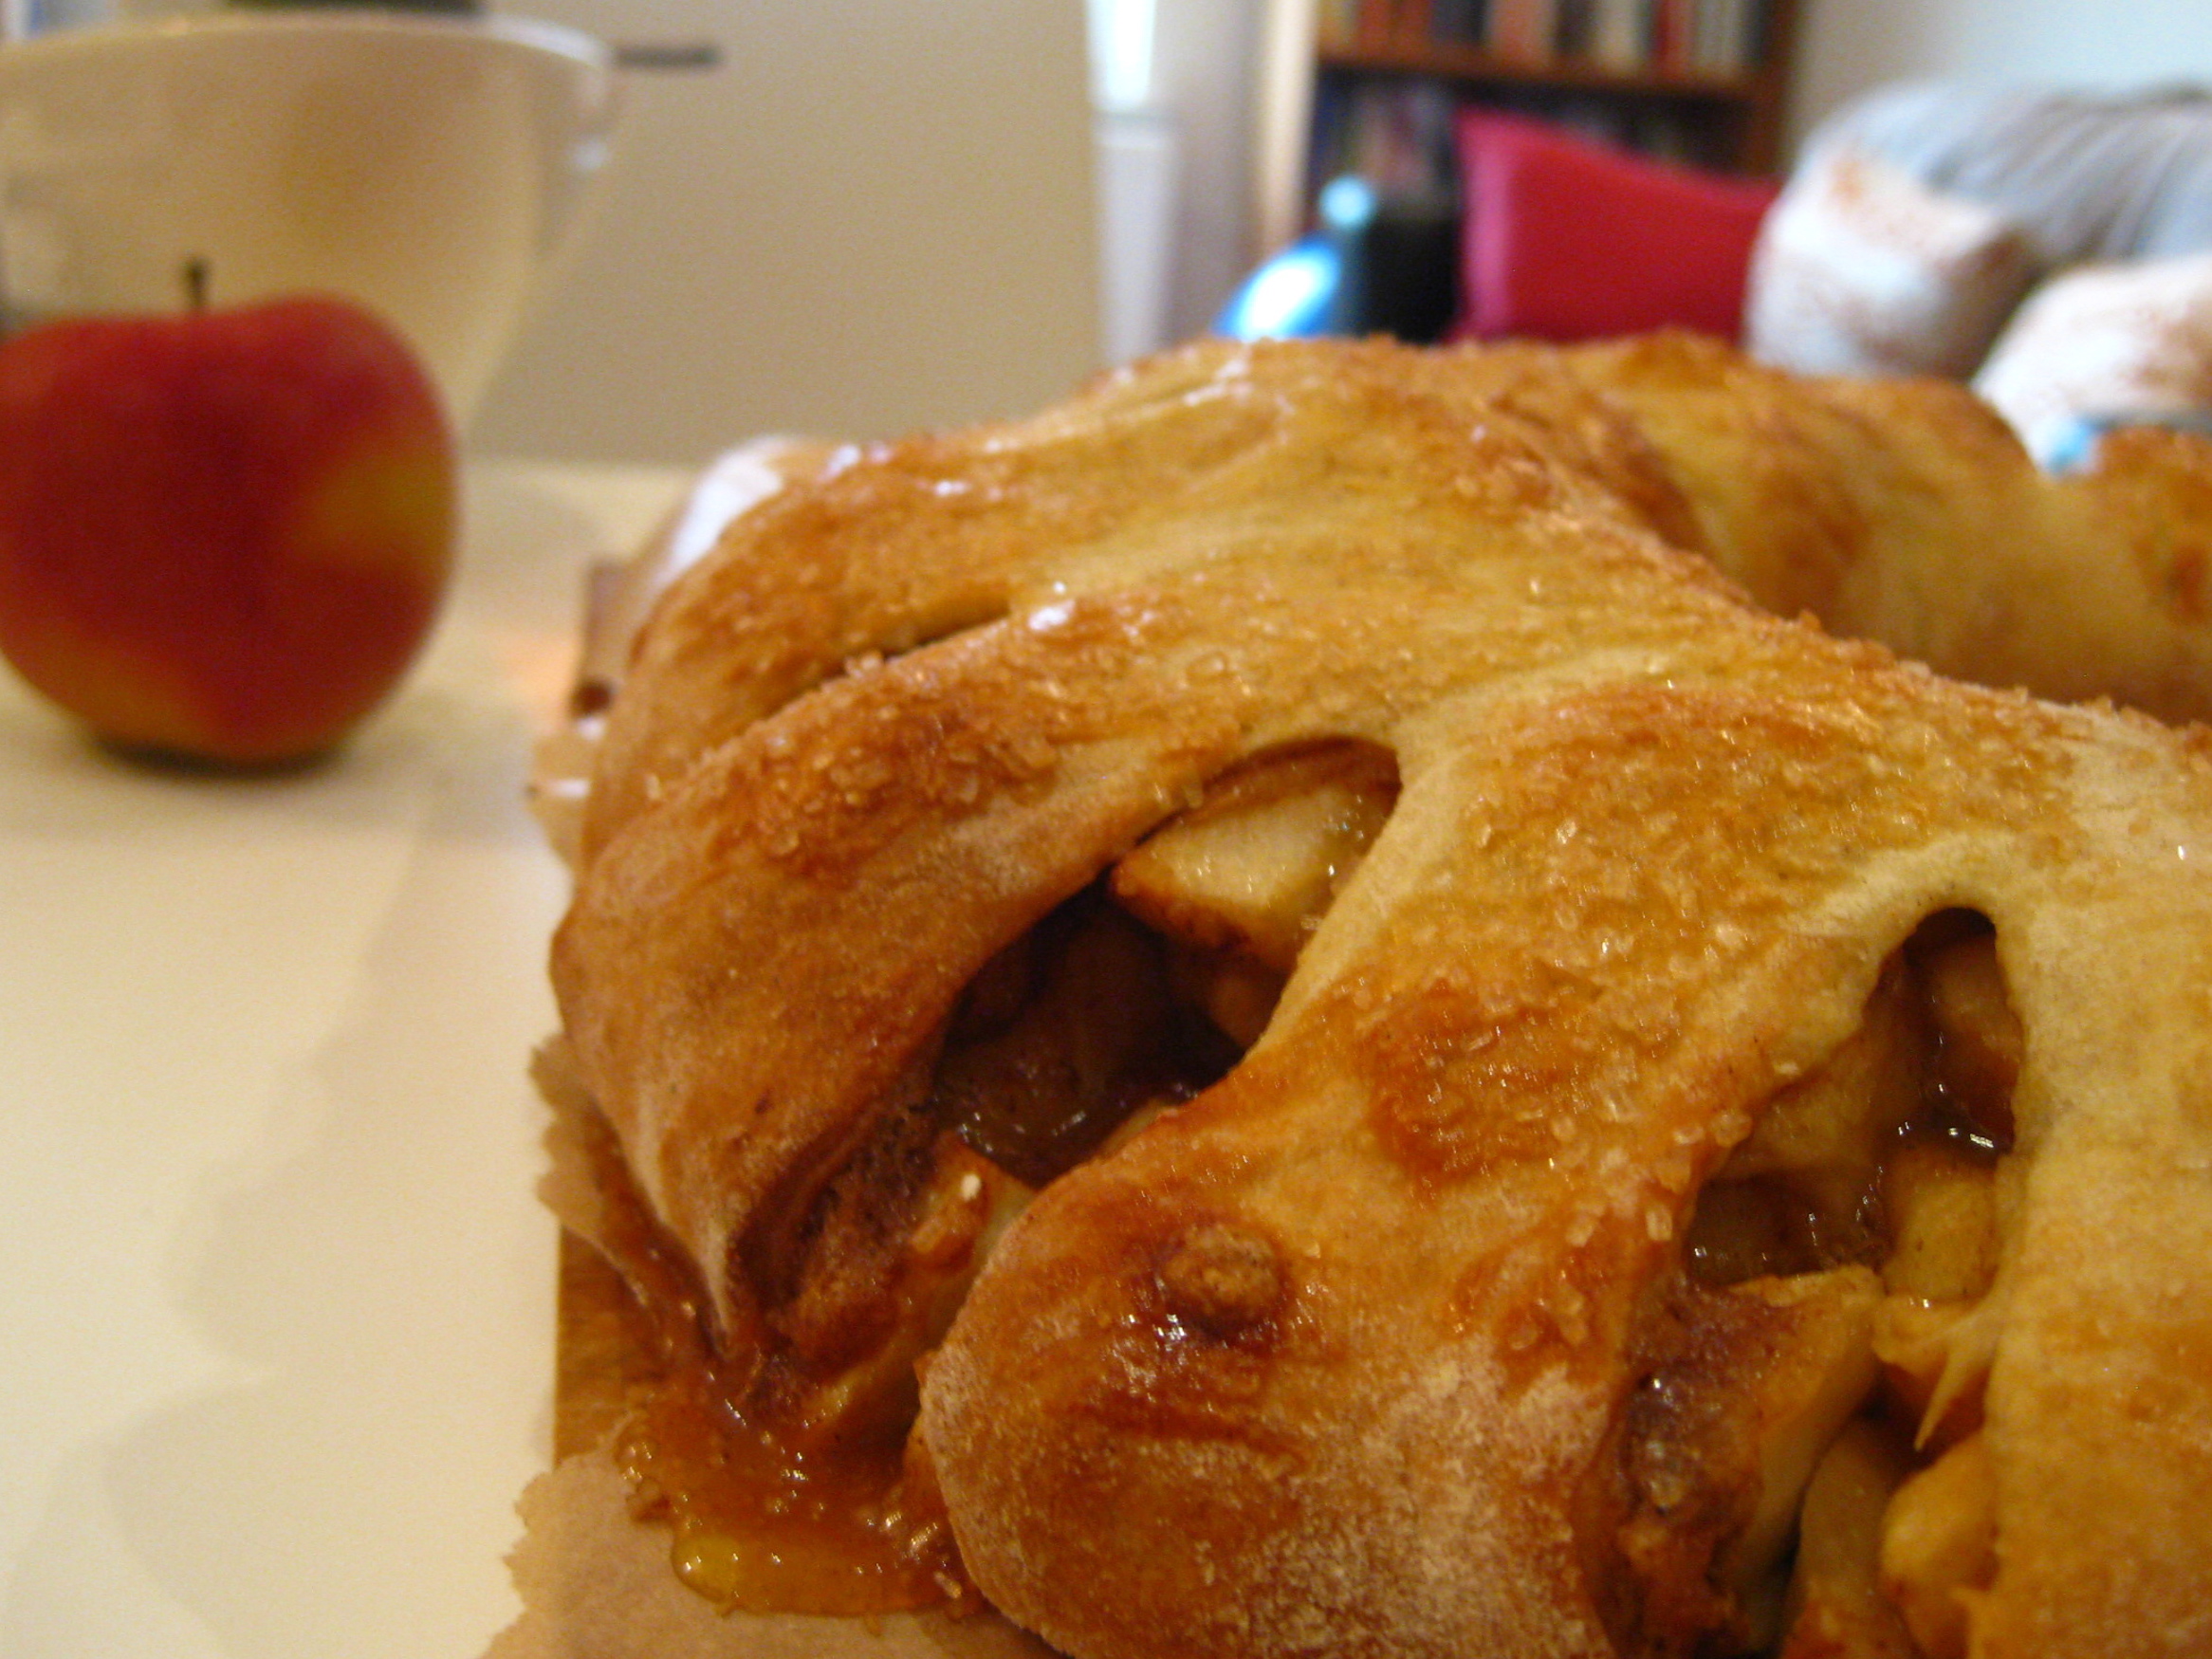
Apple pie meets cinnamon roll. Yeah, this is love.
This is a wonderfully goopy and cinnamony delicious, appley sort of thing that I am deeming as a breakfast food (well, if the French get their croissants…).
Now, if you are planning some sort of breakfast / brunch / get together with family and friends, something tasty for the kids on a weekend, this is sure to be a hit around the table. It takes a while to make – the yeast requires some patience – however it is a super simple recipe and nearly fool proof (the first time I made this the dough didn’t rise! But I used the dough anyway and it was scrumptious all the same).
Makes two loaves
For the Dough:
- 2 1/4 teaspoon (1 package) active dry yeast
- 1/4 cup warm water
- big pinch of sugar
- 6 tablespoons granulated sugar
- 3/4 cup (1 1/2 sticks) unsalted butter, at room temperature
- 1/2 teaspoon ground cardamom (optional)
- 1/2 teaspoon salt
- 3 large eggs
- 4 1/2 to 5 cups all-purpose flour
- 1 cup warm whole milk
For the Filling:
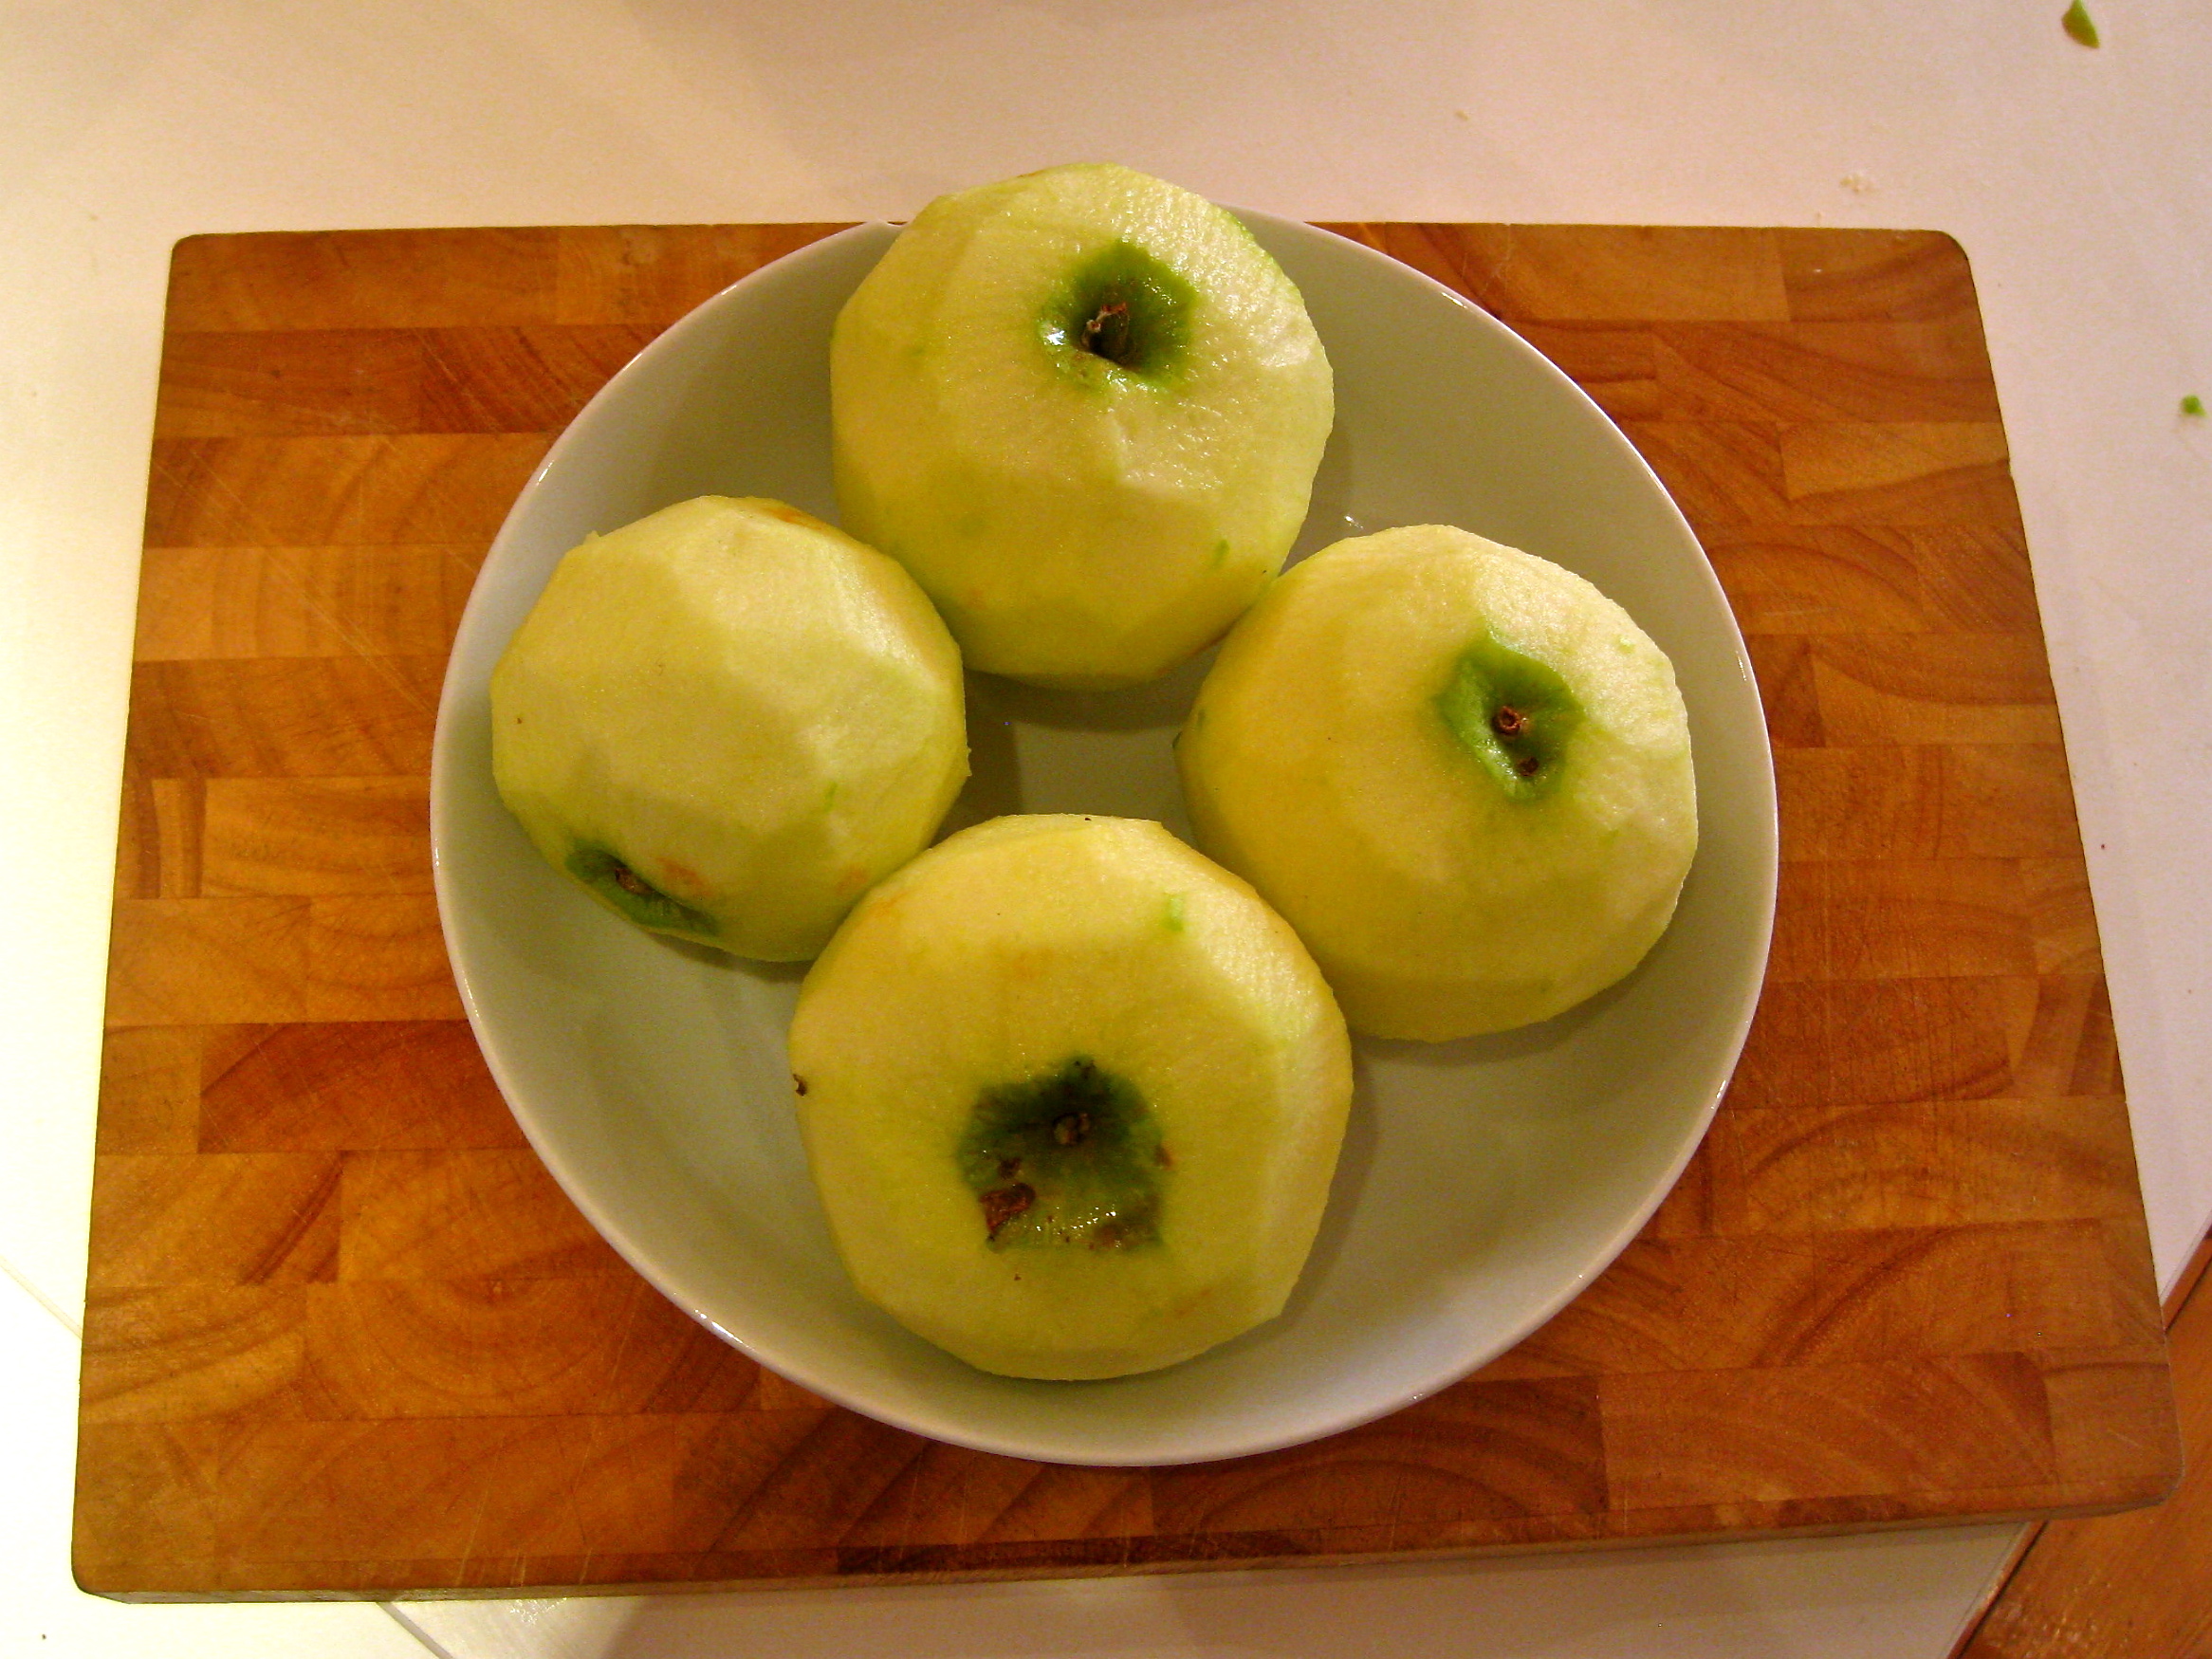
- 3 large apples, peeled and cut into small cubes (British bramley apples are good for this)
- 2 teaspoons fresh lemon juice
- 1/4 cup brown sugar
- 1 teaspoon ground cinnamon
- 1 teaspoon cornflour
- 1/2 teaspoon fresh ground nutmeg
- pinch of salt
For the Streusel:
- 1/2 cup all-purpose flour
- 1/2 cup brown sugar
- 1/2 teaspoon cinnamon
- pinch of salt
- pinch of cardamom (optional)
- 3 tablespoons unsalted butter, at room temperature
- 1 egg and sugar for brushing and topping the dough before baking
To Make the Dough: In a small bowl, mix together yeast, warm water and pinch of sugar. Stir together until yeast is dissolved and set aside for 10 minutes. Yeast will foam up.
In the bowl of an electric stand mixer, fitted with a paddle attachment, add the sugar, butter, cardamom, and salt. Blend on medium speed until pale in color and fluffy, about 3 minutes. (or hand blend, thats fine too – and usually what I do! elbow grease and all that…)
Stop the mixer, scrape down the bowl, and add eggs and 1 cup of flour. Blend on medium speed until thoroughly incorporated and creamy, about 1 minute. Stop the mixer and add 2 cups more cups of flour, yeast mixture, and warm milk. Blend in medium speed until the flour disappears. Mixture will be very wet.
Add 1 1/2 to 2 more cups of flour. Blend until the flour is almost incorporated.
Dump the dough onto a lightly floured work surface. Knead for 5 to 8 minutes by hand. Dough will be glossy and just slightly sticky. Place dough in an oiled bowl, cover with plastic wrap and a towel and let rest in a warm place for 1 1/2 hours, or until doubled in size.
While the dough rises, make the apple filling and the streusel.
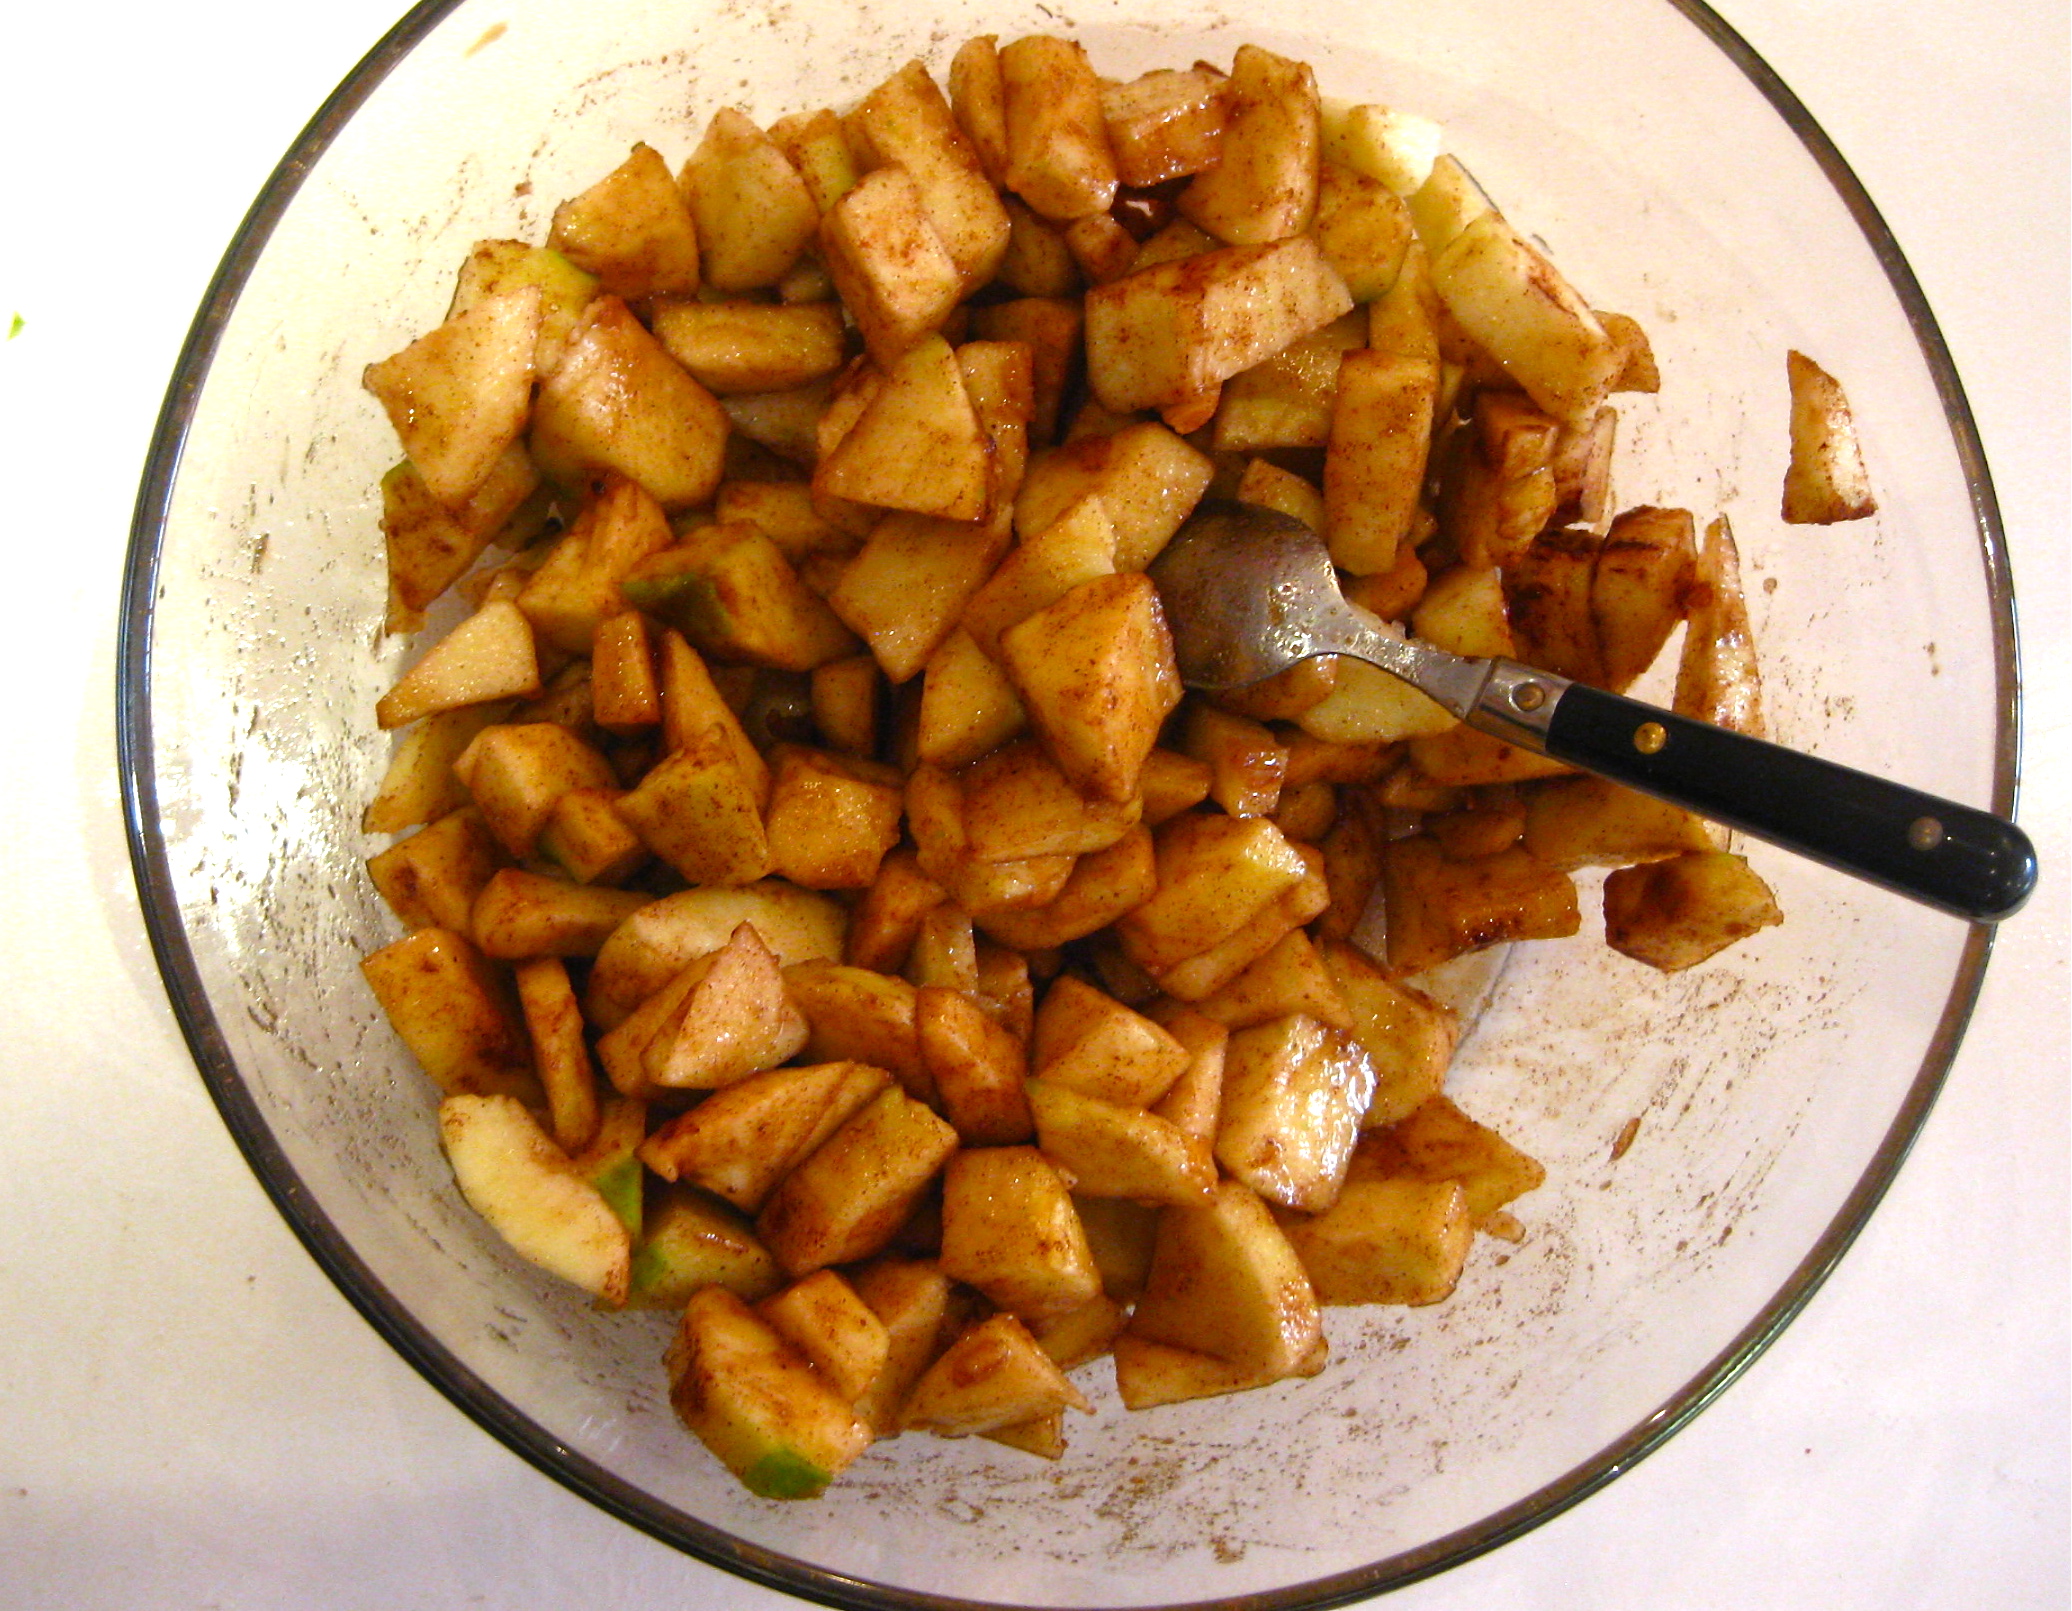
To make the Apple Filling, toss together diced apples, lemon juice, sugar, cinnamon, cornflour, nutmeg and salt. Leave at room temperature and set aside until ready to use.
To make the Streusel Filling:
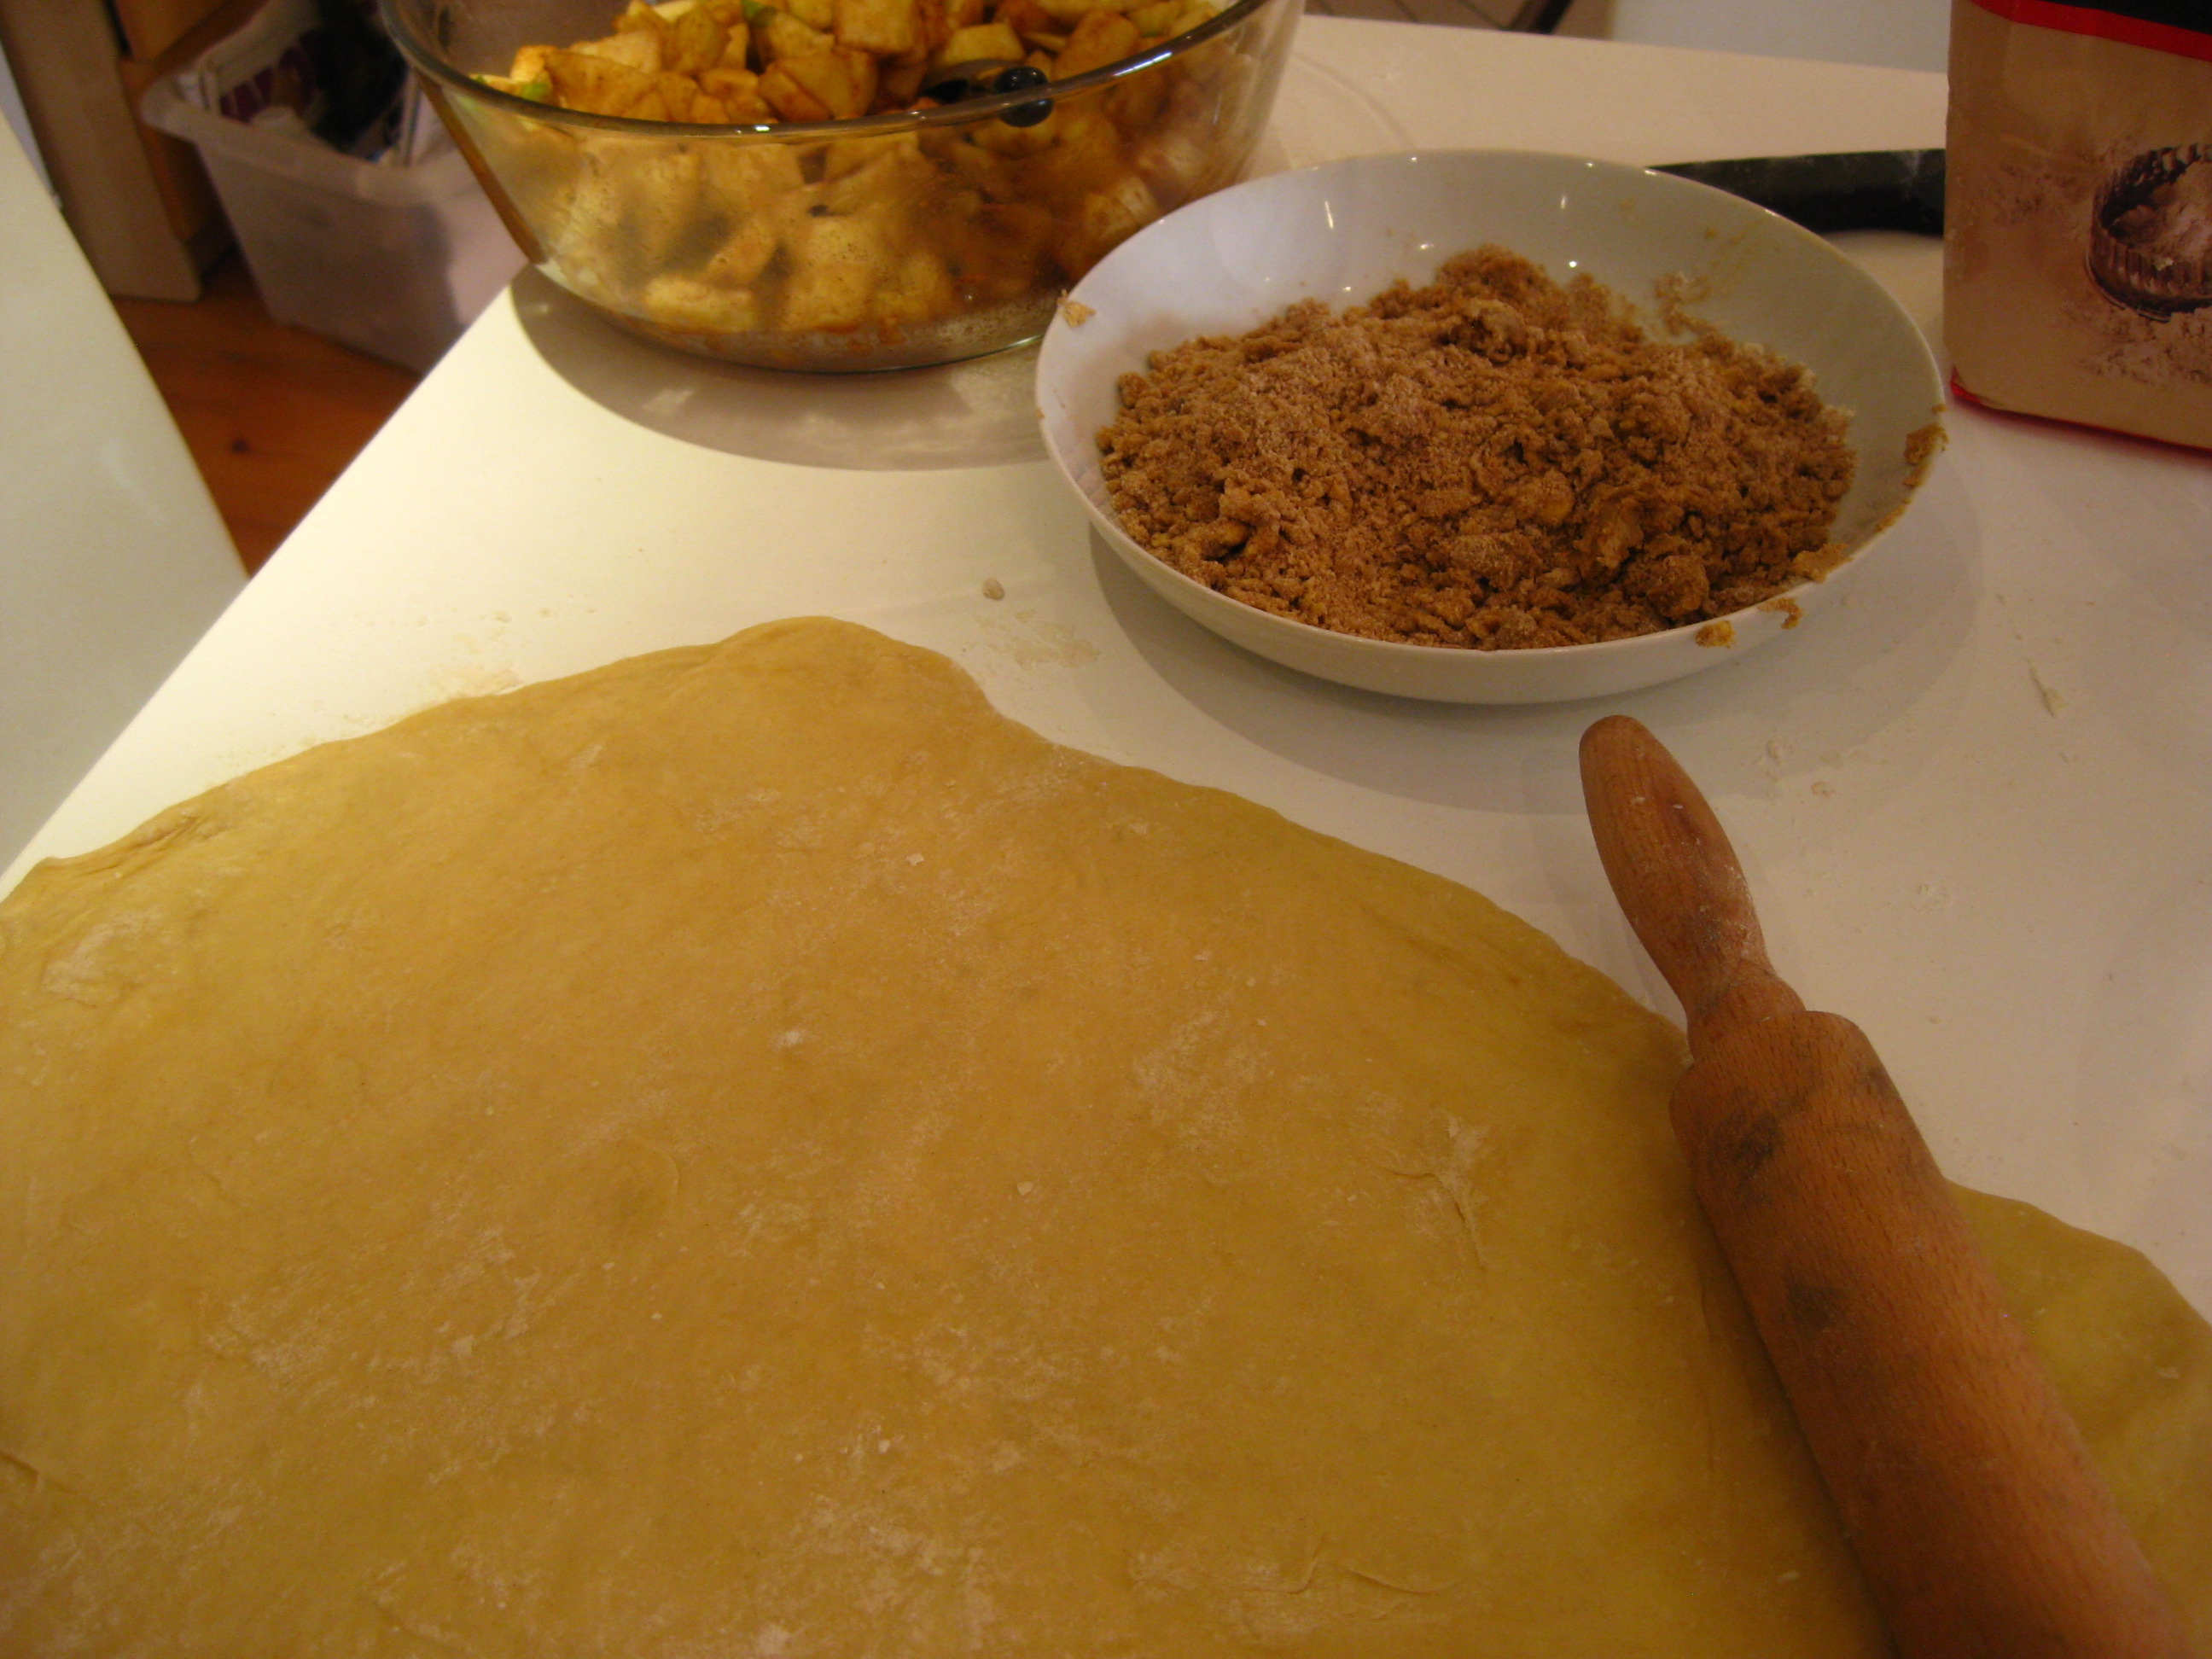
In a small bowl, whisk together flour, sugar, cinnamon, salt, and cardamom. Add butter and, using your fingers, work the butter into the flour mixture. Break up the butter into the mixture, until thoroughly incorporated and crumbly. Set aside.
Continue on with the Dough:
Line two baking sheets with parchment/grease proof paper and set aside.
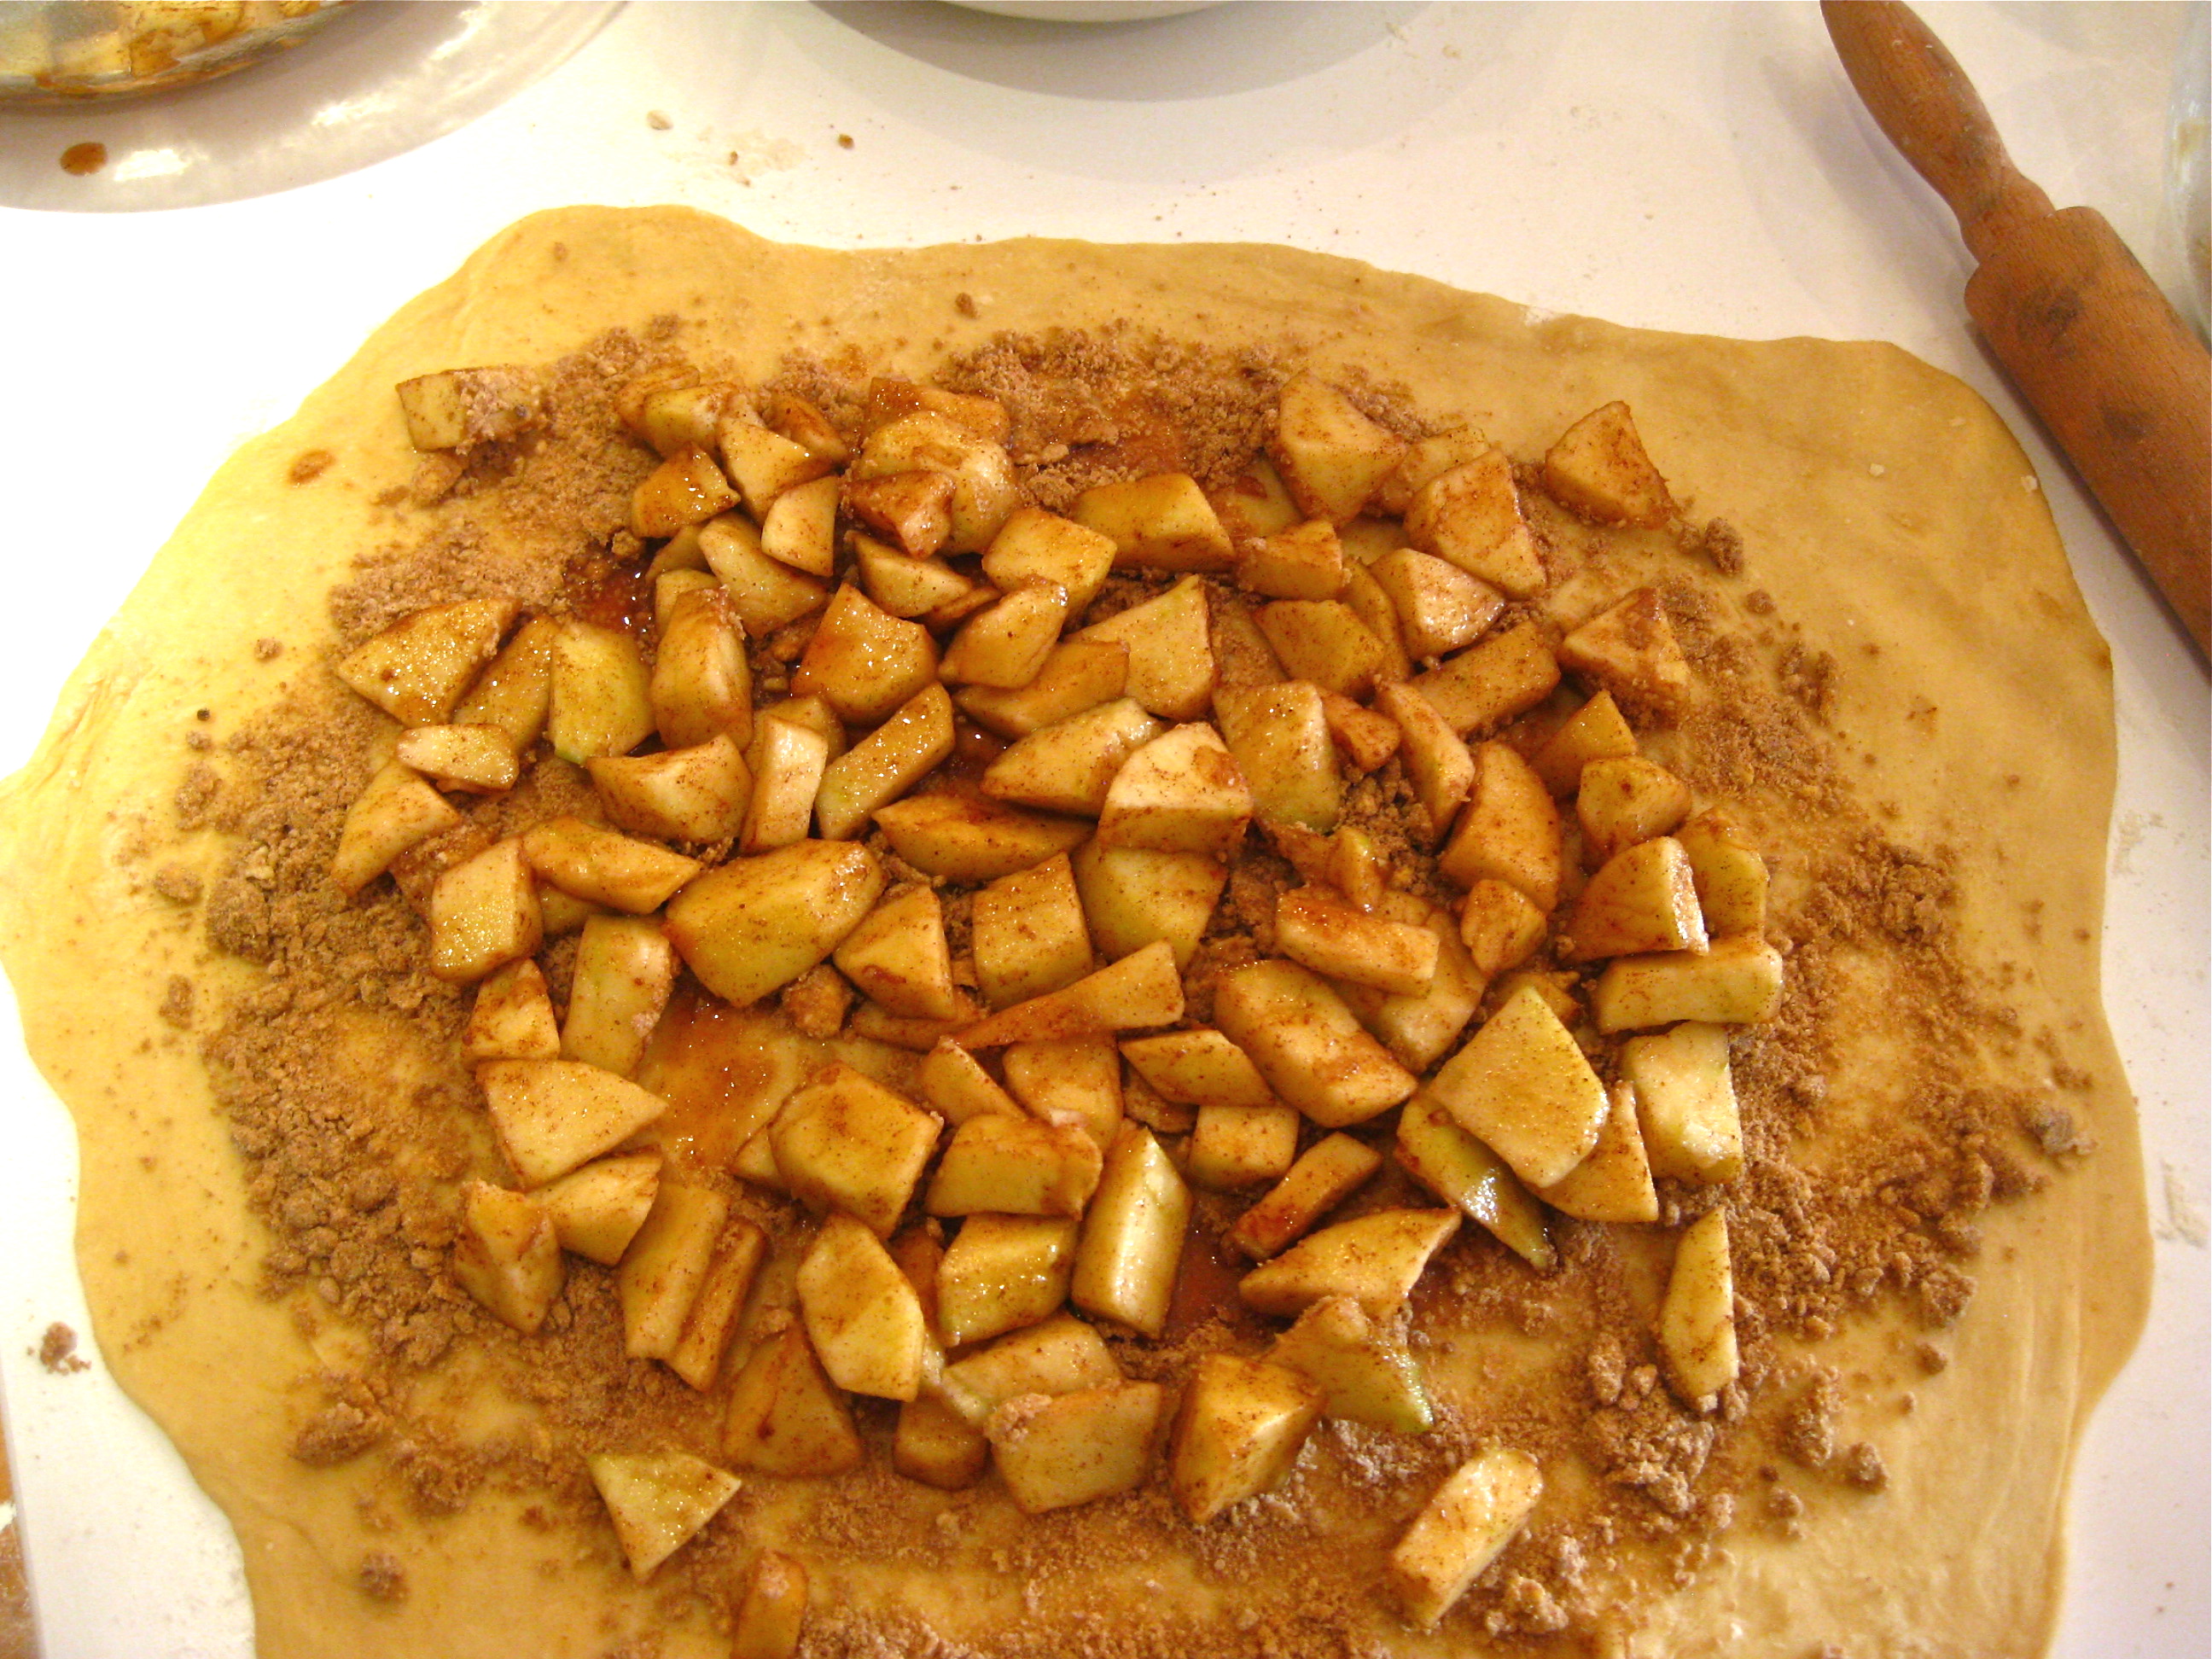
When the dough has doubled in size, dump it out onto a lightly floured work surface. Use a large knife to divide the dough in two. Roll each dough piece into about a 10×14-inch rectangle. Sprinkle with half of the streusel mixture. Add half of the apple mixture over the streusel. Add a bit of the yummy apple juices too.
Starting from the longest side, begin to roll the dough. This isn’t like a cinnamon roll, you don’t have to roll it into a super tight swirl. Fold in about 1 1/2 to 1-inch folds. Keep the seam on the bottom.
Repeat the same steps for the second piece of dough.
Carefully lift roll onto the prepared baking sheet.
**Now is a great time to freeze or refrigerate the rolled dough for later baking.**
Take a pair of clean scissors and slice into the dough leaving about 3/4-inch of dough still attached. Slice at 1-inch intervals. Carefully begin to curve the sliced dough into a semi-circle/horseshoe shape. If some of the apple juices escape, that’s ok. Cover with a towel and let rest in a warm place for 30 minutes.
Preheat the oven to 375 degrees F.
Brush dough with egg wash and sprinkle with raw or granulated sugar. Bake for 30 to 35 minutes, until golden brown and cooked through.
Remove from the oven, allow to cool for 15 minutes before serving. Best served warm with hot coffee or tea. Breakfast cake will last, well wrapped at room temperature, for up to 3 days… or 3 hours.
** If you decide to freeze the dough for later baking, place it in the fridge to thaw the evening before you’d like to bake it. Once it’s thawed, slice it according to the above directions. Allow to come to room temperature, and allow to rise for another 30 minutes beyond that. Wash with egg and sugar, then bake.
** If you decide to refrigerate the dough, simple take it out of the fridge, slice according to the above directions. Let come to room temperature, then allow to rise for 30 minutes beyond that. Brush with egg and sugar, then bake.
Et Voila! You will be loved for ever and ever. Trust me.
Can’t wait for November’s baking treat!
I never realised how dull stairs could be…these stair designs are amazing!
Just a little bit of wallpaper and a keen eye for a good pattern is necessary for these ones – so simple but it creates such a striking and fun effect. You could also use paint and stencils if you have more time (and energy).
Dark paint and masking tape create a brilliant illusion on a staircase. Good for fairly wide steps, and if you want to display your precious things in a clearly marked out area!
If you had a few stairs that led up to your child’s room, this is a lovely idea to paint their favourite books onto each step. Probably not for your main stairs – but how great is it to encourage a love of books every time they went up to bed.
Would you be up for doing something like this to your stairs? Any of these ideas appeal to you? We don’t have stairs in our flat, and now I’m sad.
Holly
Introducing the Clutter Busting Game…

The rules:
1. Each child chooses a ball and completes the task written on it;
2. Once the task is done and bounced into a pot it’s time to choose another one;
3. After 30 minutes, whoever has the most balls gets a prize. Prizes could include a no-chores day, pick of the evening movie or choice of that night’s dinner.
Try it and let us know how it works!
(Image via: Pinterest)
I am a great one for recycling old items and giving them a second chance to shine. One of my favourite things to do this with is picture frames. Littered around my the walls of my little London flat, I have old recycled and mismatched frames, sanded down and painted black for effect. It makes a really interesting display of your favourite images and definitely fuelled my inspiration for other things you can do with old picture frames.
It’s amazing just how versatile old frames can be. Start going through the loft and raiding local car boot sales, it’s time to get creative. I think I am going to run out of wall space thanks to this picture perfect post!
Tea and coffee tray
 Make sure you find a sturdy frame for this. All you need to add is a pair of handles, either from your local DIY store or a car boot sale and hey presto, a unique and ever changing tray. I like the idea of framing interesting, vintage wallpaper.
Frame within a frame
 If you want to get a bit more creative with photo montages then this is for you. A pretty sizeable outer frame is required but the effect is really nice, bringing all the inner items together. I also love the way colour has been used here to match the frames with their surroundings. Simple but very effective in creating a fresh and clean design.
Shake it like a Polaroid picture
 An old frame works really well here and complements the rustic approach. If you can’t choose which images you like the best or are a bit of a Polaroid hoarder, then this is the solution for you. As I apply to both those categories, I am now looking for a spare wall of my own to do this with!
Something fishy
 Last but not least why not make your very own underwater world. I love this and best of all no fish food is required. The slightly faded wallpaper is a nice touch so it would be worth while shining a light on the frame or even simpler, white washing the square of wallpaper behind the frame. Trying using a different type of frame for different rooms; a bright frame would work equally well in a kids room!
Gemma
 As the evenings gets darker and the woolly hat creeps out of the box above the wardrobe, I find myself on a mission to keep a little bit of summer in my home.
In my quest I recently came across this DIY paper lanterns post from Martha Stewart and am now determined to create one of my own. Look out for pictures soon!
It is so simple and can be used to bring those bright summery colours back into any winter home; they almost look like flowers. Great for a baby’s room. Why not play around with the concept yourself and post your pictures below. It’s easy, cheap and helps light up any rainy British evening.
Gemma
Tags
apple Art baking books breakfast Cards Ceiling Medallions Children Chores Christmas cinnamon corker and mills Crafts Creative lighting Date Night Design DIY Family Food Games gifts Glass Floats Groupon Halloween Health heather Highclere Castle History Home decoration How to Paper Lanterns Picture Frames Pizza Recycling Recyling Relationships stairs stencils Steve Carell strudel Summer Tina Fey Travel wallpaper Wine


