 This month I have been unfortunate enough to be struck down buy a nasty flu bug. Having never suffered from it before, it hasn’t been a pleasant experience and I will be the first in line for a flu jab as soon as possible. However, when we are suddenly overtaken by this king of viruses and the tower of medication beside the bed is not bringing relief, can we eat our way out of it?
After a bit of research, I found this great blog post on Mother Nature Network. Dave Grotto, author of “101 Foods That Could Save Your Life,” reveals 10 foods that provide top doses of vitamins and nutrients you need to protect and defend against such illnesses.
1: Mushrooms
Mushrooms used to get overlooked as a health food, but they possess two big weapons you need this flu season: selenium, which helps white blood cells produce cytokines that clear sickness, and beta glucan, an antimicrobial type of fiber, which helps activate “superhero” cells that find and destroy infections.
2: Garlic
Strong-smelling foods like garlic can stink out sickness thanks to the phytochemical allicin, an antimicrobial compound. A British study found that people taking allicin supplements suffered 46 percent fewer colds and recovered faster from the ones they did get.
3: Salmon
In a recent study, participants with the lowest levels of vitamin D were about 40 percent more likely to report a recent respiratory infection than those with higher levels of vitamin D.
4. Tea
Researchers at Harvard University found that drinking five cups of black tea a day quadrupled the body’s immune defense system after two weeks, probably because of theanine. Tea also contains catechins, including ECGC, which act like a cleanup crew against free radicals.
5. Yogurt
The digestive tract is one of your biggest immune organs, so keep disease-causing germs out with probiotics and prebiotics, found in naturally fermented foods like yogurt. One serving a day labeled with “live and active cultures” will enhance immune function according to a study from the University of Vienna in Austria.
6. Dark Chocolate
Nutrition experts agree that dark chocolate deserves a place in healthy diets, and a study published in the British Journal of Nutrition says it can boost your immunity, too. High doses of cocoa support T-helper cells, which increase the immune system’s ability to defend against infection.
7. Oysters
Zinc is critical for the immune system — it rallies the troops, or white blood cells, to attack bacteria and viruses like flu or cold. One medium oyster provides nearly all of the zinc you need for a day, while a portion of six gives you over five times the recommended amount.
8. Almonds
Heart-healthy almonds provide the immune-boosting antioxidant vitamin E, which can reduce your chance of catching colds and developing respiratory infections according to researchers at Tufts University. You’ll need more than a serving of almonds for your daily dose though, so try fortified cereals, sunflower seeds, turnip greens and wheat germ, too.
9. Strawberries
Even though vitamin C-rich foods are probably the first thing you think of when you feel a cold taking hold, Grotto says the illness-preventing power of that antioxidant is debatable. That said, some studies show it can reduce the intensity and duration of cold and flu, so it’s worth a try. One cup of strawberries provides 160 percent of your daily needs.
10. Sweet Potato
Beta-carotene improves your body’s defenses. It’s instrumental in the growth and development of immune system cells and helps neutralize harmful toxins. Sweet potatoes and other orange foods like carrots, squash, pumpkin, egg yolks and cantaloupe are top sources.

Winter always gets me down; cold, dark and often miserable. So I’ve started to try and change that with food. After plenty of research I’m putting the theory to the test and it’s working. So, as part of a series of posts, I give you ‘Happy Meals’; meals that will honestly make you a happier person!
Without further ado, here’s one I made earlier:
Pepper lime salmon with black-eyed beans
So what makes this dish so good for you? Oily fish, such as salmon, is rich in omega-3 fatty acids. Not only does this help your heart, it’s also been linked to reliving signs of depression. As well as this, the beans supply potassium, an important mineral for managing blood pressure and soluble fibre, which keeps cholesterol in check. Finally, brown rice is a relatively low GL food, good for managing blood sugar levels. All in all, it’s a pretty good package!
Ingredients (serves two):
2x salmon fillets
1 tbsp cajun seasoning mix
100g brown rice
400g can of black-eyes beans, rinsed and drained
1/2 teaspoon hot pepper sauce, or to taste (e.g. tabasco)
1 tbsp clear honey
2 limes; 1 juiced, 1 cut into wedges
Small bunch of coriander chopped plus extra to serve
Method:
- Heat grill to hot and roll the salmon in the cajun seasoning;
- Cook the rice as the instructions suggest (brown rice should take about 25 minutes);
- Add the black-eyed beans to the rice in the final two minutes of cooking;
- Once cooked, drain rice and beans, and set aside;
- While the rice is cooking, grill the salmon for about 8 minutes without turning;
- At the same time, mix together the pepper sauce, honey and lime juice. (I added a little more honey to this as I have a sweet tooth but taste as you go);
- When everything is ready, stir the coriander through the rice and lay the salmon on top. Drizzle a small amount of the sauce over the fish to taste;
- Serve with a little extra coriander and lime wedges.

On a cold winters evening nothing beats a good bowl of hot stodgy food. On my weekly shop this week I picked up a packet of paella rice and found this really simple recipe on the back of the packet. Always keen to try new things, I popped the ingredients in my basket and put my limited culinary skills to the test.
The recipe works a treat and so was easy to make. The end result was very tasty, colourful and healthy looking dish, perfect for a blustery January night. If you want a cheap and inviting bowl of food for friends, you couldn’t go far wrong with this.
Ingredients (Serves 4)
- 150g sliced chorizo
- 4 chicken thighs cubed
- 1 tbsp olive oil
- 1 onion chopped
- 2 garlic cloves crushed
- 1 tsp smoked paprika (if you don’t have smoked it works just as well)
- 300g paella rice
- 1 litre chicken stock
- 2 peppers (different colours for visual appeal) sliced
- 75g fine beans chopped into bite size pieces and blanched
- 1 tin chopped tomatoes drained
- fresh parsley and lemon to serve
 Christmas is nearly upon us and its time to start wrapping all those presents you’ve spent so long searching for. I have a tradition of wrapping mine in fun newspaper articles or glossy magazine pictures but this year I may have to let that slide. How could I not after seeing the creations from Gift Couture.
Gift Couture is a start-up wrapping paper company that offers high-quality wrapping paper sets. They produce unique papers that coordinate together into conceptualized themes and sets. The initial project has been based on the humble cheeseburger and includes 5 different designs; a bun, hamburger, cheese, lettuce, and tomatoes. The product video is well worth a look purely for the funky music. Cleverly place pile your presents to create the biggest burger in town.
The company is now looking to get funding. Let’s hope they get some and release more creative paper sets for us to enjoy all year round.
Christmas is meant to be about giving thoughtful gifts to those most important to you. I think there is no better way to make a present special than make it yourself; this way you can put a bit of your own personality and twist into it.
I received a wonderfully creative gift this year at a pre-christmas drinks from a good friend and editor of Nested Home’s sister blog, Holly. She bough a pretty old fashioned jar and layered it with all the measured ingredients I needed to make Christmas cookies. I say all ingredients, by this I mean all apart from margarine, egg and vanilla essence… layering these may be slightly more difficult. Cooking instructions were handwritten on an attached card.
The resulting gift rippled smiles across my face and I was quite touched by the time taken to create a gift special to me. It certainly inspired me and the next day I was sat on the living room floor creating some of my own. Within a few days I had two different variations; tall jars filled with sweets and larger jars with ingredients, similar to Holly’s original design.
They were so easy to make and I’m certain they too will bring their new owners a huge amount of joy; anyone with a sweet tooth would be delighted! This is what Christmas is all about so why not give it a go yourself?


 As the temperature drops and my breath begins to crystallise in front of me, I am the first to head to the coffee shop. A combination of dark mornings and frozen toes has me begging for the warm brown elixir of life. However with many coffee chains, this means a take away cup and plastic lid, and therefore a rising environmental footprint.
You can imagine my pleasure then when I found out about a designer named Peter Herman. He has ingeniously designed a greener, all-paper disposable cup that folds closed like a takeout container to form a sipping spout; clever Peter. He calls it ‘Compleat‘.
An Architect by trade, Peter spent two years of his spare time coming up with prototypes, refining the design. He estimates that his creation could potentially save retailers money, since it’s just one piece, instead of the usual two.
Let’s hope he sees success with this. Its great looks, simplicity and green credentials are just what the market needs. It will certainly make my morning craving feel a whole lot sweeter.
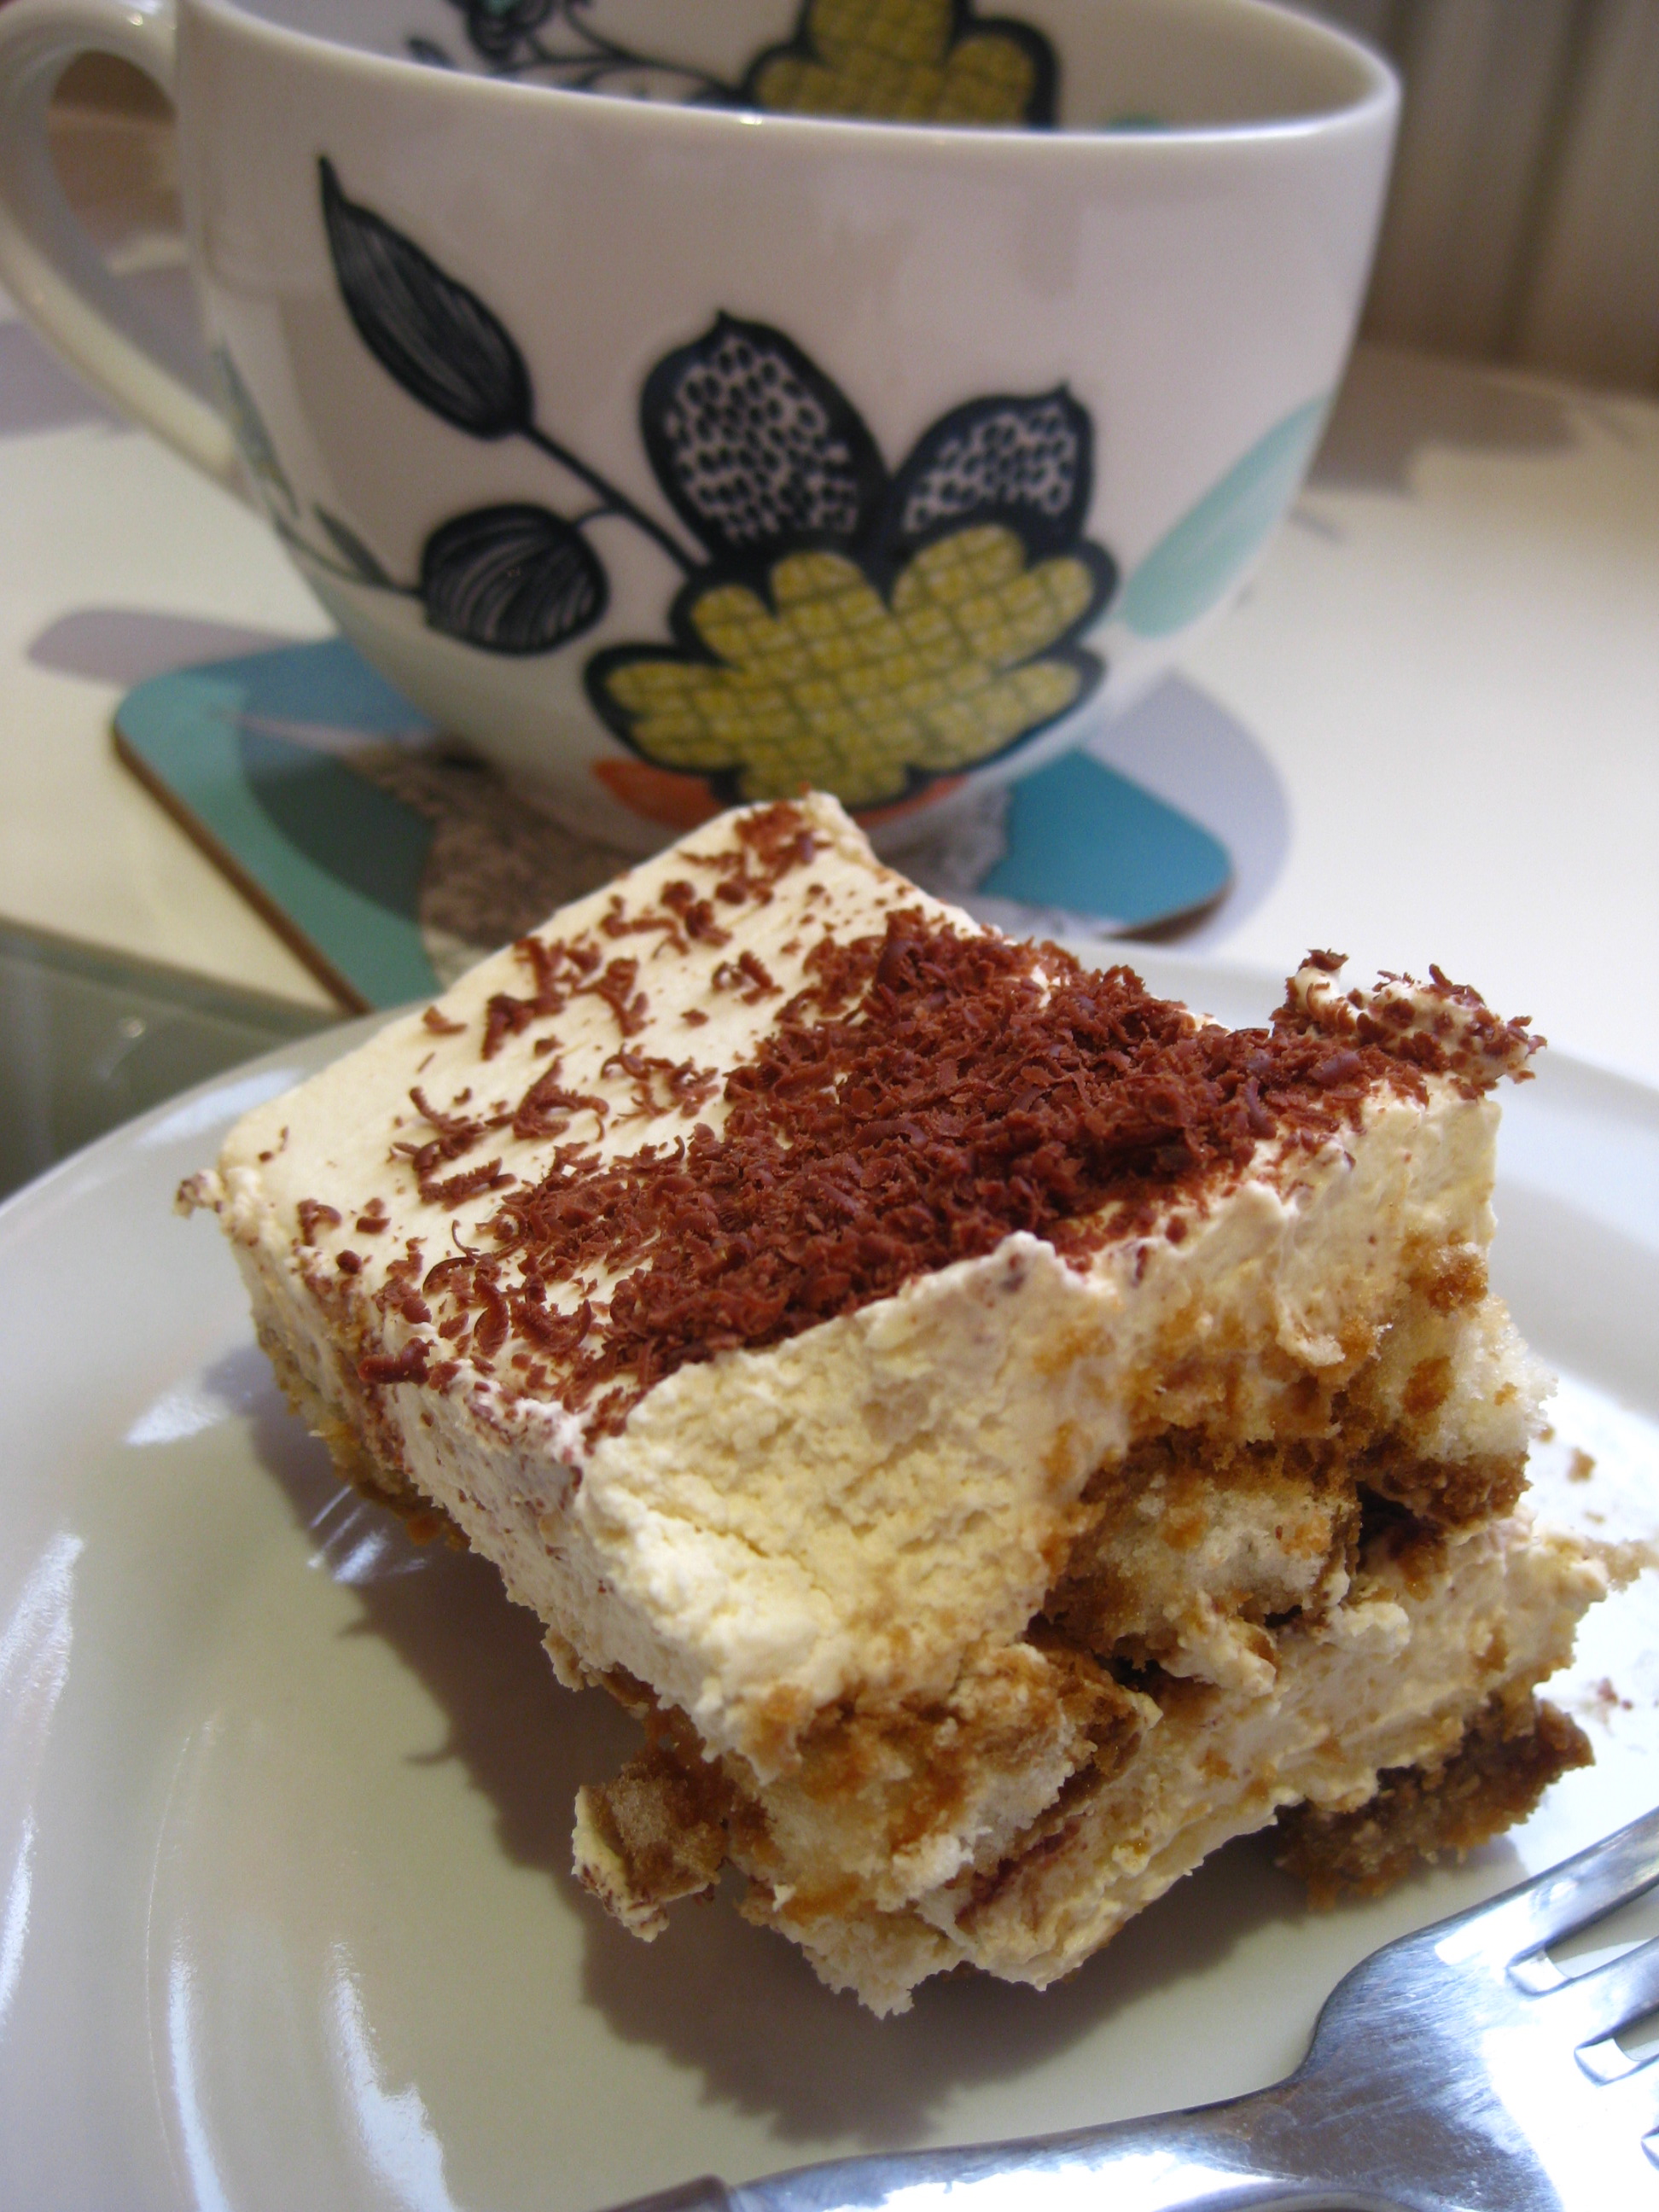
It’s December, the month of food! This month, Heather Corker of Corker and Mills catering brings us a tasty dessert you just have to try – it’s not as complicated as you might think!
For the coffee, booze, biscuit, chocolate and cream lovers – meet Tiramisu. Tiramisu is like dessert royalty. It has it all. Eating Tiramisu is not for the faint-hearted (or lactose intolerant) – it most definitely fits the description of a “taste explosion”. When the Italians do food, they don’t hold back.
While this trifly dessert may appear to be as intense and complicated to make as it is to taste, Tiramisu is incredibly easy to bring together and the finished product always, always, puts on a good show. And it will make the host/hostess (i.e. you) look like a culinary god(dess).
What you’ll need:
- 300ml Double Cream
- 300ml Whipping Cream
- 250g (one tub) Mascarpone
- 75ml of Madeira (or Marsala)
- 5 Tablespoons of golden caster sugar
- splash of vanilla extract or flavouring
- 300ml strong coffee – made with 2 tablespoons of coffee granules and 300ml of boiling water
- 175g (one package) of sponge fingers
- Chunk of dark chocolate
- Cocoa powder for dusting
Bringing it all together:
Put the creams, mascarpone, Madiera, sugar and vanilla in a large bowl. Whisk or beat together until the cream and mascarpone have completely combined and the consistency is like a thick whipped cream.
Now its time to get your serving dish nearby and ready to use!
In a separate, shallow, dish pour some of the coffee and dip your sponge fingers in, turning over in the coffee so that they are completely soaked, but not soggy (work quickly! True to their name, sponge fingers are very spongy and will soak a lot of liquid up very fast).
Layer the soaked sponge fingers into your dish until the base is completely covered. Then, layer on half or part of the cream – completely covering the fingers. Grate dark chocolate over the cream mixture – to your own, personal, desired amount – and then dust with a little bit of cocoa powder.
Then, repeat the process, ending with the cream layer on top!
Chill this dish. Tiramisu is best made the night before, in order to let the flavours set and mix together in all sorts of wonderful ways. Tiramisu will keep up to 2 days in the fridge.
Enjoy. This goodness goes quickly – I almost didn’t get a picture before it was gone!
It’s about that time again, chaps. Heather from catering duo Corker and Mills is bringing us the November installment of their tasty recipes.
This month we’re baking with everyone’s favourite November flavour, pumpkin. And who better to take us through some taste sensations than our resident Yank….
Pumpkins derive most of their fame from being turned into scary Halloween Jack-o-lanterns or pretty princess carriages a la Disney’s Cinderella and some bibbity-bobbity-boo.
But I, personally, like to eat them. Pumpkin soups and pumpkin seeds and pumpkin breads and pumpkin pie and pumpkin lattes… yeah, good.
I use tinned pumpkin when I bake / cook because A) boiling and disecting and scraping the inside of a pumpkin is a pain and B) I’ve tried the boiling-disecting-scraping game before, only to discover that after all my efforts – and blood and sweat and tears to be authentic and rustic and cool – my pie/bread/soup ended up tasting THE EXACT SAME as using the can. No love is won over for extra effort here. (quick tip : Waitrose has just begun selling Libby’s tinned pumpkin!)
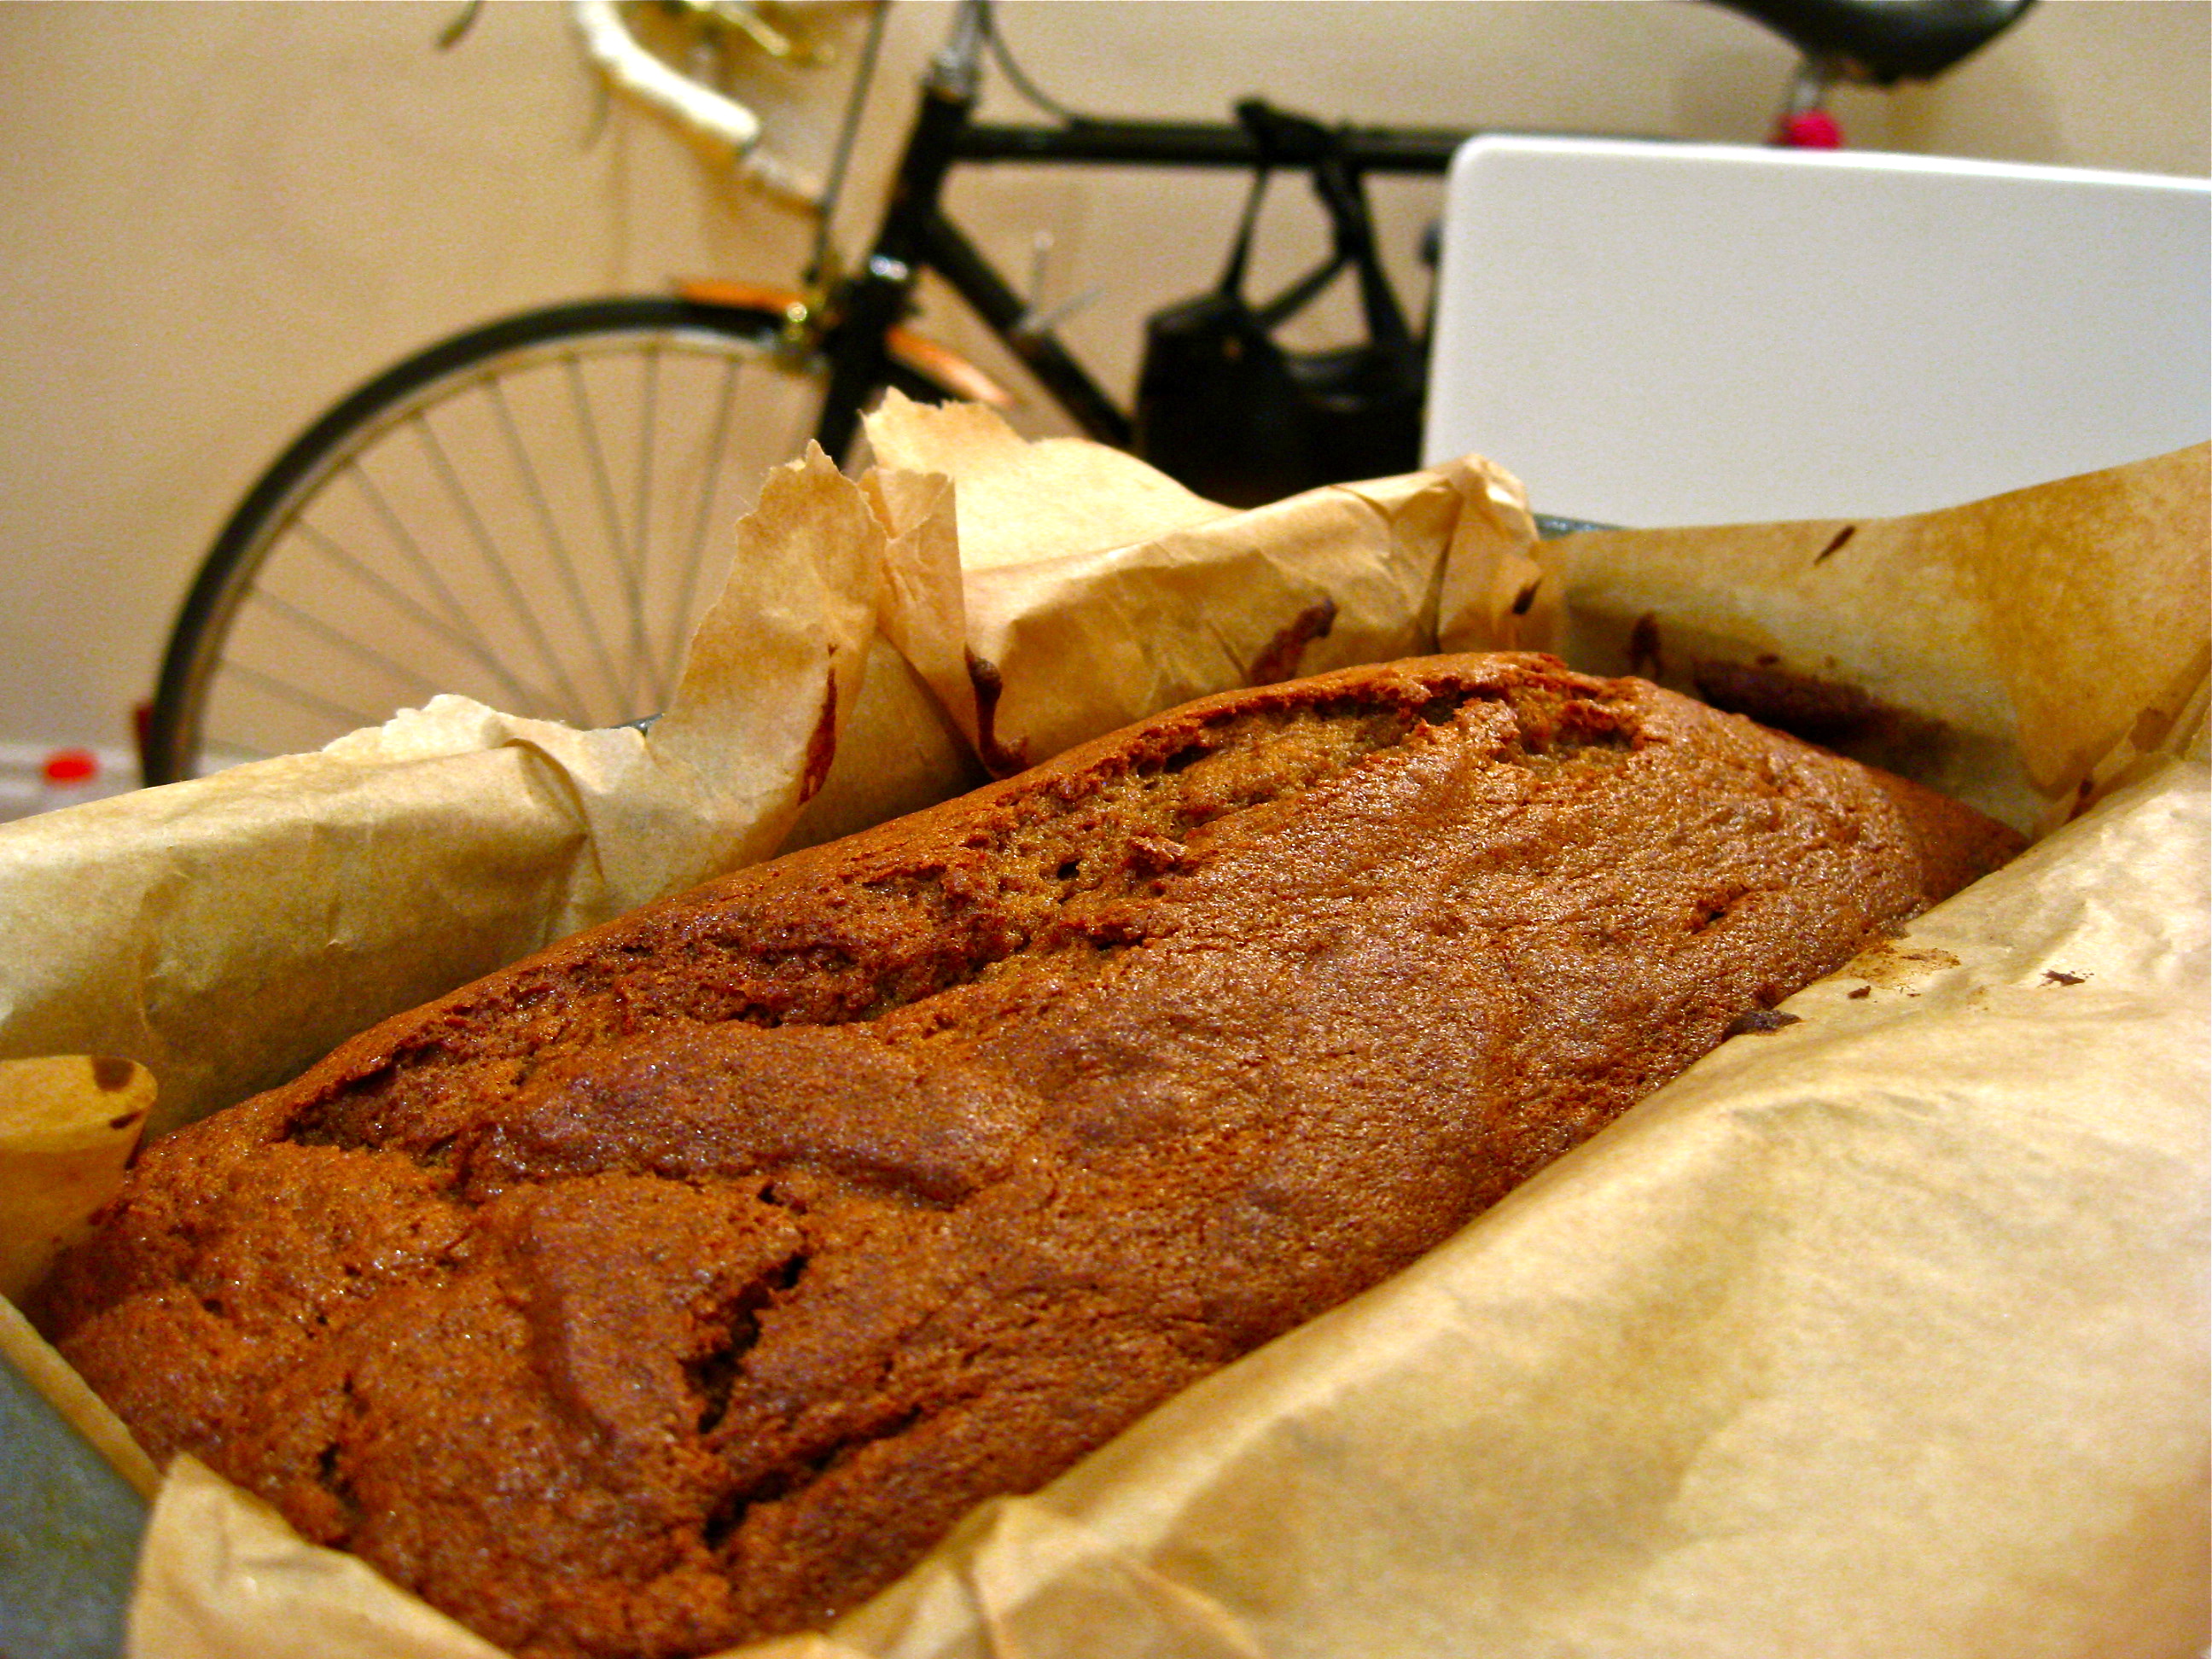
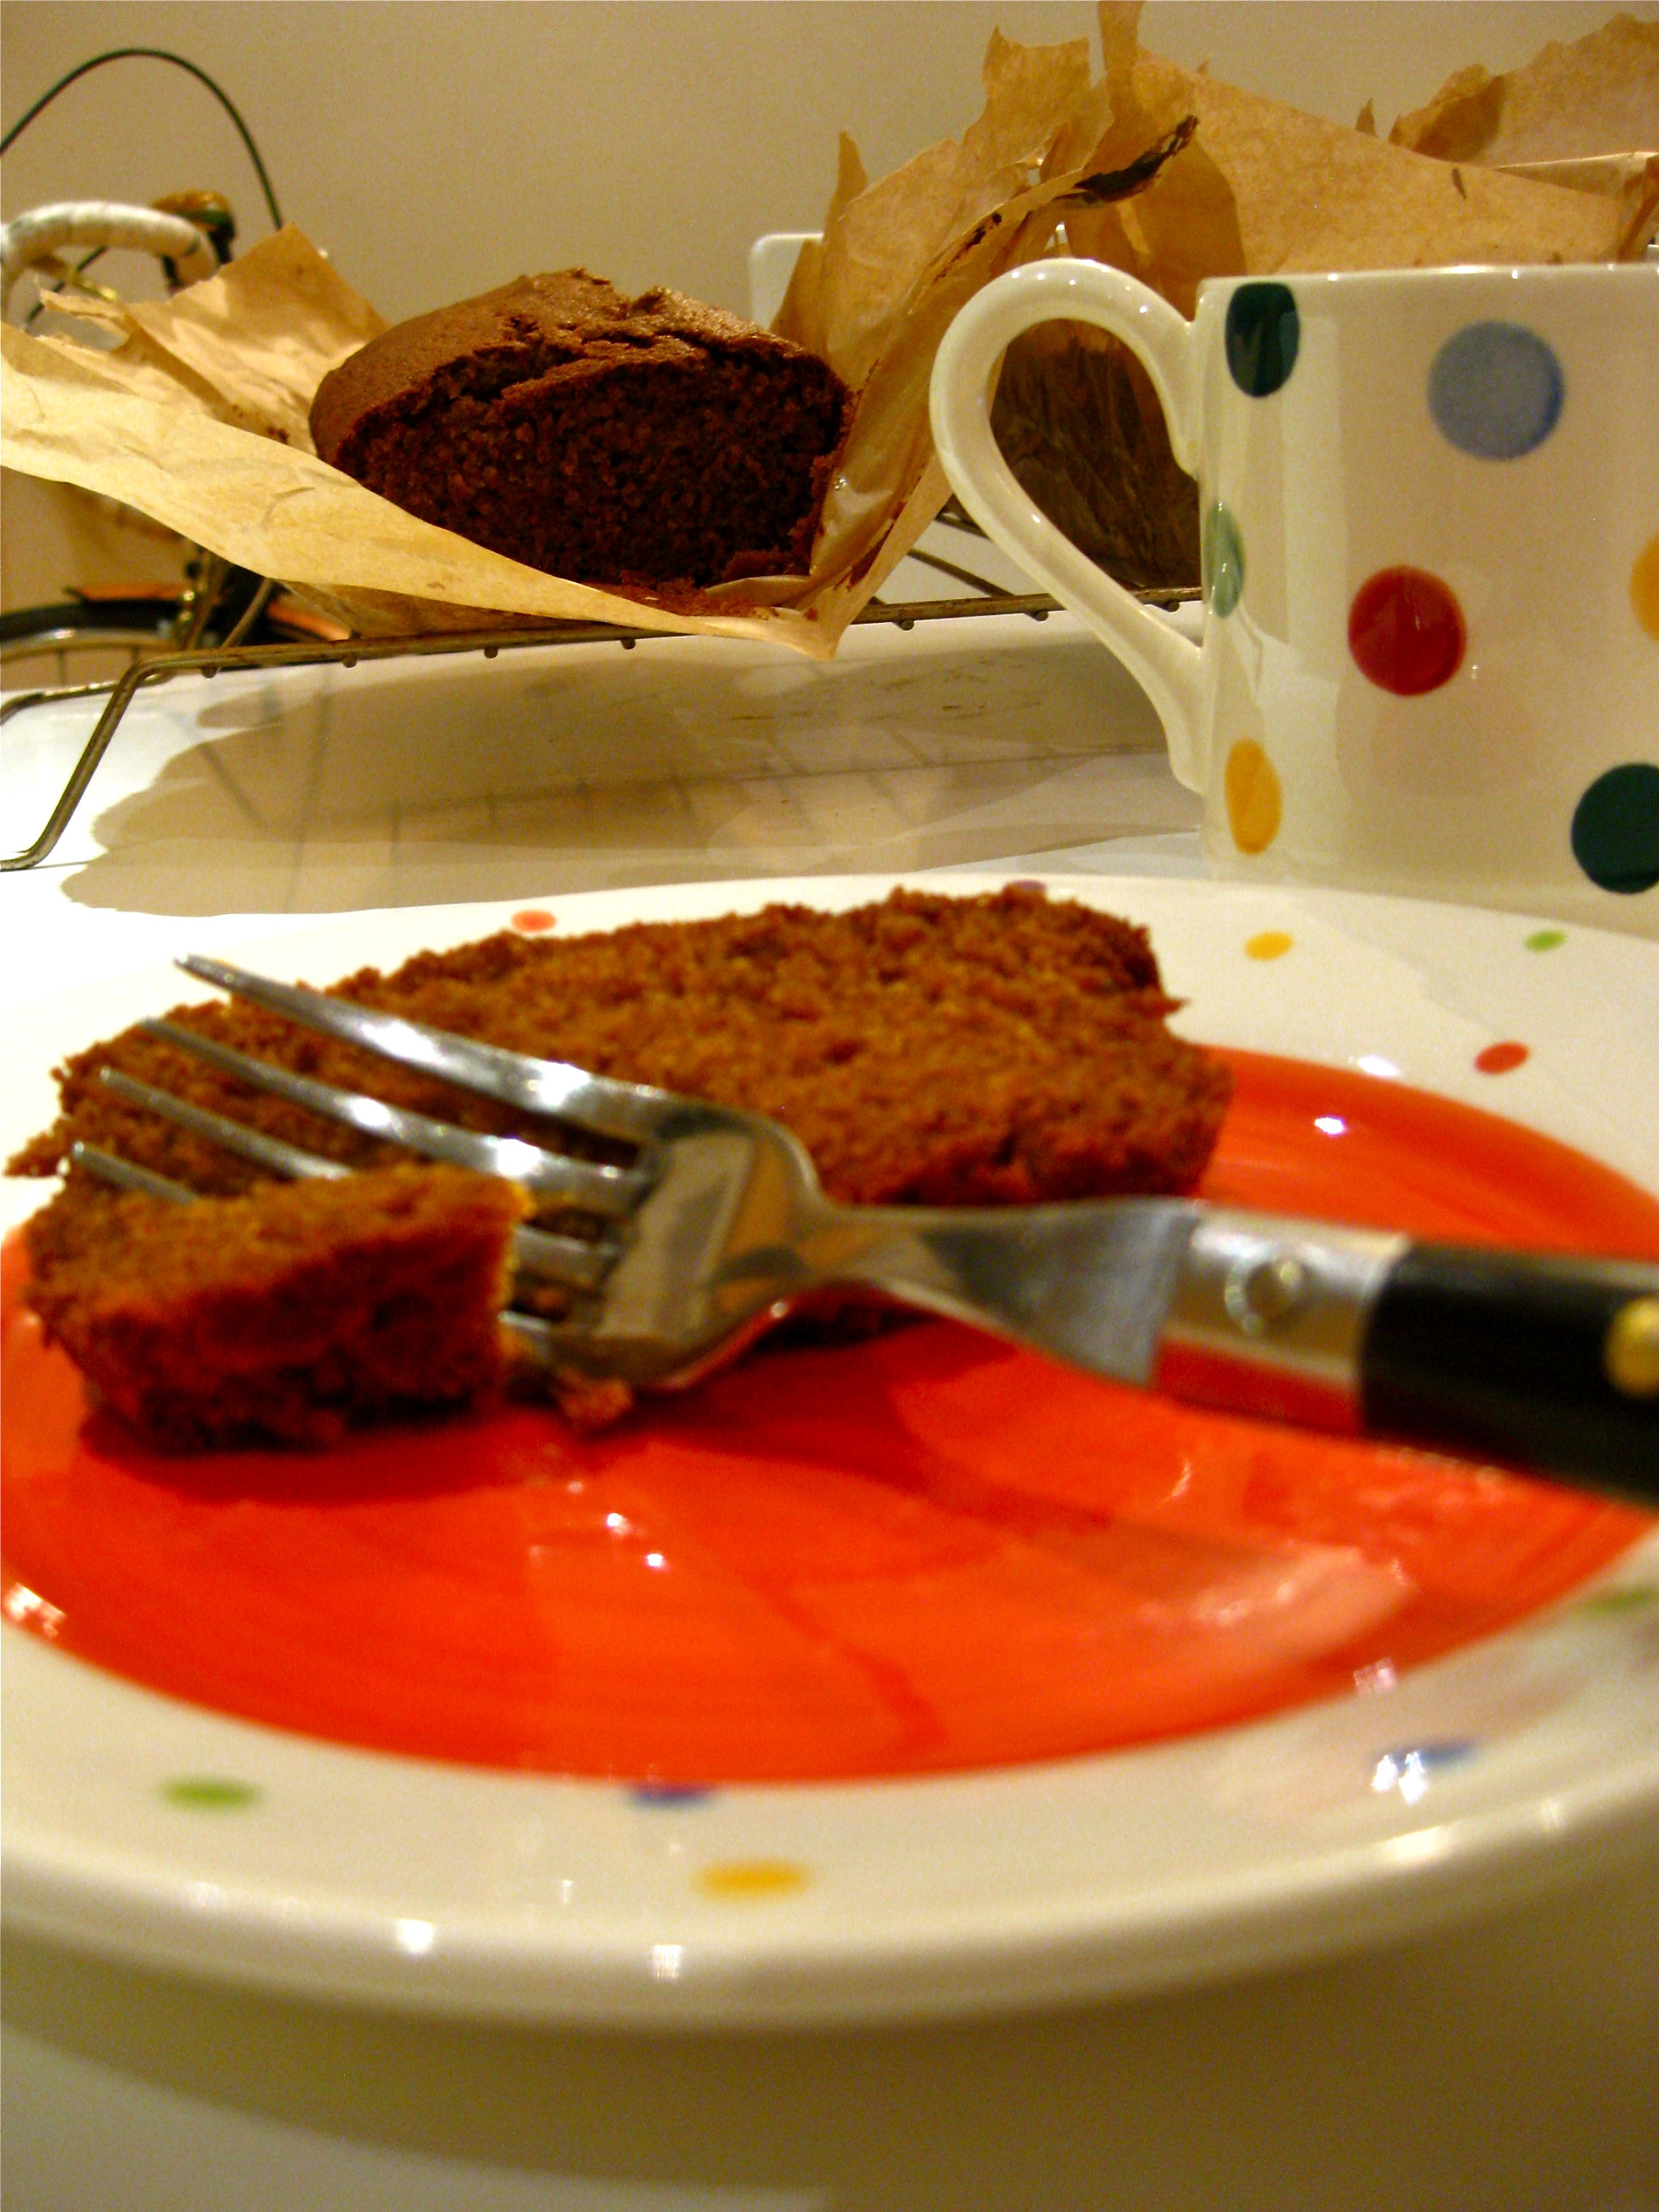
Pumpkin loaf (makes two loaves)
These loaves can be kept in the freezer for up to a week after baking. Let cool completely, wrap in plastic wrap/ bag and pop it in the freezer! (and obvs let it thaw for a few hours – 3 or 4 is good – before trying to slice and try and a later date)
Ingredients :
- 2 cups flour (approx. 240g)
- 2 teaspoons baking soda
- 1/4 teaspoon salt
- 1 tablespoon cinnamon
- 1/2 teaspoon ginger
- 1/2 teaspoon allspice
- 1/4 teaspoon ground cloves (or nutmeg)
- 1 cup butter (2 sticks) soft
- 1 cup sugar (approx. 200g)
- 1 cup packed brown sugar (approx. 220g)
- 4 eggs
- 1 teaspoon vanilla
- 1 can (15 ounces) pumpkin
Directions:
- Sift dry ingredients, set aside.
- In a separate bowl, beat butter and sugars until light and fluffy. Add eggs and mix in one at
- a time.
- Beat in Vanilla and the pumpkin puree with the last egg.
- Stir the pumpkin mixture into the flour mixture until just incorporated.
- Pour batter into a lined loaf tin
- Bake at 180 C for approximately 40-45 minutes or until a toothpick inserted into the
- middle of the loaf comes out clean.
So it’s that time of year again and the pumpkins are out in force. Instead of carving this year, why not take some hints from an amazing blog post I found on hellogiggles! I particularly love the first one, simply melted crayons!


Introducing, our new monthly feature – Baking with Corker and Mills! Nested is proud to be partnering up with the catering duo to get people really stuck into baking throughout the year. They make it look so easy, and so yummy. This month we’re diving in with a gorgeous treat from ‘American as apple pie’ Heather Corker.
Autumn is the best time to bake.
Chilly days just make you want to snuggle up to a lovely someone, don’t they? Or, in lieu of that, at least to make a nice steaming mug of coffee (or tea) to accompany a delicious slice of freshly baked cake. Its all pretty much the same thing, really – cake and love, love and cake (isn’t it?).
The Autumn season is ripe (literally) with so many wonderful, wonderful ingredients to bake with. Pumpkins and apples and pears and figs, oh my! I get giggly and excited just thinking about it. Its a little bit like having a crush. But a baking crush. A big baking crush.
Are you ready for this? Good.
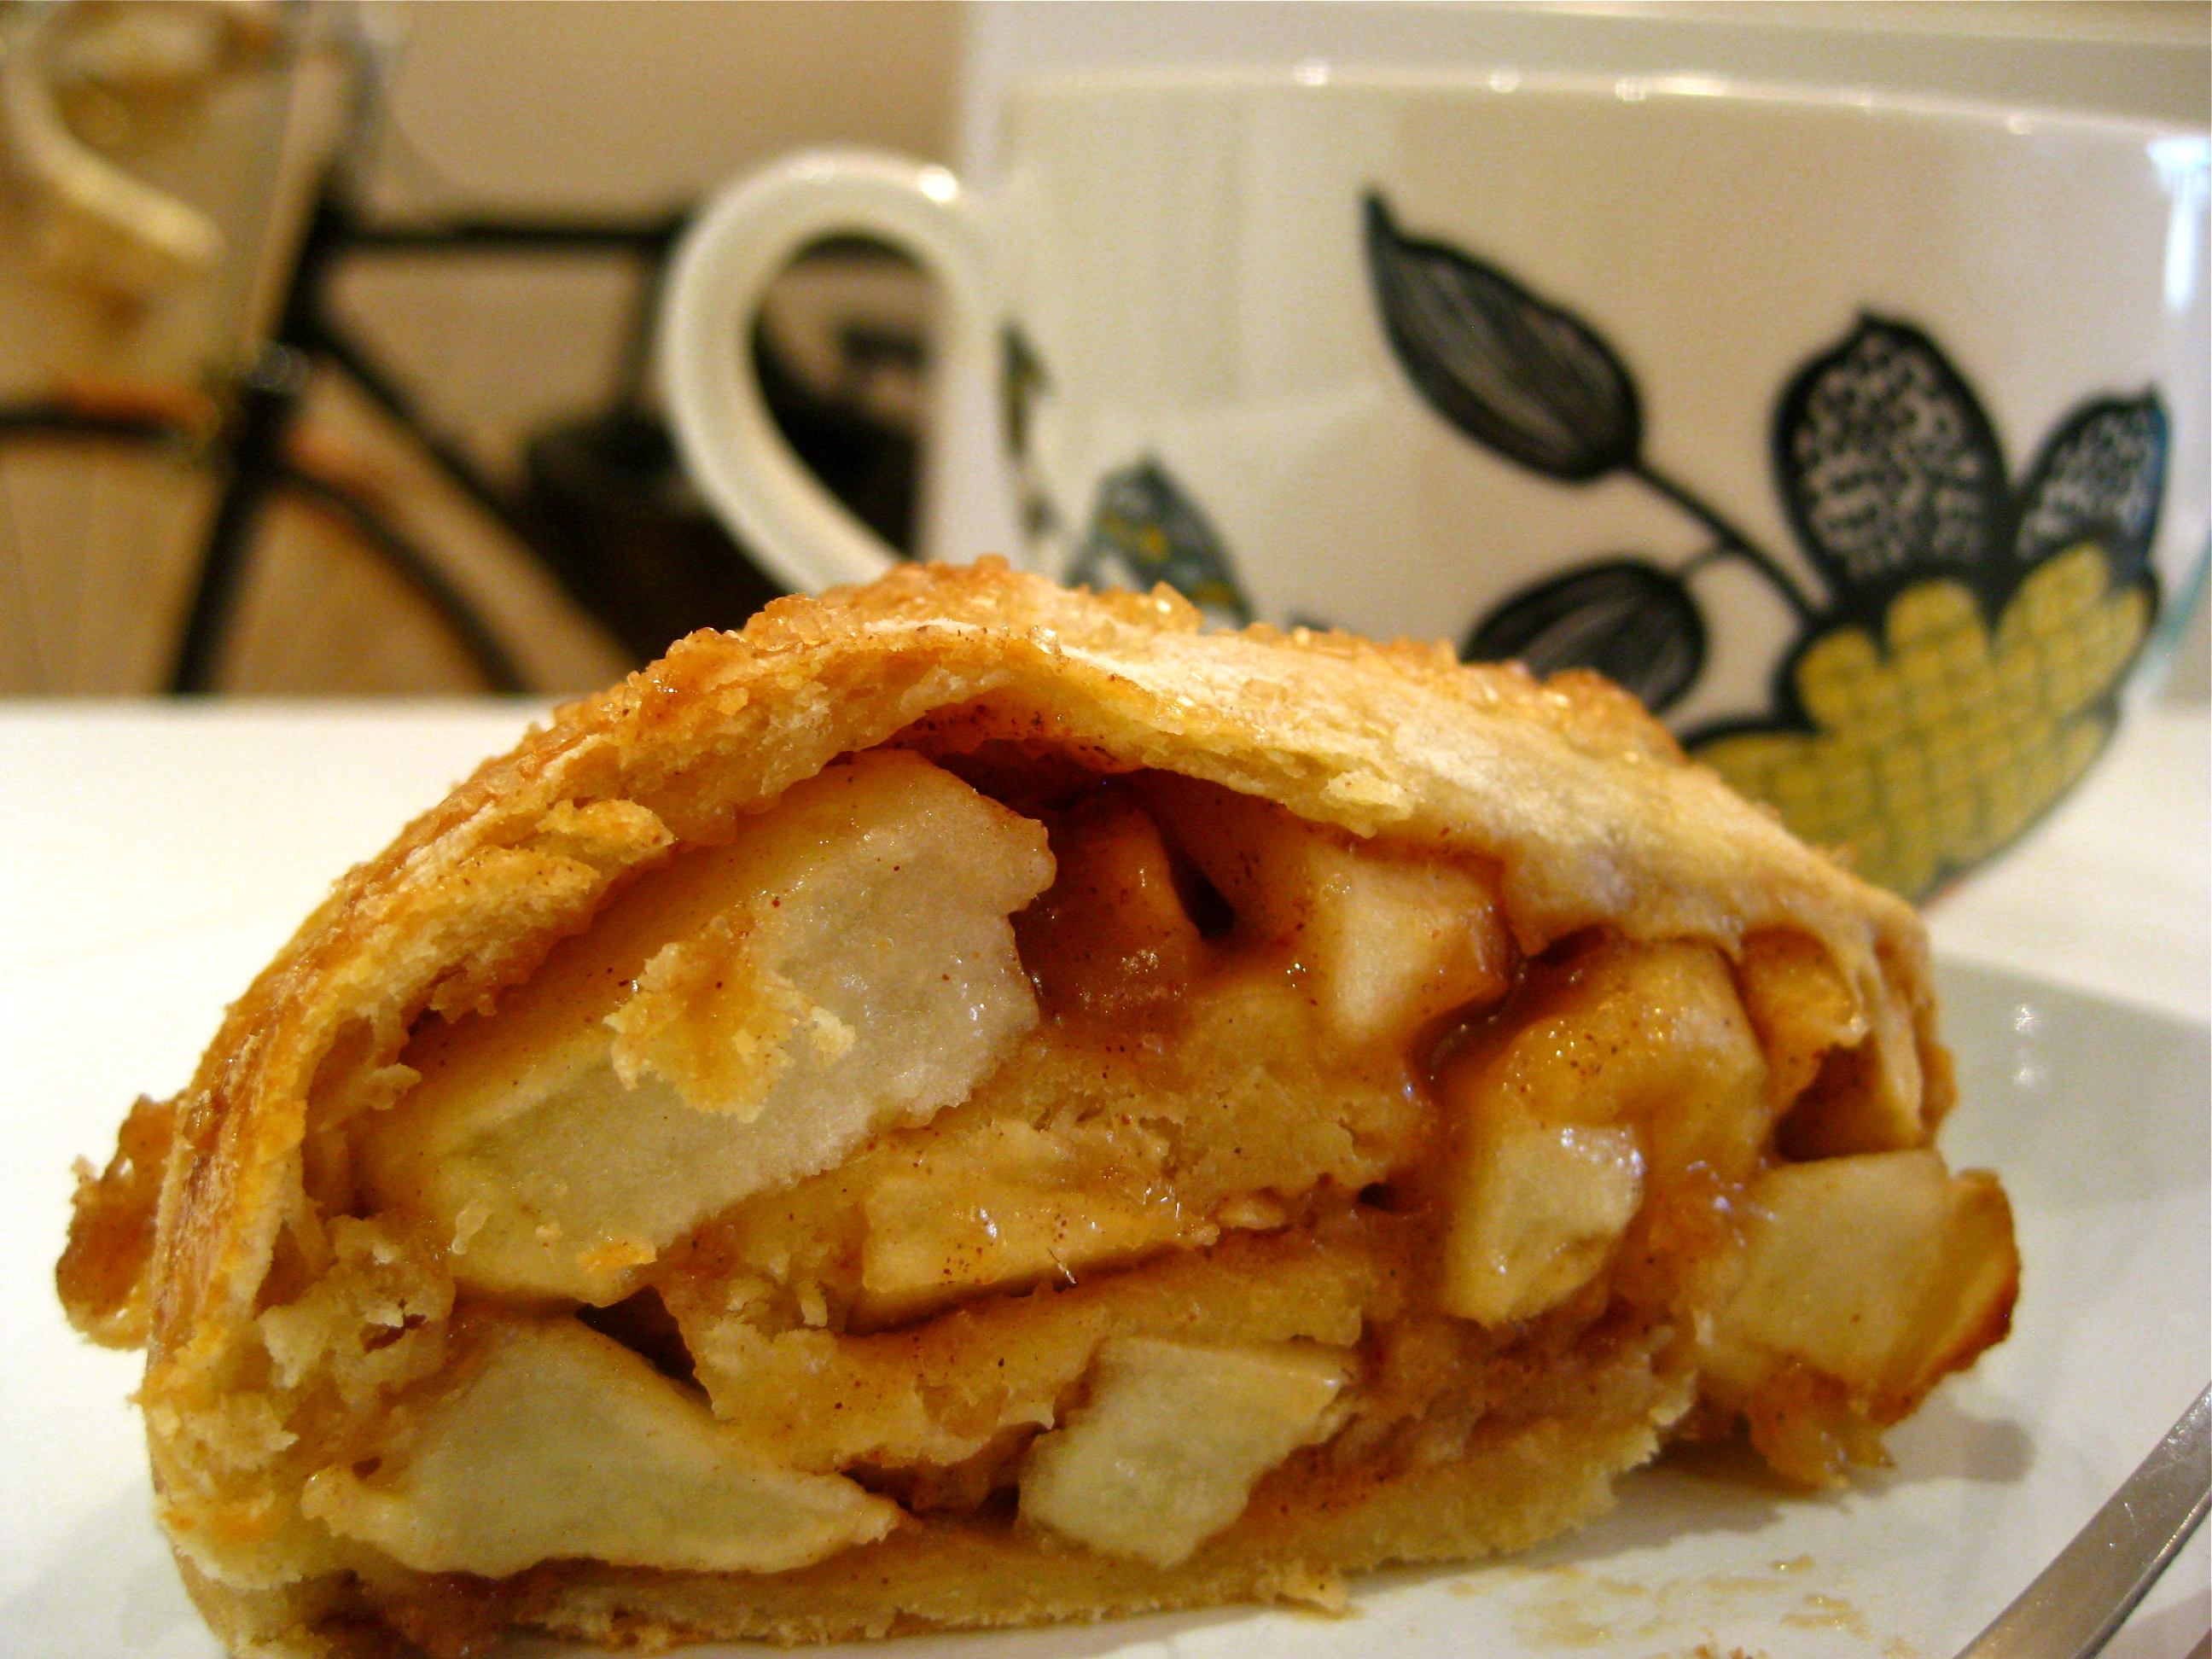
Apple Cinnamon Breakfast Roll
Apple pie meets cinnamon roll. Yeah, this is love.
This is a wonderfully goopy and cinnamony delicious, appley sort of thing that I am deeming as a breakfast food (well, if the French get their croissants…).
Now, if you are planning some sort of breakfast / brunch / get together with family and friends, something tasty for the kids on a weekend, this is sure to be a hit around the table. It takes a while to make – the yeast requires some patience – however it is a super simple recipe and nearly fool proof (the first time I made this the dough didn’t rise! But I used the dough anyway and it was scrumptious all the same).
Makes two loaves
For the Dough:
- 2 1/4 teaspoon (1 package) active dry yeast
- 1/4 cup warm water
- big pinch of sugar
- 6 tablespoons granulated sugar
- 3/4 cup (1 1/2 sticks) unsalted butter, at room temperature
- 1/2 teaspoon ground cardamom (optional)
- 1/2 teaspoon salt
- 3 large eggs
- 4 1/2 to 5 cups all-purpose flour
- 1 cup warm whole milk
For the Filling:
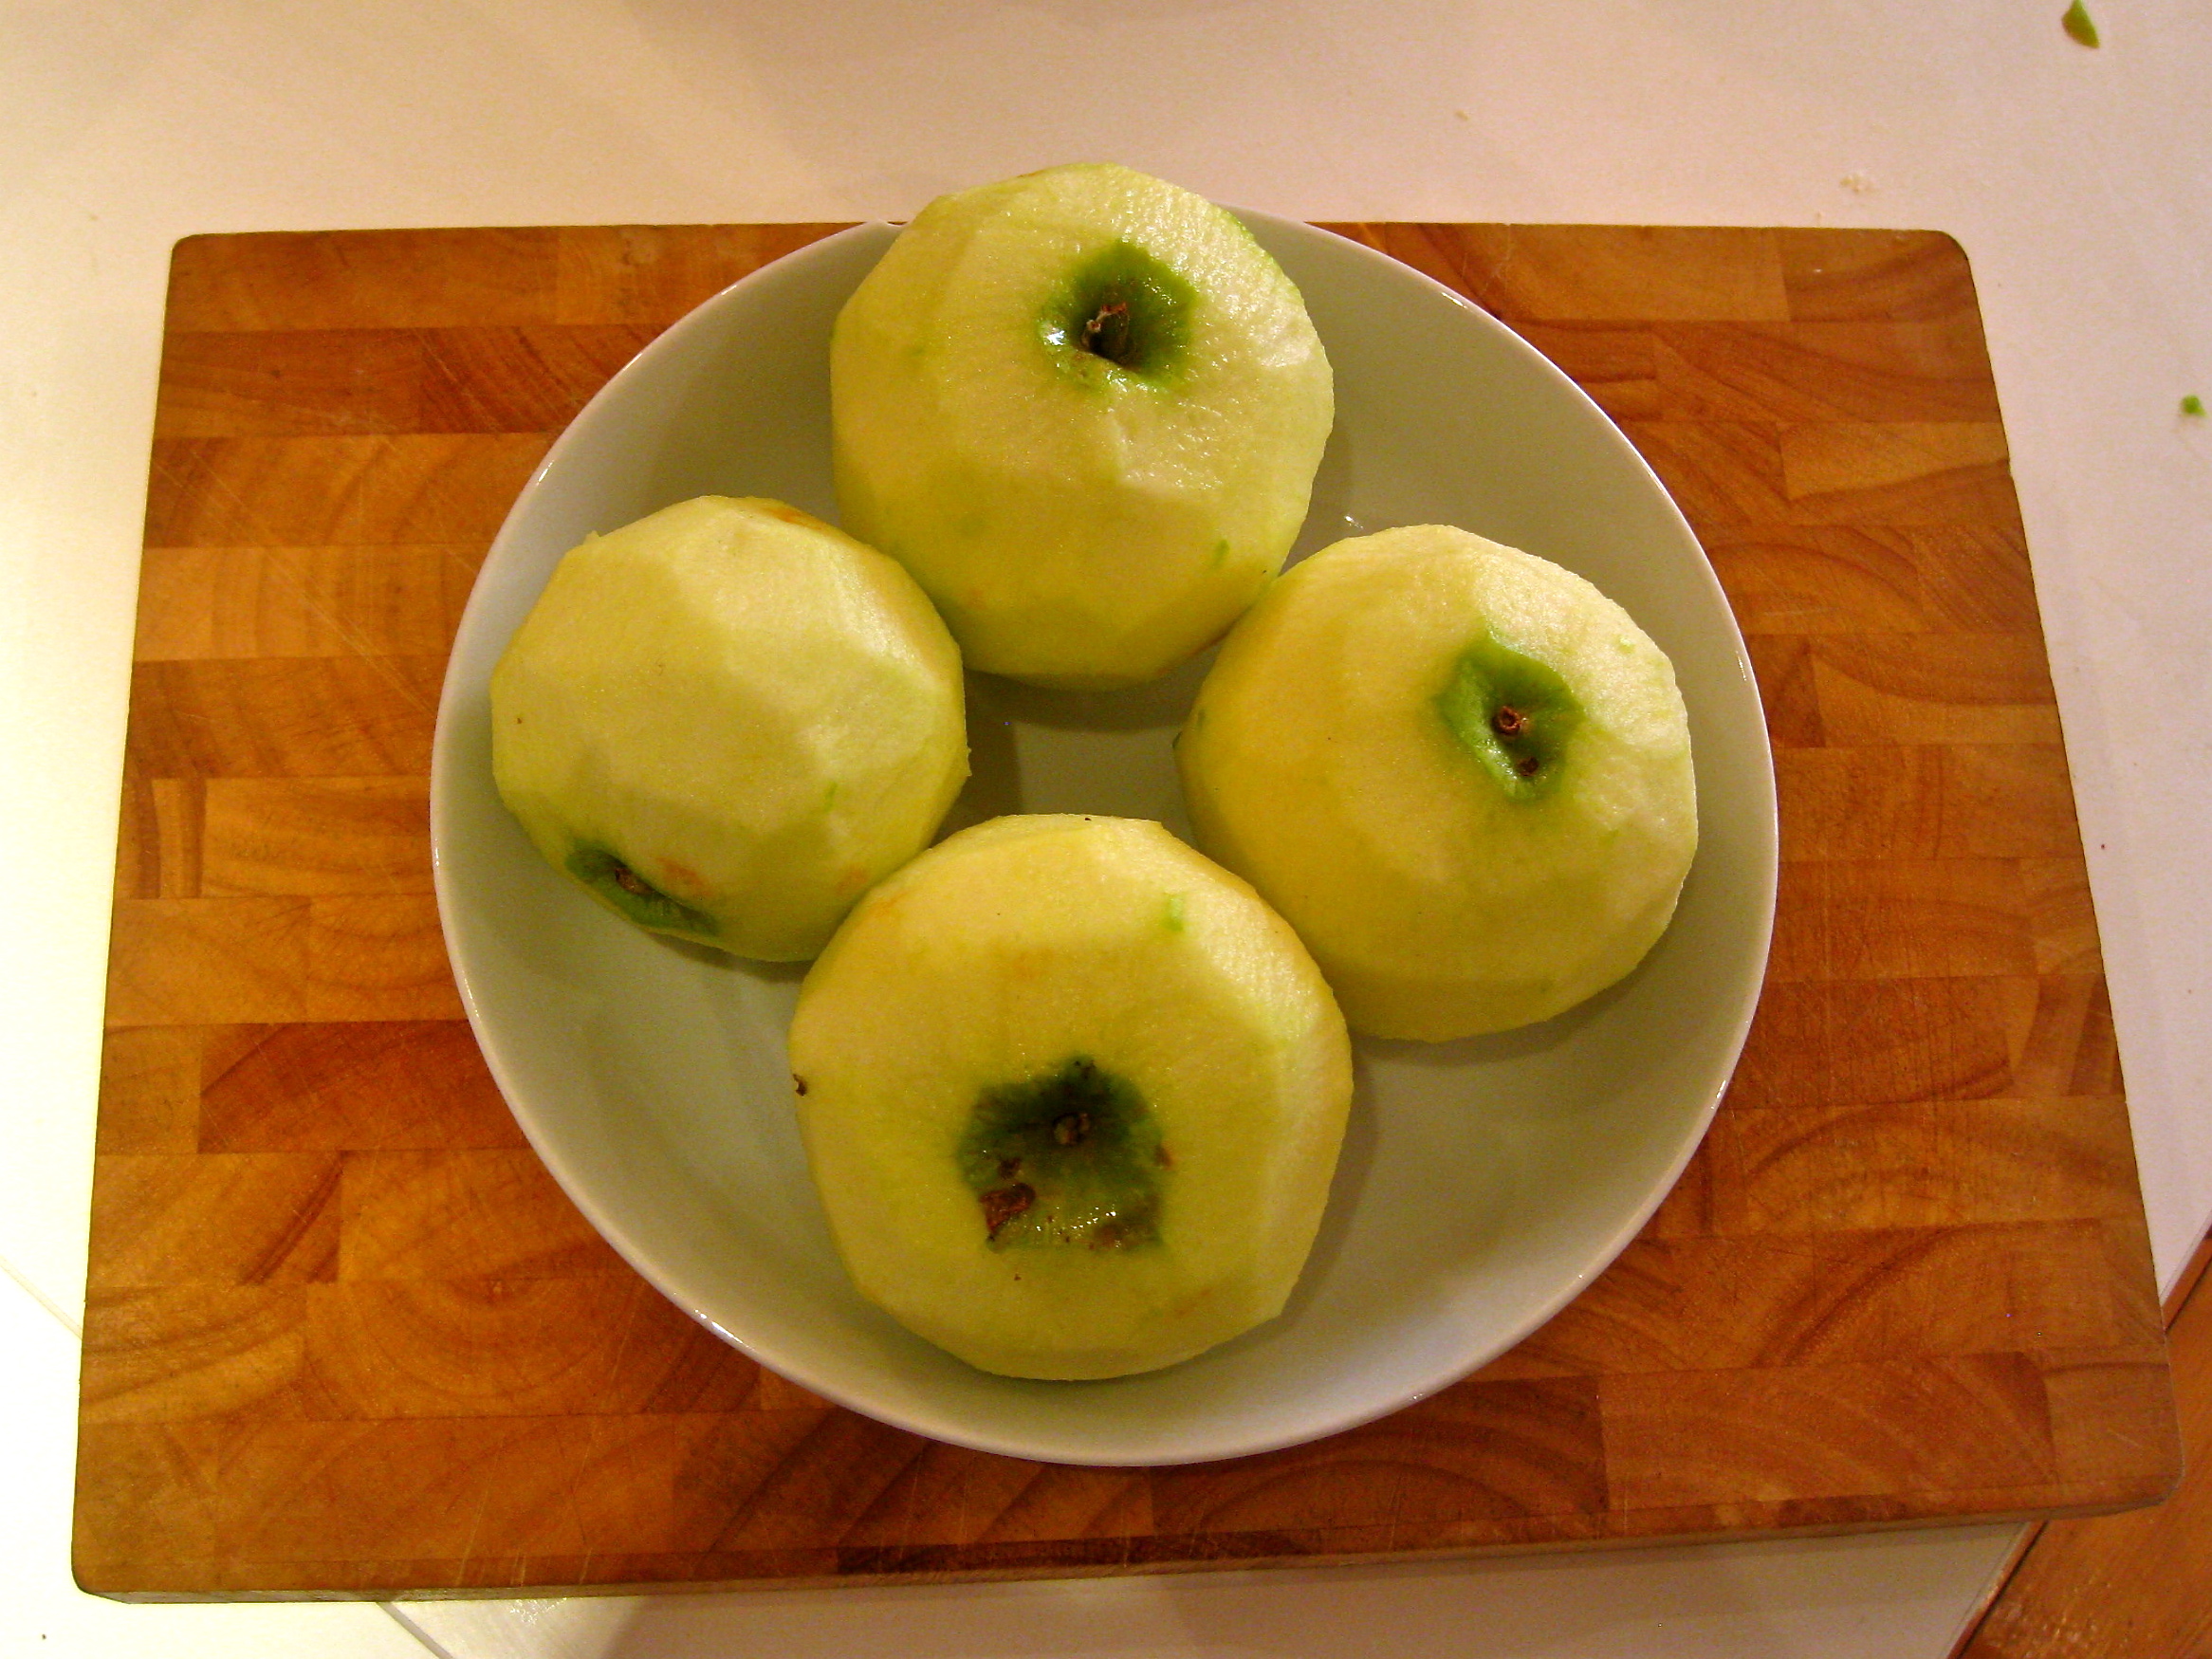
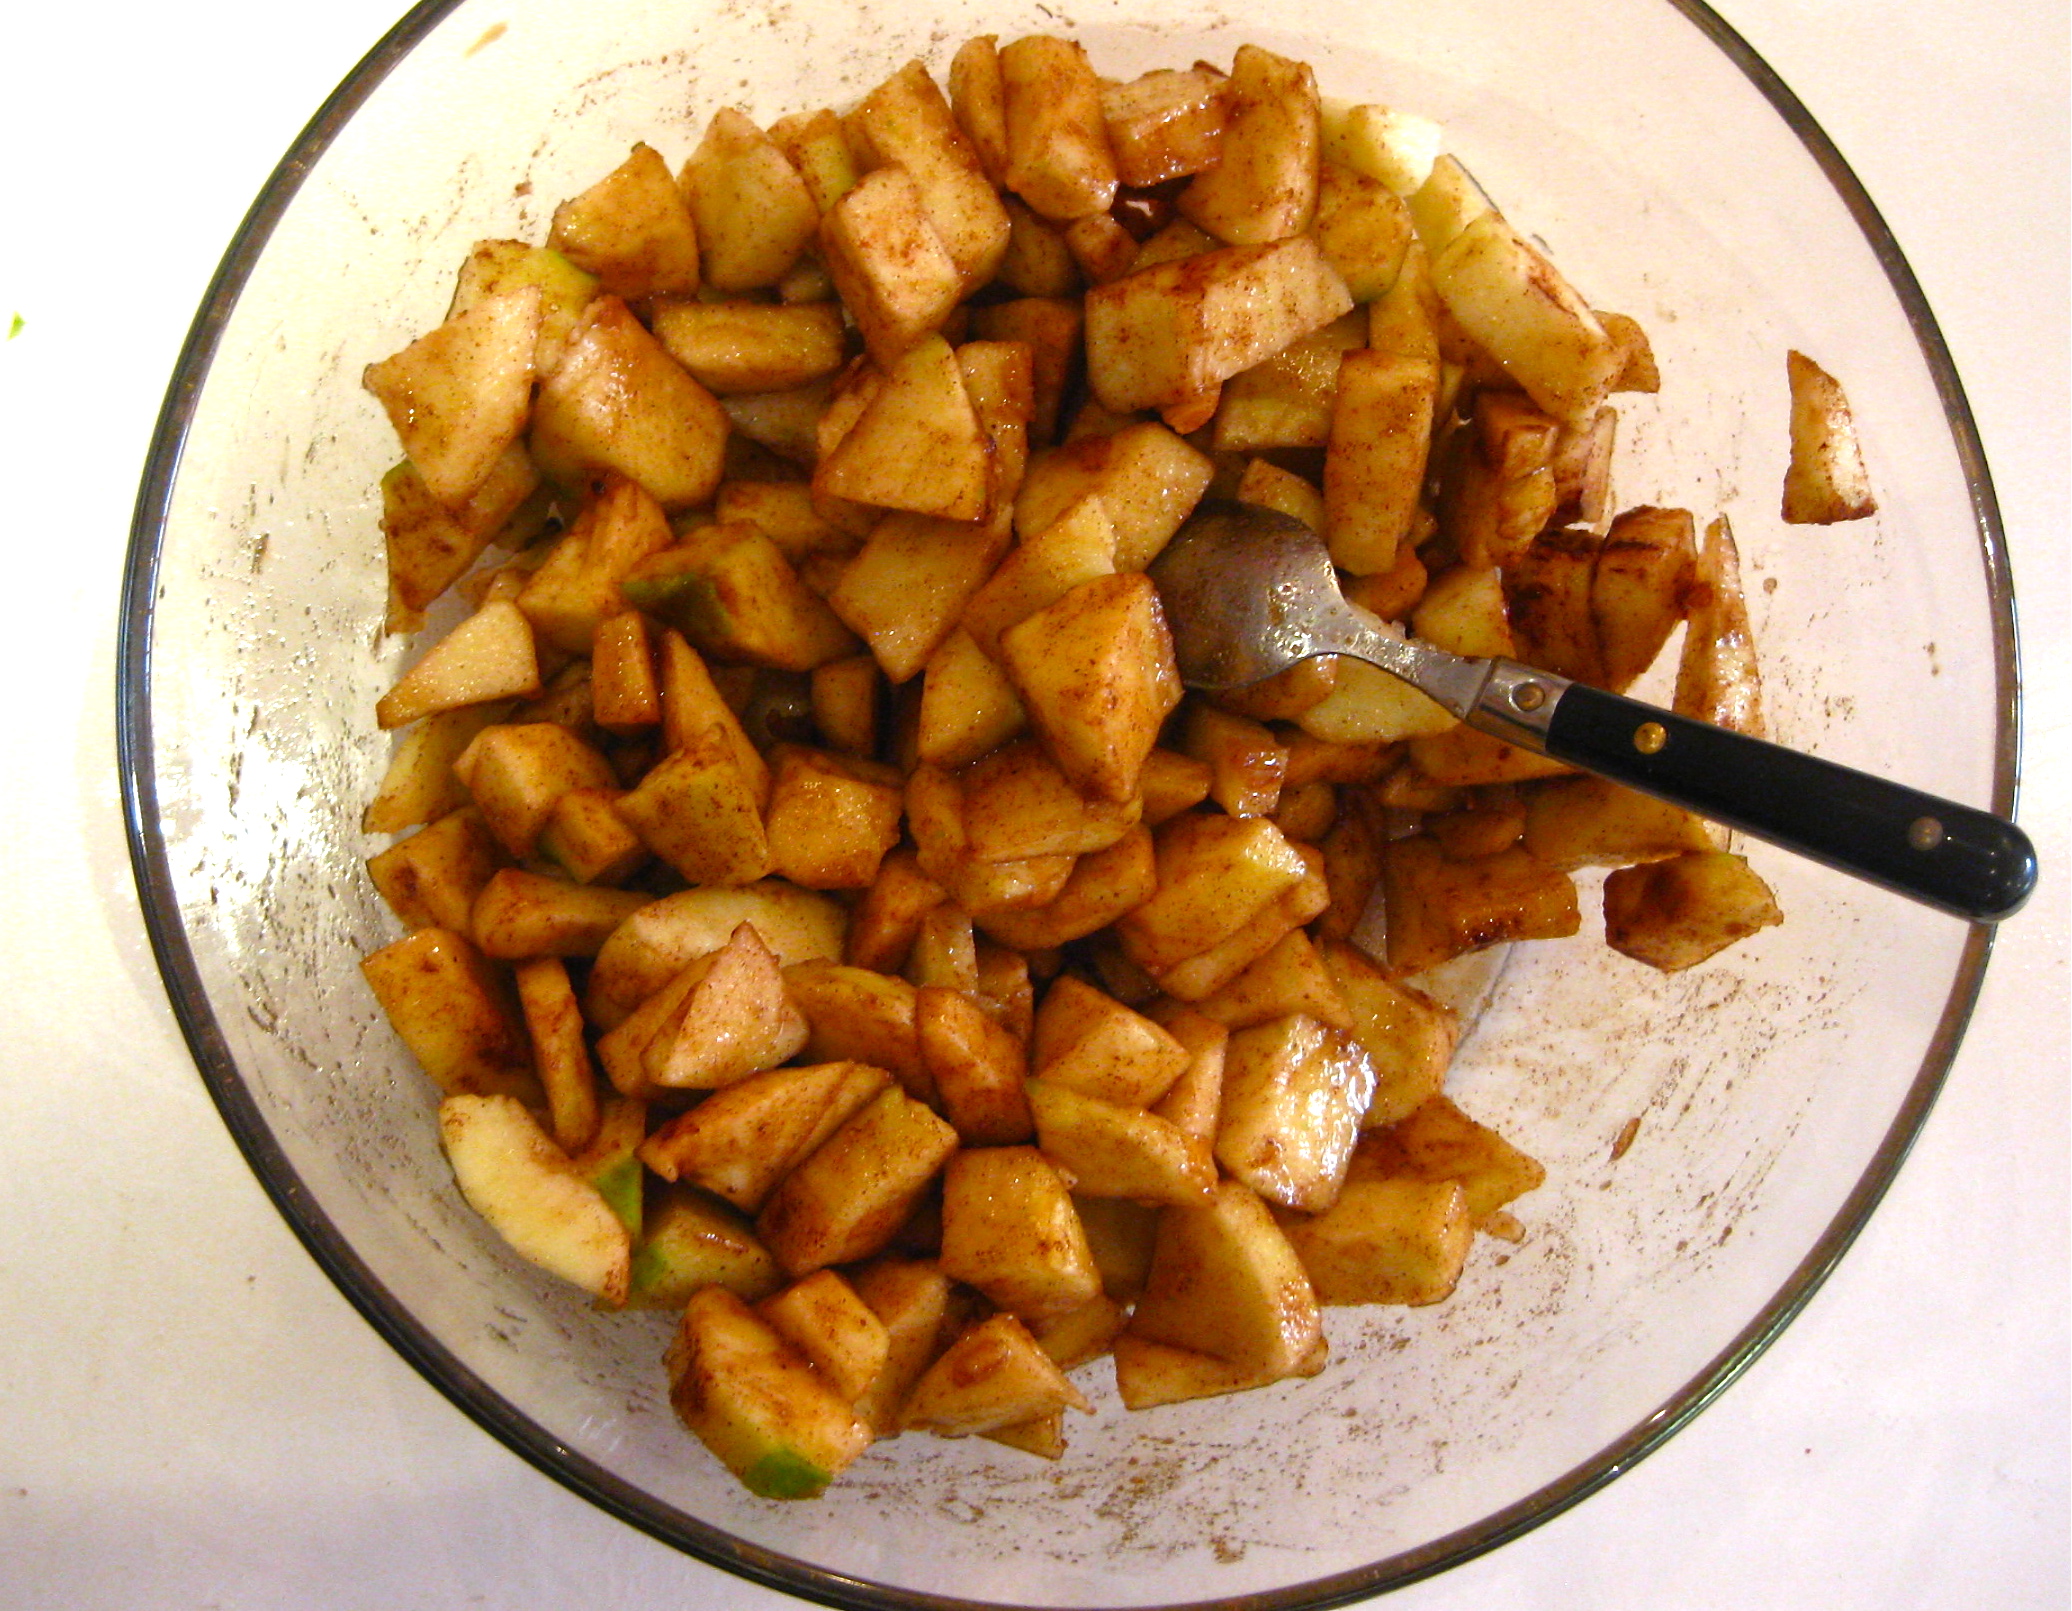
- 3 large apples, peeled and cut into small cubes (British bramley apples are good for this)
- 2 teaspoons fresh lemon juice
- 1/4 cup brown sugar
- 1 teaspoon ground cinnamon
- 1 teaspoon cornflour
- 1/2 teaspoon fresh ground nutmeg
- pinch of salt
For the Streusel:
- 1/2 cup all-purpose flour
- 1/2 cup brown sugar
- 1/2 teaspoon cinnamon
- pinch of salt
- pinch of cardamom (optional)
- 3 tablespoons unsalted butter, at room temperature
- 1 egg and sugar for brushing and topping the dough before baking
To Make the Dough: In a small bowl, mix together yeast, warm water and pinch of sugar. Stir together until yeast is dissolved and set aside for 10 minutes. Yeast will foam up.
In the bowl of an electric stand mixer, fitted with a paddle attachment, add the sugar, butter, cardamom, and salt. Blend on medium speed until pale in color and fluffy, about 3 minutes. (or hand blend, thats fine too – and usually what I do! elbow grease and all that…)
Stop the mixer, scrape down the bowl, and add eggs and 1 cup of flour. Blend on medium speed until thoroughly incorporated and creamy, about 1 minute. Stop the mixer and add 2 cups more cups of flour, yeast mixture, and warm milk. Blend in medium speed until the flour disappears. Mixture will be very wet.
Add 1 1/2 to 2 more cups of flour. Blend until the flour is almost incorporated.
Dump the dough onto a lightly floured work surface. Knead for 5 to 8 minutes by hand. Dough will be glossy and just slightly sticky. Place dough in an oiled bowl, cover with plastic wrap and a towel and let rest in a warm place for 1 1/2 hours, or until doubled in size.
While the dough rises, make the apple filling and the streusel.
To make the Apple Filling, toss together diced apples, lemon juice, sugar, cinnamon, cornflour, nutmeg and salt. Leave at room temperature and set aside until ready to use.
To make the Streusel Filling:
In a small bowl, whisk together flour, sugar, cinnamon, salt, and cardamom. Add butter and, using your fingers, work the butter into the flour mixture. Break up the butter into the mixture, until thoroughly incorporated and crumbly. Set aside.
Continue on with the Dough:
Line two baking sheets with parchment/grease proof paper and set aside.
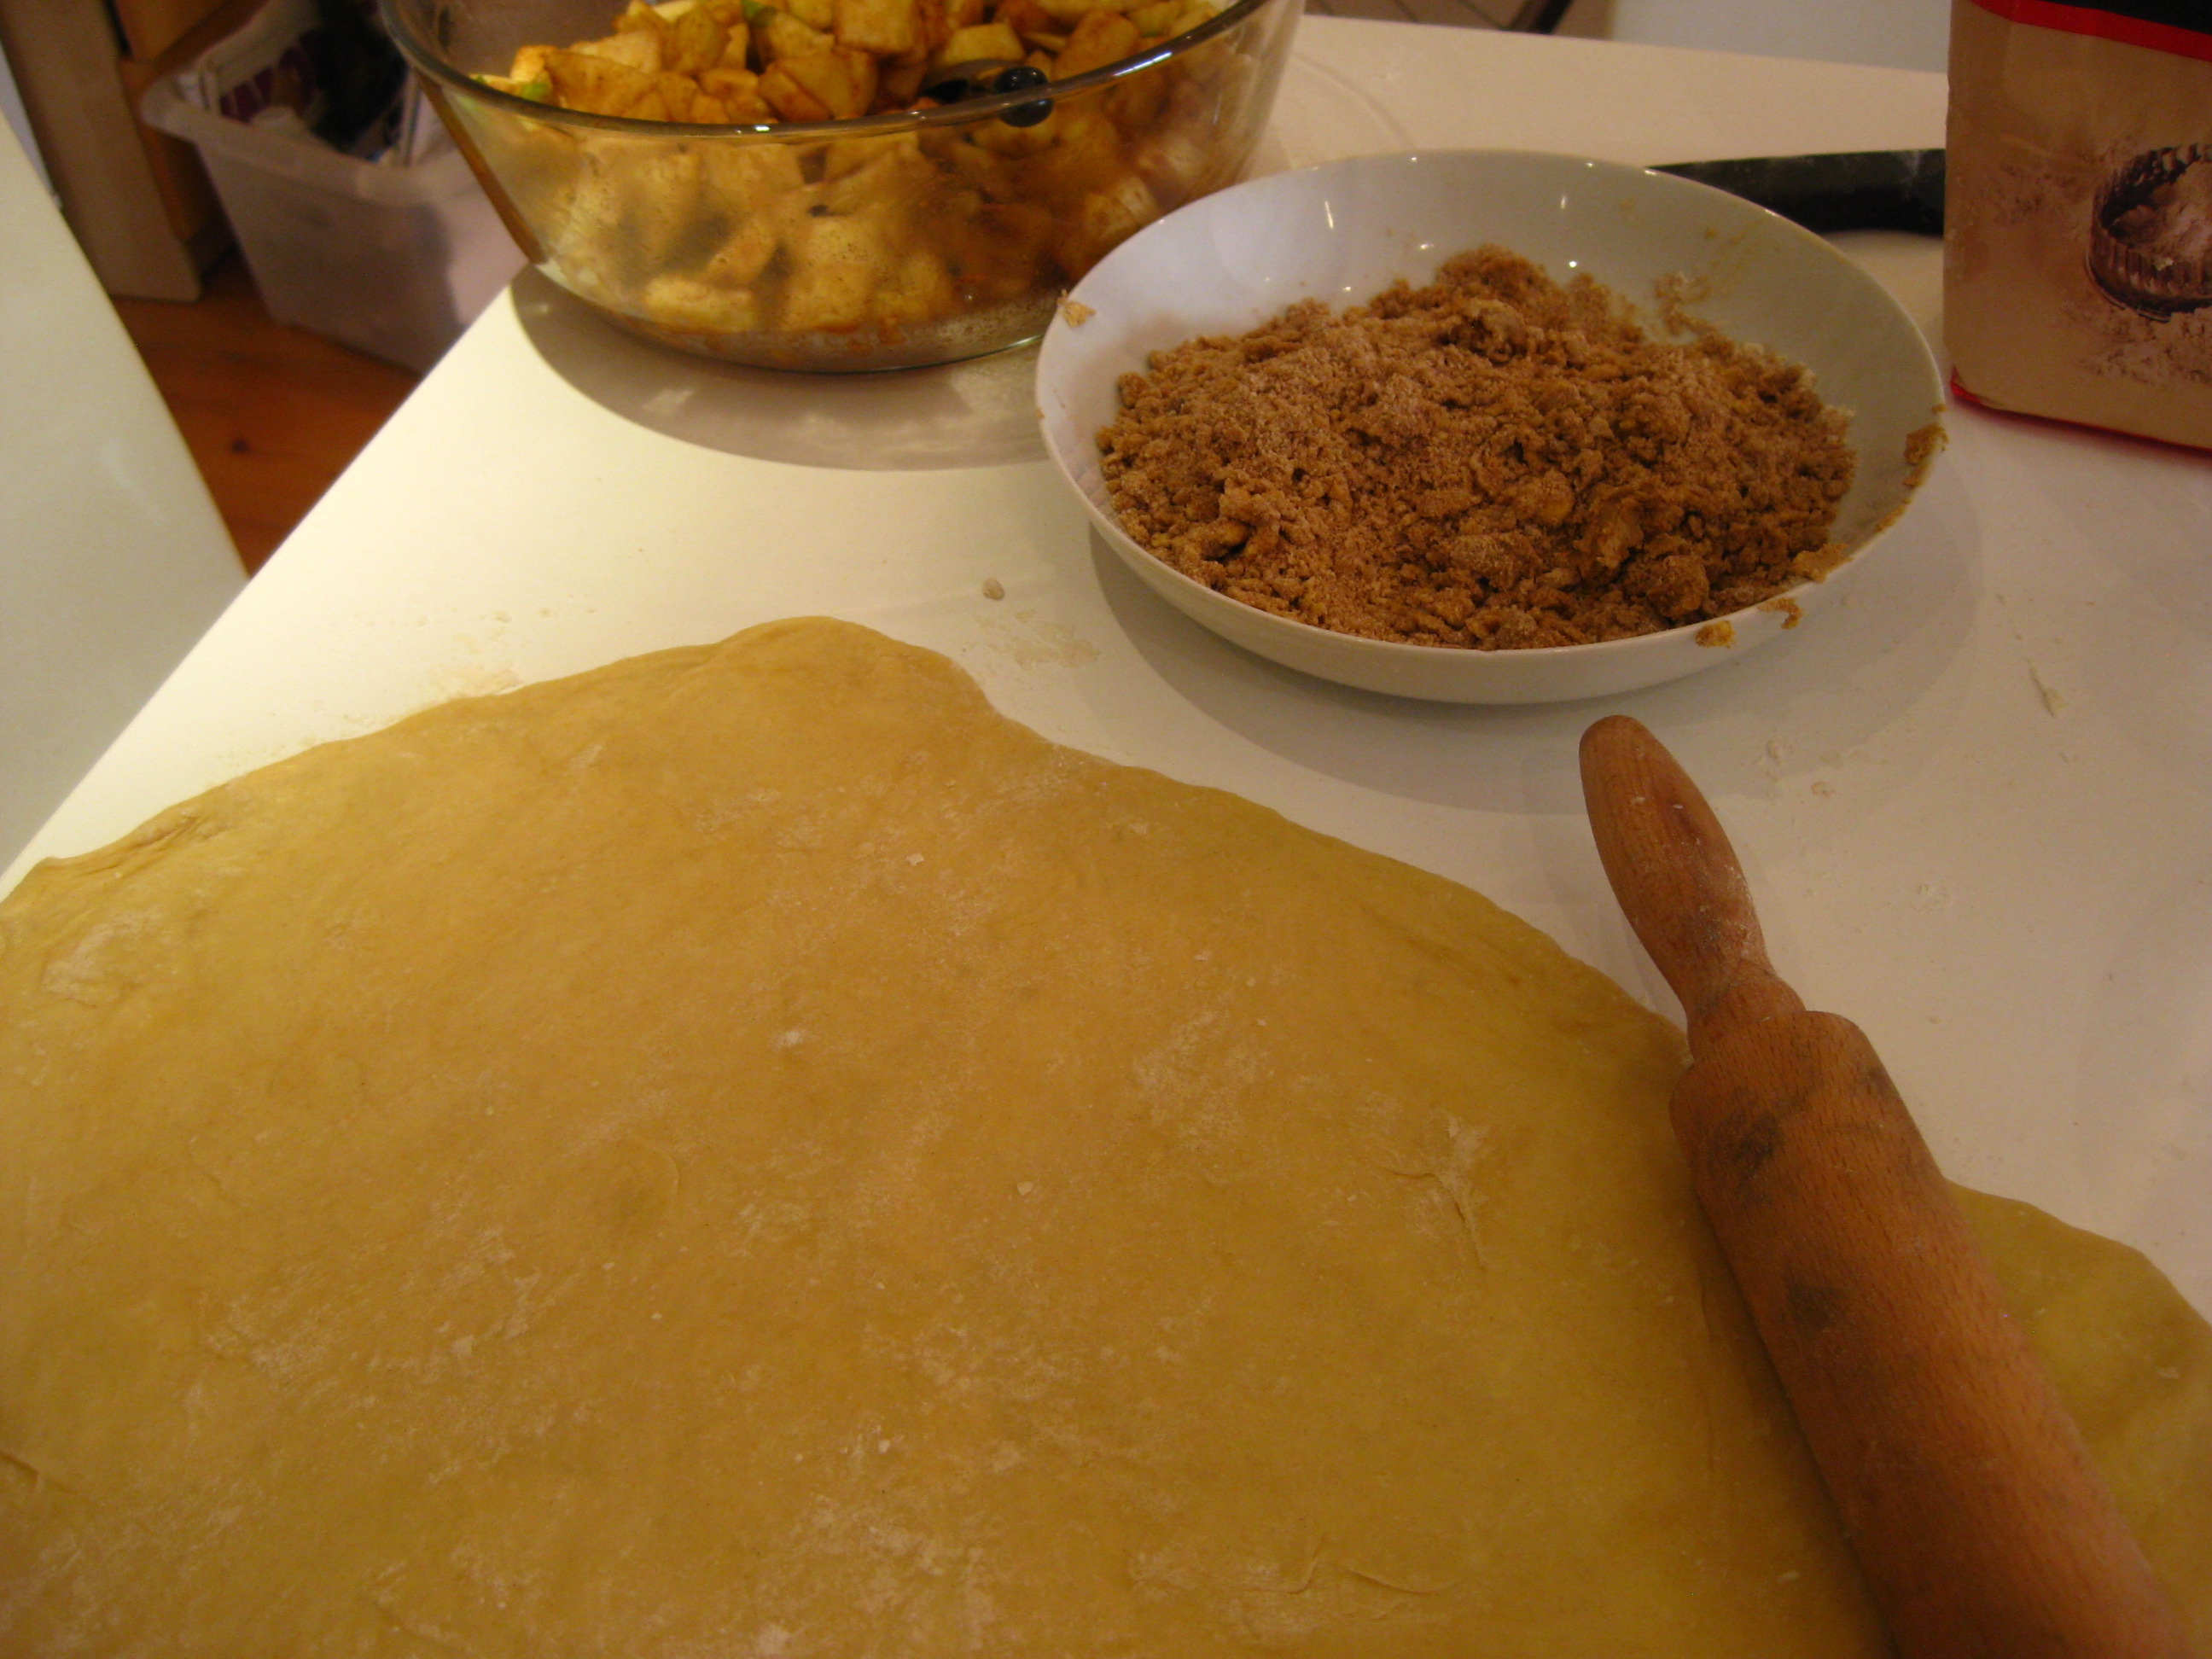
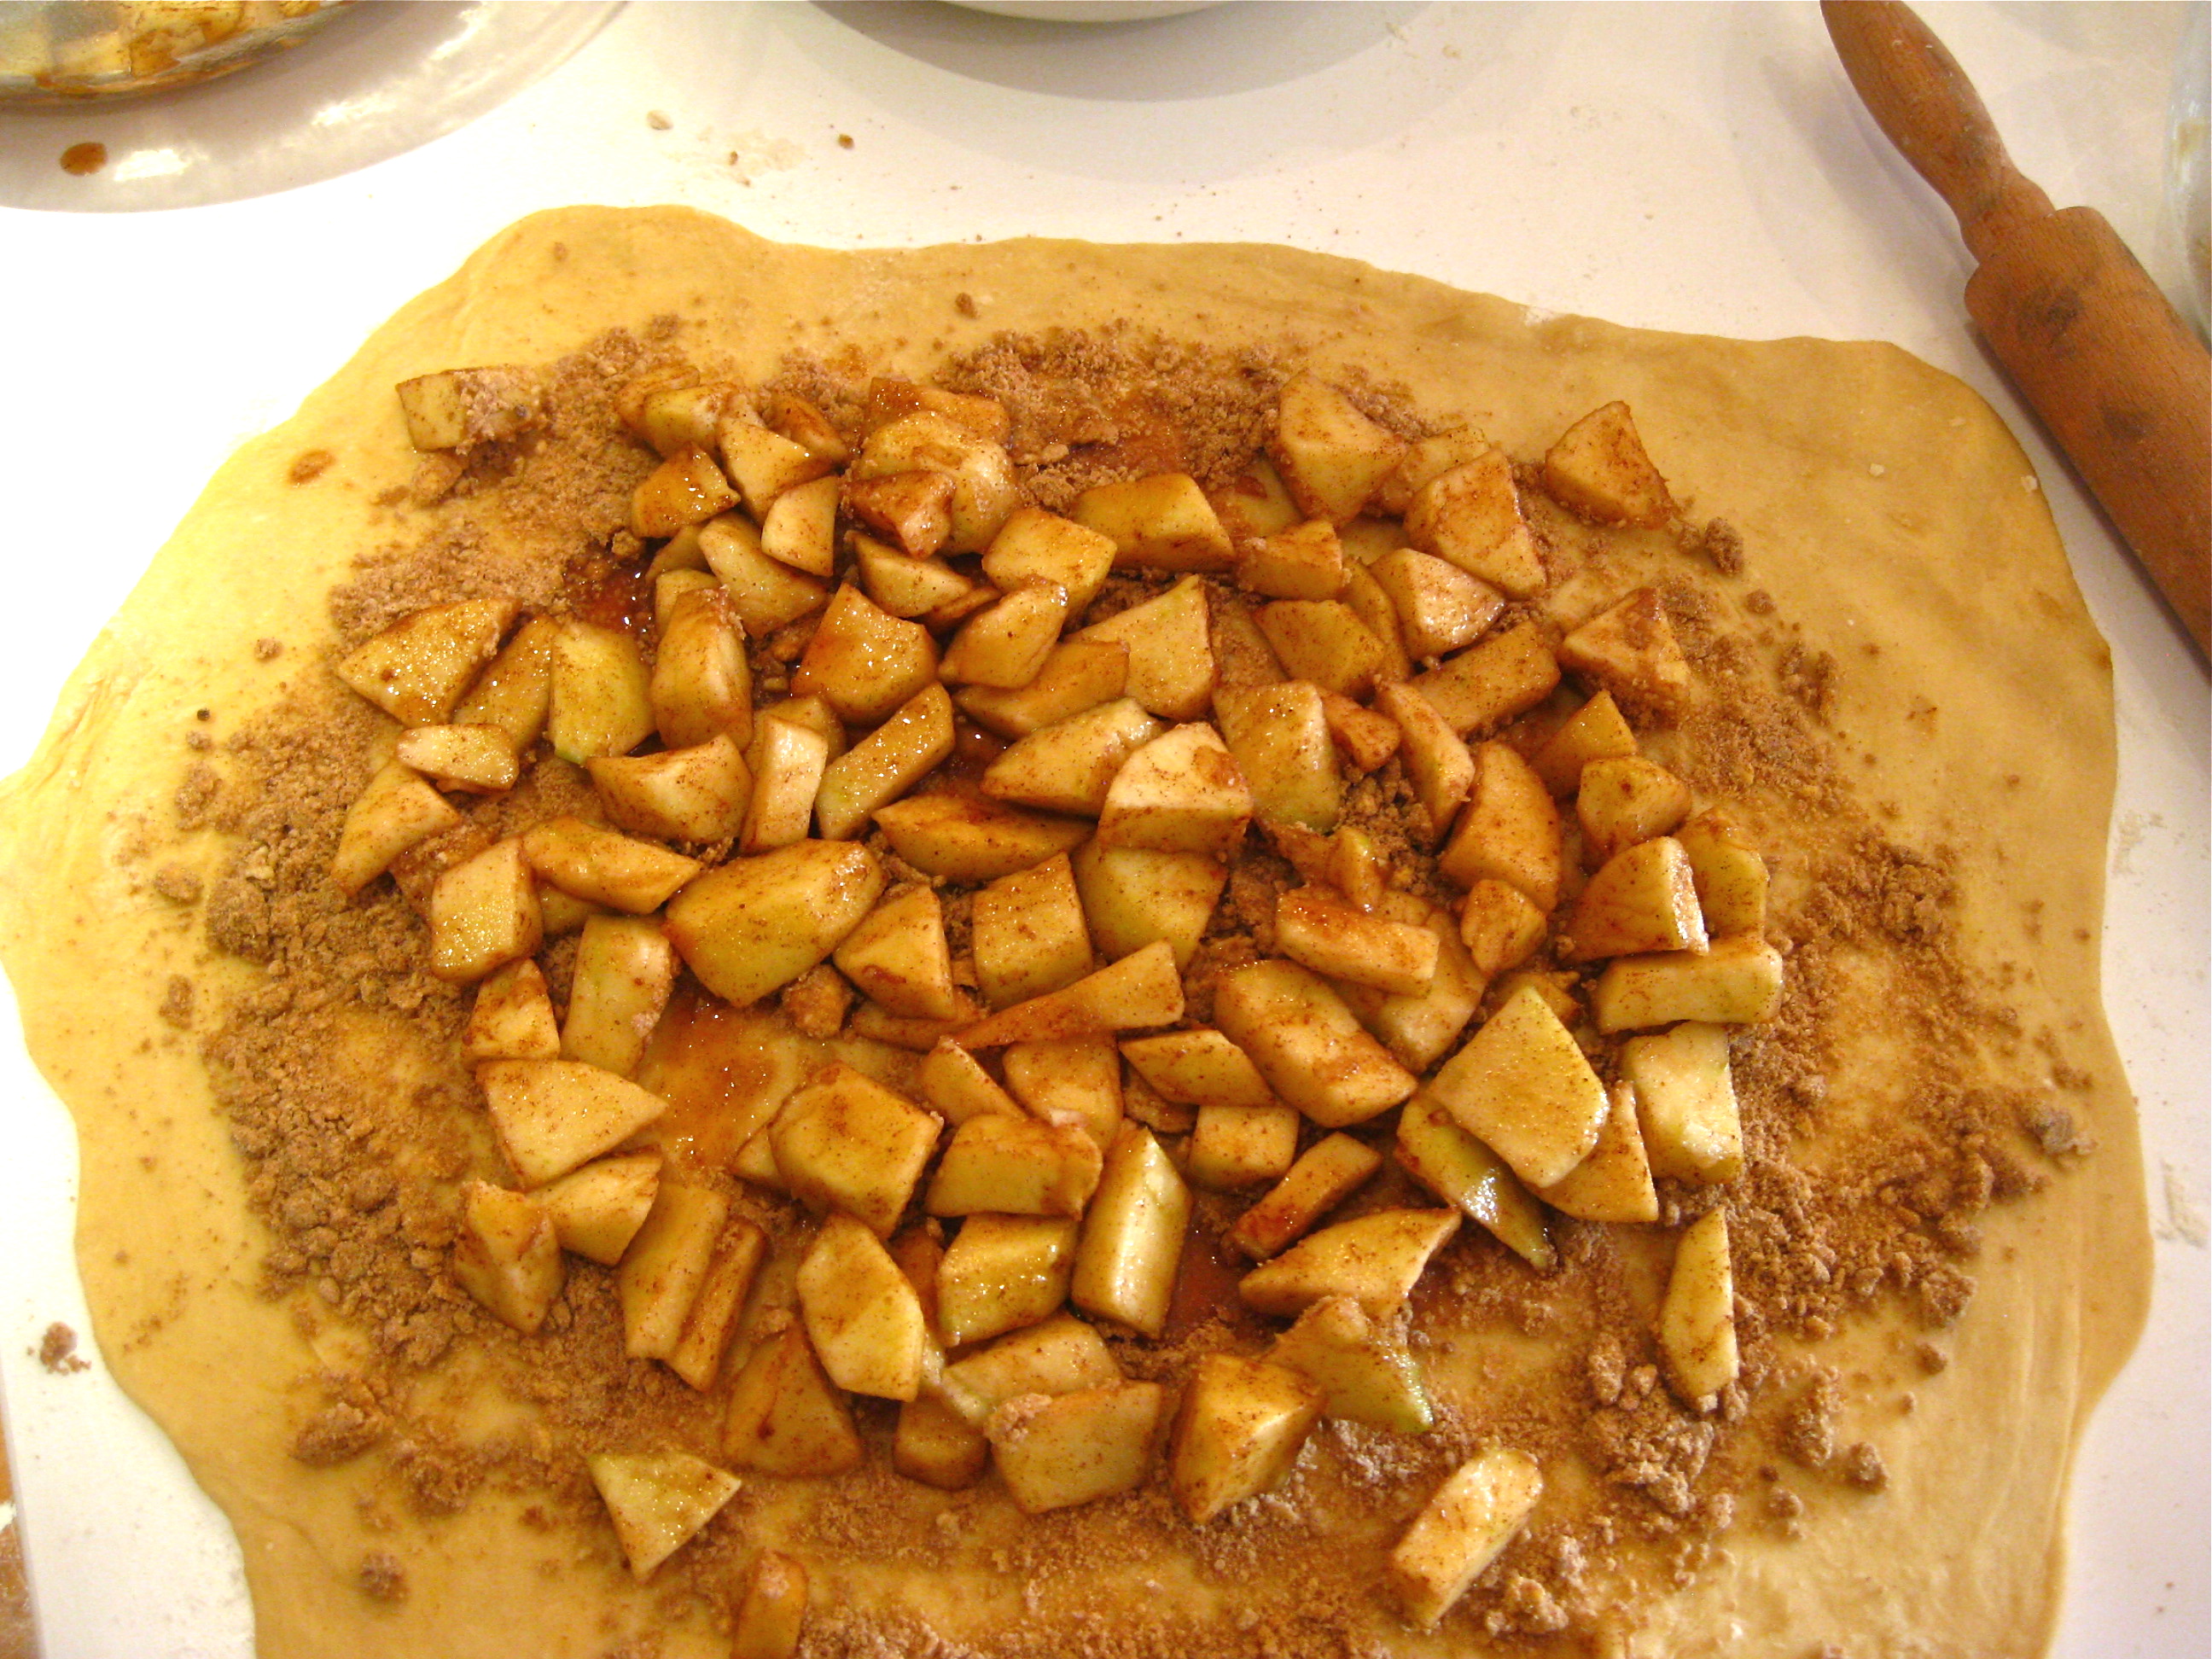
When the dough has doubled in size, dump it out onto a lightly floured work surface. Use a large knife to divide the dough in two. Roll each dough piece into about a 10×14-inch rectangle. Sprinkle with half of the streusel mixture. Add half of the apple mixture over the streusel. Add a bit of the yummy apple juices too.
Starting from the longest side, begin to roll the dough. This isn’t like a cinnamon roll, you don’t have to roll it into a super tight swirl. Fold in about 1 1/2 to 1-inch folds. Keep the seam on the bottom.
Repeat the same steps for the second piece of dough.
Carefully lift roll onto the prepared baking sheet.
**Now is a great time to freeze or refrigerate the rolled dough for later baking.**
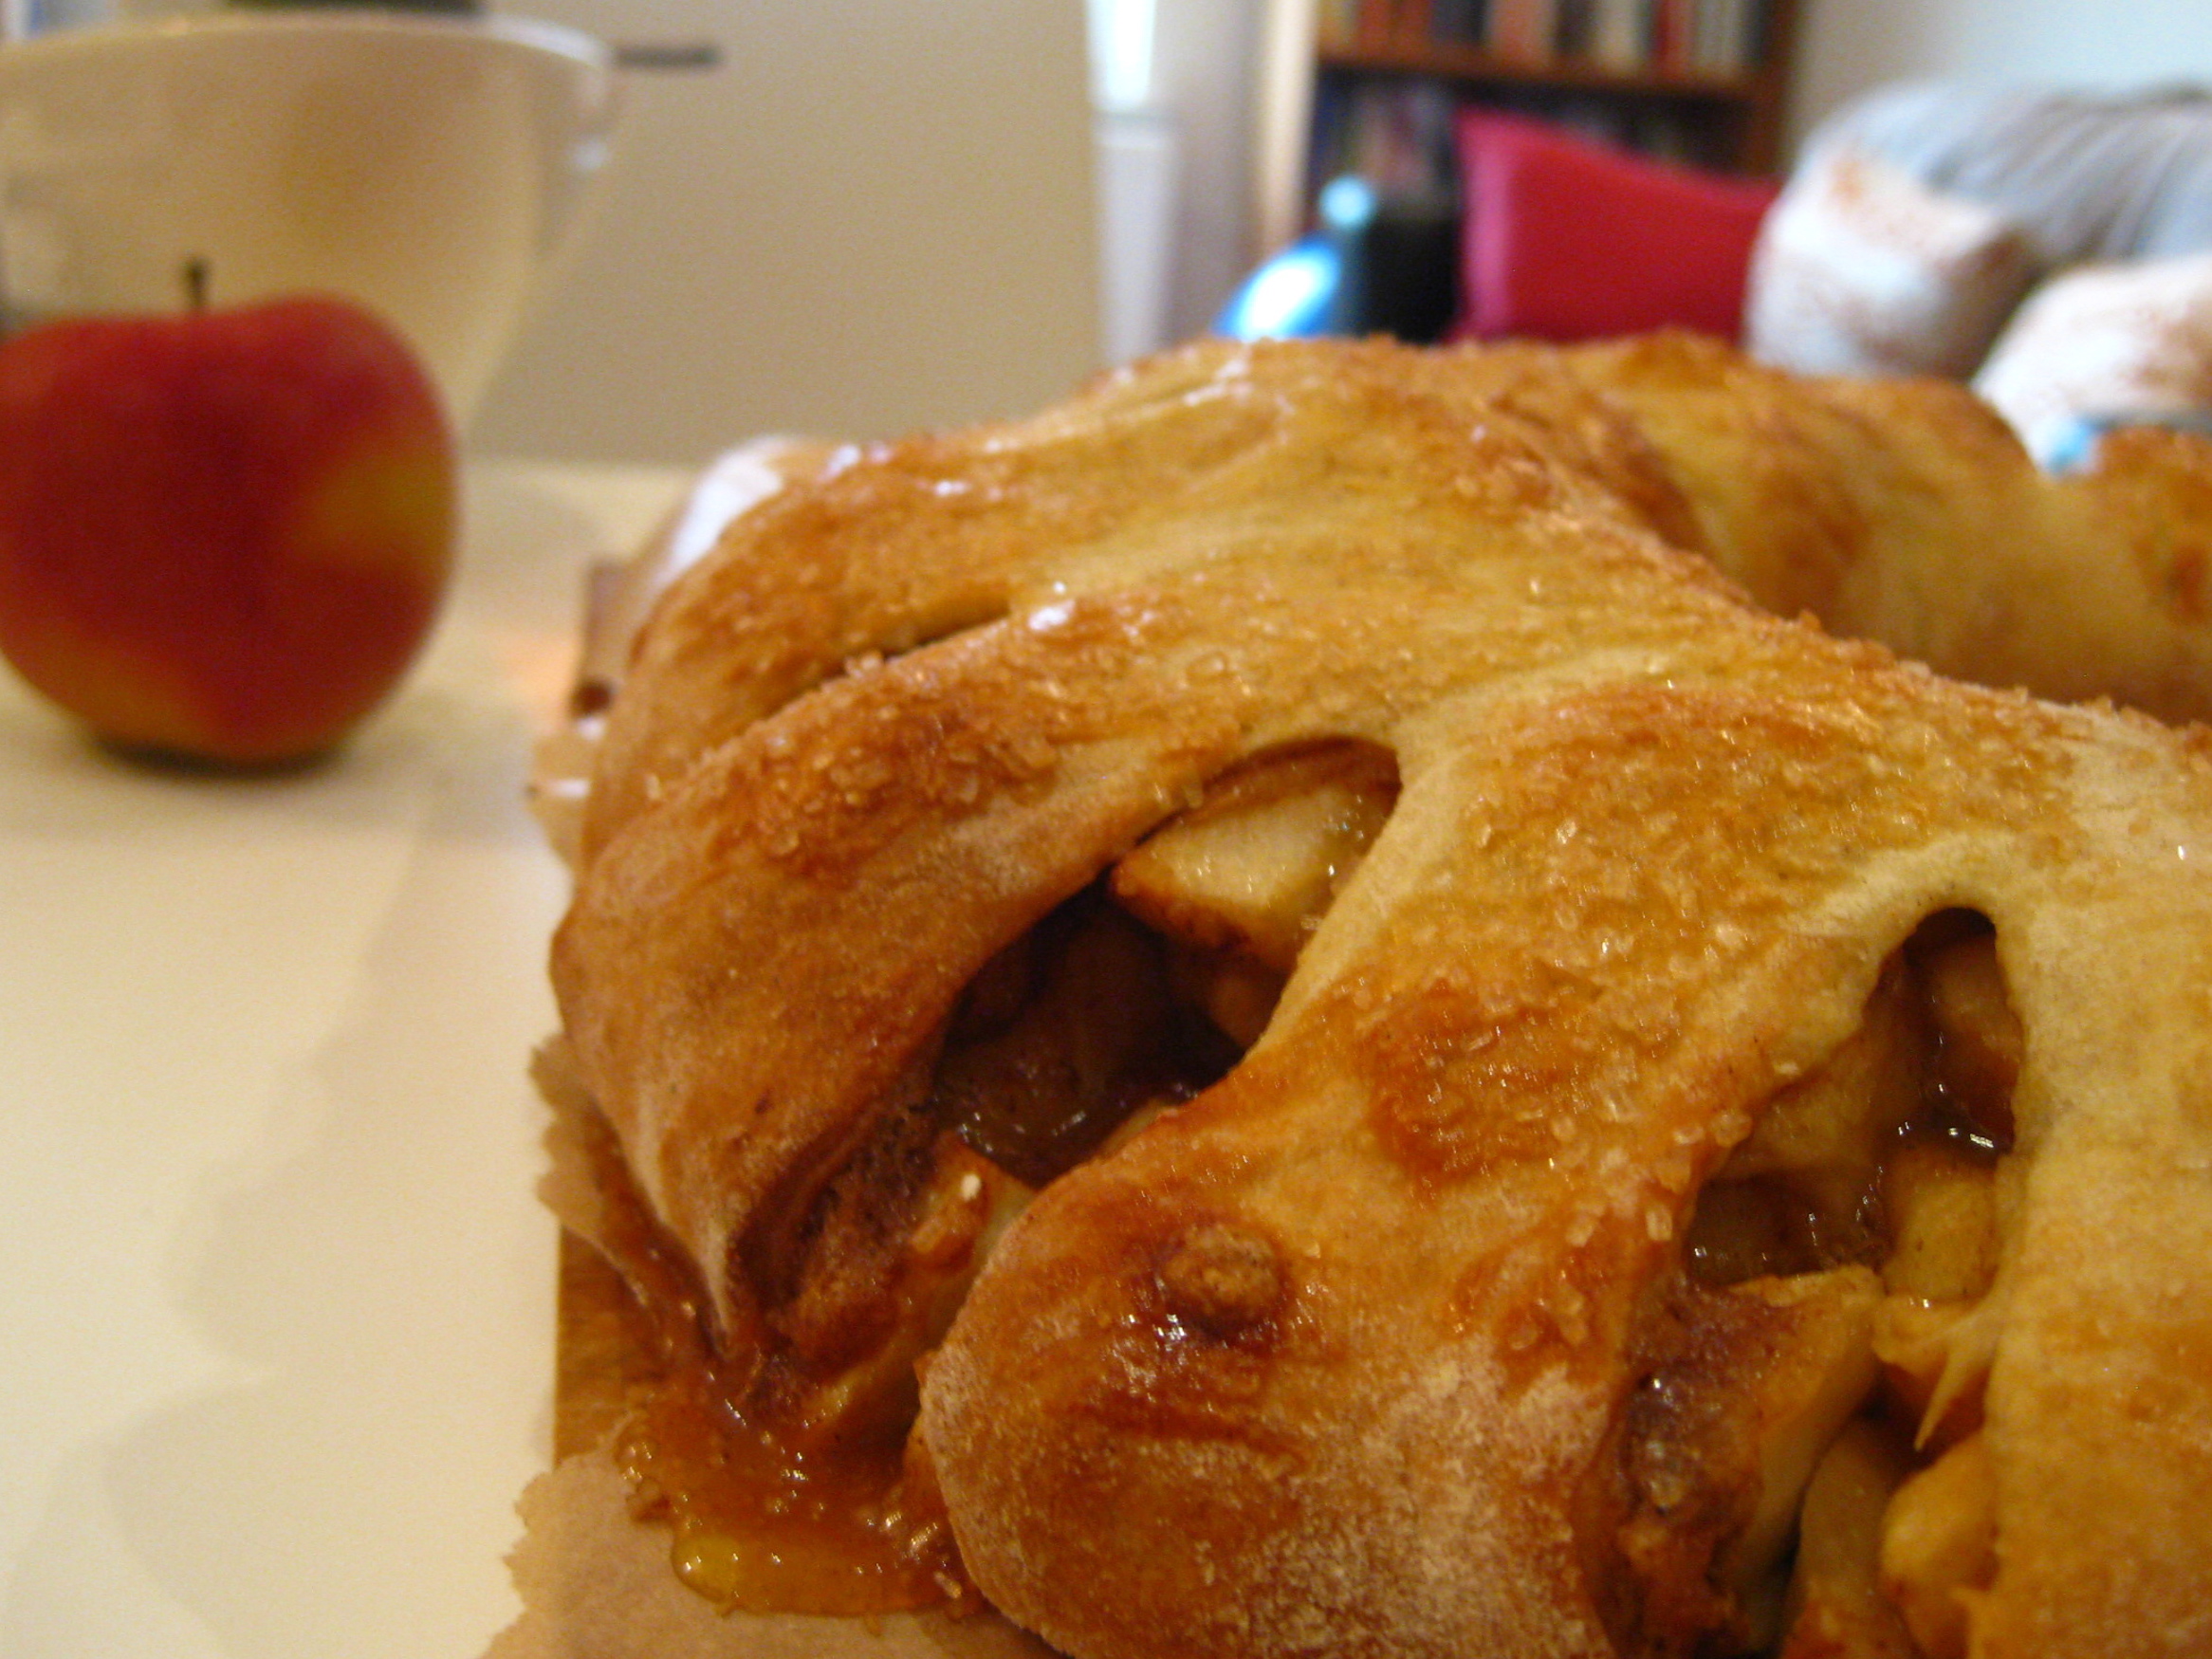
Take a pair of clean scissors and slice into the dough leaving about 3/4-inch of dough still attached. Slice at 1-inch intervals. Carefully begin to curve the sliced dough into a semi-circle/horseshoe shape. If some of the apple juices escape, that’s ok. Cover with a towel and let rest in a warm place for 30 minutes.
Preheat the oven to 375 degrees F.
Brush dough with egg wash and sprinkle with raw or granulated sugar. Bake for 30 to 35 minutes, until golden brown and cooked through.
Remove from the oven, allow to cool for 15 minutes before serving. Best served warm with hot coffee or tea. Breakfast cake will last, well wrapped at room temperature, for up to 3 days… or 3 hours.
** If you decide to freeze the dough for later baking, place it in the fridge to thaw the evening before you’d like to bake it. Once it’s thawed, slice it according to the above directions. Allow to come to room temperature, and allow to rise for another 30 minutes beyond that. Wash with egg and sugar, then bake.
** If you decide to refrigerate the dough, simple take it out of the fridge, slice according to the above directions. Let come to room temperature, then allow to rise for 30 minutes beyond that. Brush with egg and sugar, then bake.
Et Voila! You will be loved for ever and ever. Trust me.
Can’t wait for November’s baking treat!
Following my post about getting creative with pizza boxes, I though it best to give further excuse to wash down those pizza’s with a couple of boxes of wine… yes I meant boxes!

This floor is not only a great way of displaying your true taste, it’s also recycling and, to a certain extent, money saving (depending how nice you like you wine!). The trick is to find as many different wines as possible, maybe even add in some port and whiskey boxes for variety.
This is definitely one for the wine lovers out there and for all those just starting, here’s a fantastic reason to drink as much as you can! Cheers!
Tags
apple Art baking books breakfast Cards Ceiling Medallions Children Chores Christmas cinnamon corker and mills Crafts Creative lighting Date Night Design DIY Family Food Games gifts Glass Floats Groupon Halloween Health heather Highclere Castle History Home decoration How to Paper Lanterns Picture Frames Pizza Recycling Recyling Relationships stairs stencils Steve Carell strudel Summer Tina Fey Travel wallpaper Wine


